
:max_bytes(150000):strip_icc()/ImagefromiOS1-d1c97c13048a4fc88627e315957d98d8.jpg)
"The Best Free, Cloud-Based Video Editing Tools"
The Best Free, Cloud-Based Video Editing Tools
Free Online Video Editors for YouTube

Richard Bennett
Mar 27, 2024• Proven solutions
Most of you might be addicted to YouTube videos because those uploads are outstanding with content that contains information, entertainment stuff and many more. But some of you might be also thinking to get a solution for editing some of your favourite YouTube videos in order to create some customized results. There are so many options available online as well as with downloadable versions. Below are some of the basic details about top seven highly rated online YouTube video editors:
If you need more advanced features like PIP, Green Screen, or audio mixing, check this easy to use and powerful video editor-Wondershare Filmora , and ignite your video by clicks.
 Download Mac Version ](https://tools.techidaily.com/wondershare/filmora/download/ )
8 Free YouTube Video Editor Online
Here is a comparison table. You will learn more information about 4K and price. Each of them has noticable features, so have a look.
| Price | Share to YouTube | Support 4K | Include templates | |
|---|---|---|---|---|
| video editor | Free | N | Y | Y |
| Wevideo | Free | Y | Y | Y |
| Loopster | Free | Y | N | N |
| Kizoa | Free | Y | Y | Y |
| Tubechop | Free | N | N | Y |
| Magisto | Free | Y | N | Y |
| Wideo | Free | Y | N | Y |
| Renderforest | Free | Y | N | Y |
| Powtoon | Free | Y | N | Y |
| YouTube Studio | Free | Y | Y | N |
2. Wevideo
This software tool makes online editing task much easier and fun oriented where you can easily make connections with other cloud services for exporting data. Users can access its paid as well as free version where later comes with watermarked editing feature. The editing experience with Wevideo is really outstanding and simple where interactive tools can be used for drag and drop, trimming and transitioning of files.
Pros:
Collaborative software feature where it is possible to call friends for uploading any footage to project created by you.
Cons:
Free version comes with a limitation of watermarked video type.
3.Loopster
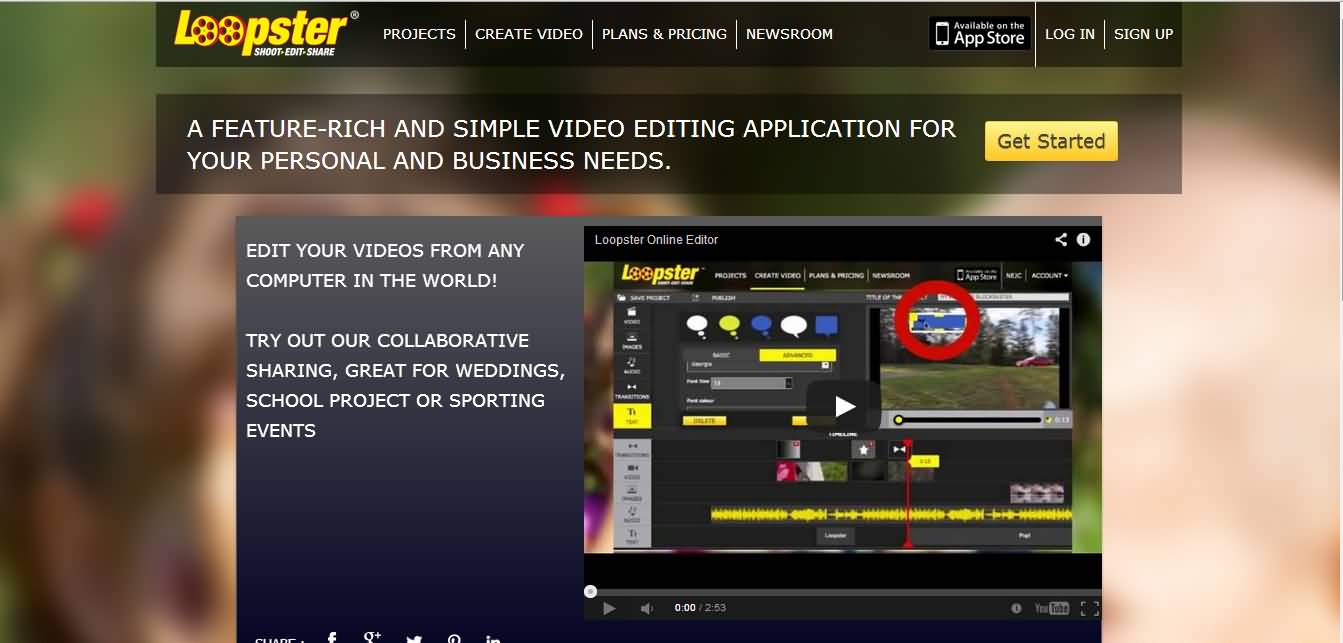
Loopster is one of the best options for educators, film makers, professionals as well as beginners due to its interactive interface. You can avail its free version along with other affordable packages as per need. The special features include splicing of features, adjustment of video angles, sound effect creations and addition of music from external sources.
Pros:
Easy to use interface with fast access to photo and video transfers; allows fast uploading to YouTube account along with other simple functions.
Cons:
Comes with very basic functions and transition feature is not that interactive; is not useful for animation needs.
4.Kizoa

Kizoa is a popular cloud based video editor that comes with user friendly interface where users can edit, share and store photos as per requirement as its storage capacity goes up to 1GB even with free account. It comes with cloud base and web base where you can also upload music from your personal computer.
Pros:
It comes with numerous templates and effects.
Cons:
Free account allows users to work only on a 10 second clip; and resolution is not much appreciable.
5.Tubechop
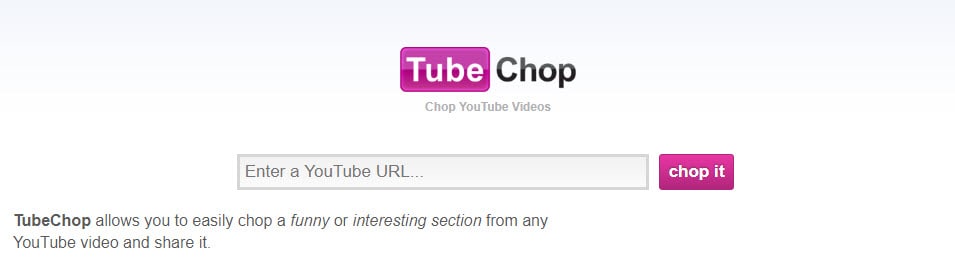
It is actually a website that allows easy chopping of YouTube videos; users need to copy and paste the URL of videos and select the desired part of video for chopping. This tool provides lots of options to for sharing chopped videos to other platforms.
Pros:
Trimming and sharing of videos is much easier as easy to use interface makes everything much easier.
Cons:
Not suitable for those who want to add background music to their video files.
6.Magisto
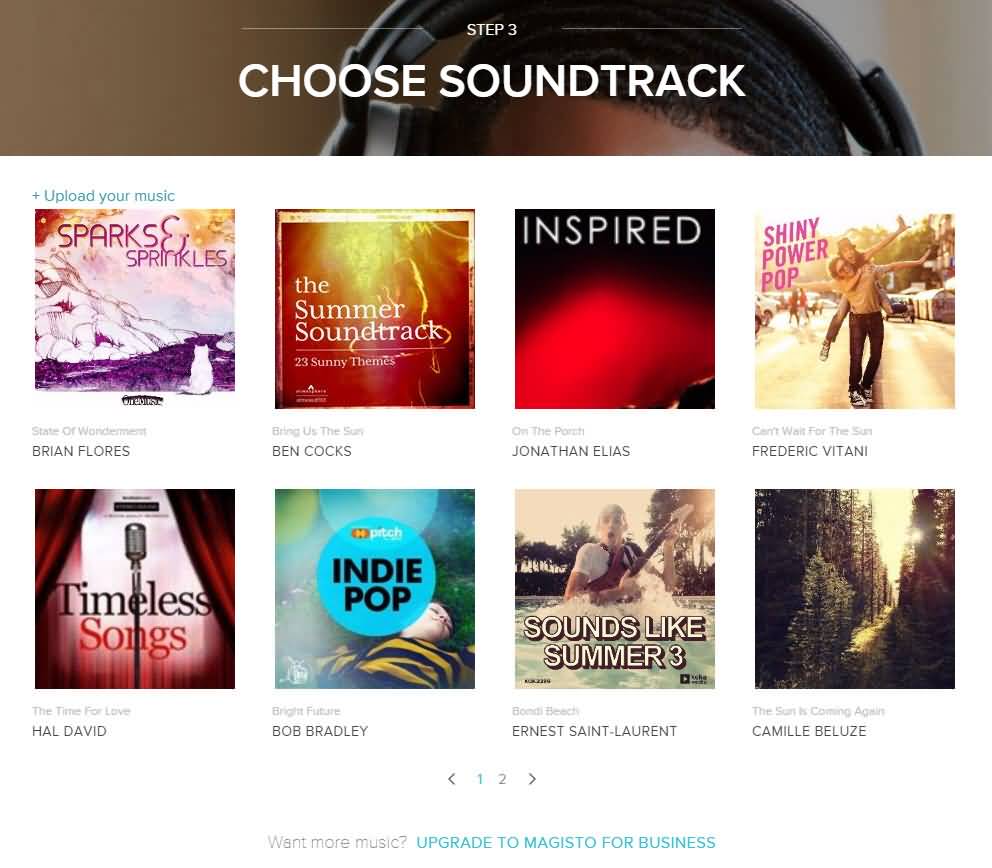
Magisto is a great app that is really popular for automatically turning what would otherwise be an everyday type video into a beautiful poignant movie. . Magisto allows users to derive a funny video from any random footage and the results are worth watching.
Pros:
This online video editing tool is well designed, engaging and offers highly automated video production feature.
Cons:
Less control over edits, restricted length of productions and pricey subscriptions.
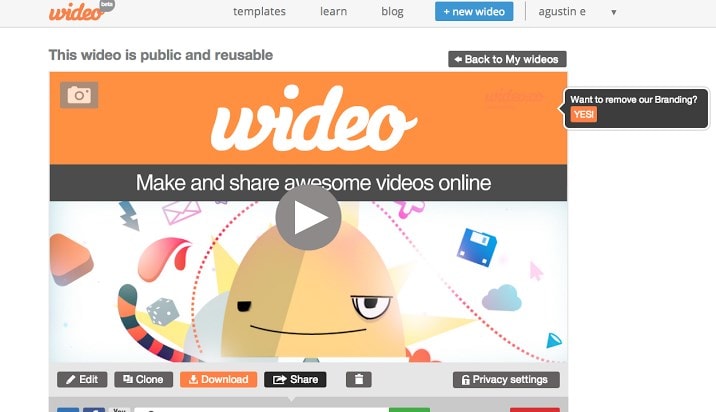
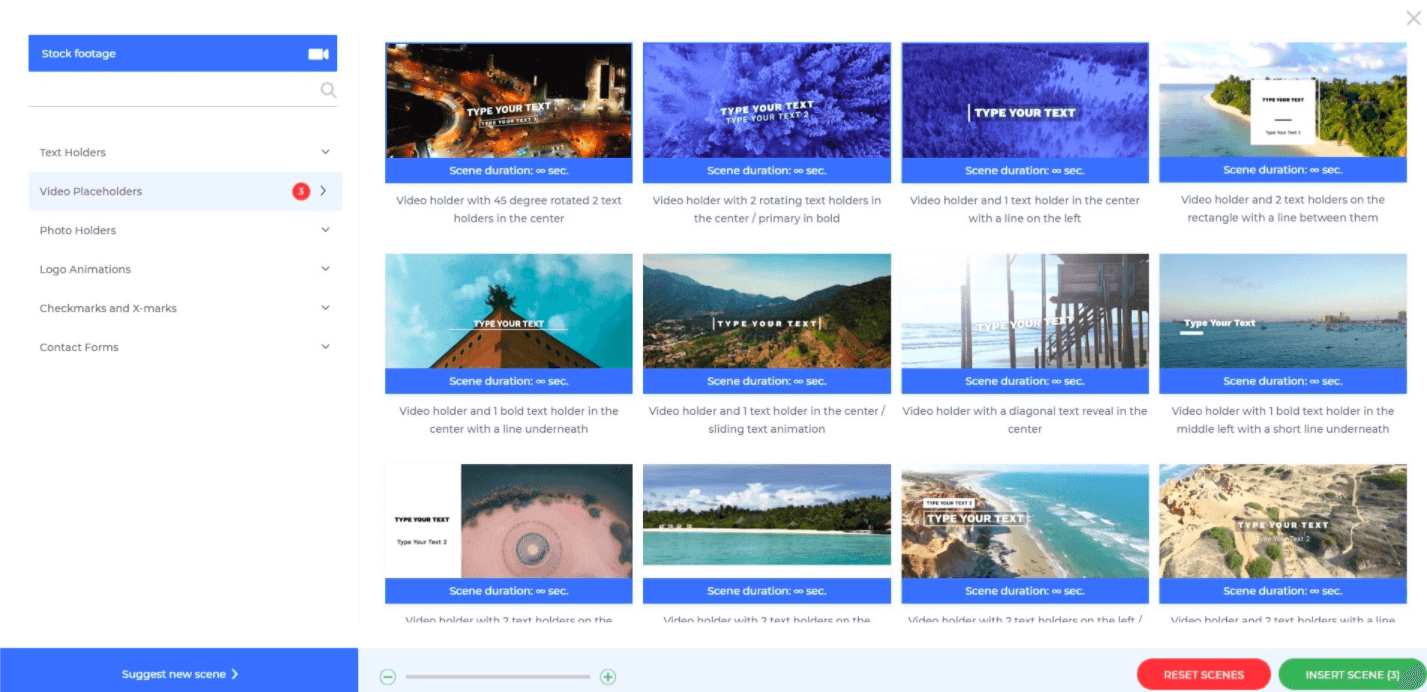
7.Wideo
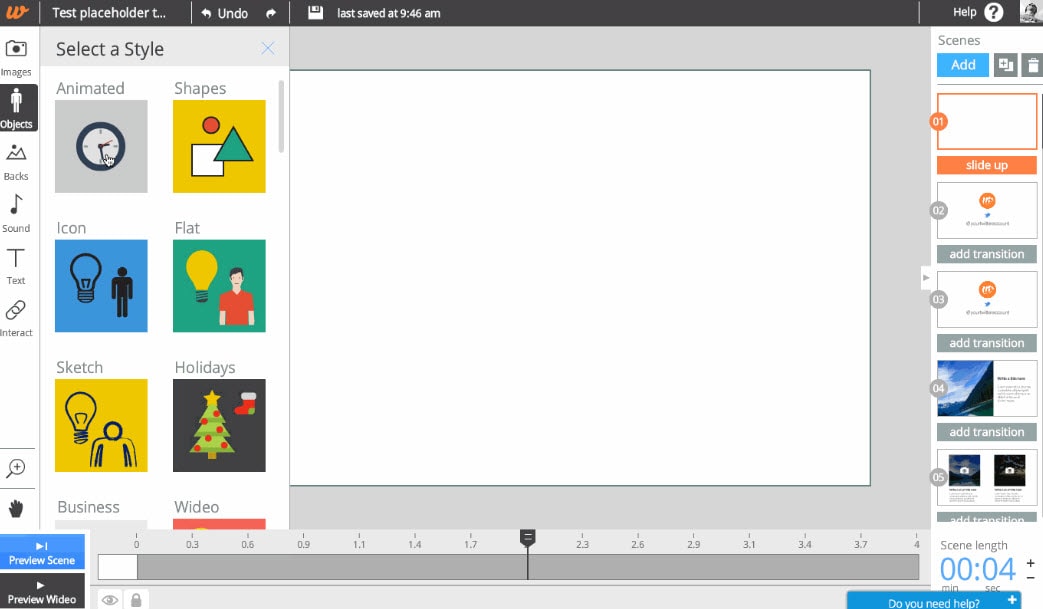
It is one of the latest web based application tool that allows easy to use interface for creation of presentations and animations. This software window contains lots of stylish templates, objects, editing tools, and other interactive elements.
Pros:
Comes with free unbranded player and video hosting service, outstanding customer support, special discounts are added for educators and students.
Cons:
Possess limited editing tools for audios; users need faster internet connection for proper connectivity.
8.Renderforest
Renderforest is a cloud-based video maker platform. It offers a wide variety of branding and editing tools for YouTubers, including advanced video trimmer and voice-over options, logo animations, intros, and promotional video templates. Creators can share their videos on social media, publish them on Facebook or Youtube directly from the preview page.
Pros:
Intuitive and user-friendly interface, easy editing tools, and more than 800+ video templates available for free. The subscription plans come with other tools, including a website builder, logo maker, and mockup editor.
Cons:
With the free plan, users can create an unlimited number of 3-minute videos in 360p with watermarks.
9.Powtoon

Powtoon is an amazing online application that you don’t need to download on your system as it provides all facilities on your premium account. This tool contains so many tools for animation creation and acts like a professional studio for all users. Premium users can easily download their finished videos with high resolution here.
Pros:
Powtoon possesses numerous editing tools and supports many file types; this platform is more famous for animations and professional video editing needs.
Cons:
It is little difficult to use this software for beginners and demands very high speed internet connection.
10.YouTube Studio (Beta)
YouTube video editor was one of the most widely used free online video editing tool over the internet until 20th September, 2017, because after that time, users will no longer be able to use the complimentary editing suite. Check the best YouTube video editor alternatives from this complete guide.

However, the new YouTube Studio now allows you to trim, split video uploaded YouTube videos and add blur effects to faces or objects. Though this easy to use free online video editor doesn’t feature tools like combine several video clips, photos into one longer video, nor add Pan and Zoom effects like the previous version, you can still add audio tracks from its Audio Library to Video. Yeah, this is a video maker online with music and effects. So, it is in our best free online video editor list. Remember, if you’re looking for a free online video editor for YouTube for these simple editing features, then you can try the Editor under YouTube Studio.
Richard Bennett
Richard Bennett is a writer and a lover of all things video.
Follow @Richard Bennett
Richard Bennett
Mar 27, 2024• Proven solutions
Most of you might be addicted to YouTube videos because those uploads are outstanding with content that contains information, entertainment stuff and many more. But some of you might be also thinking to get a solution for editing some of your favourite YouTube videos in order to create some customized results. There are so many options available online as well as with downloadable versions. Below are some of the basic details about top seven highly rated online YouTube video editors:
If you need more advanced features like PIP, Green Screen, or audio mixing, check this easy to use and powerful video editor-Wondershare Filmora , and ignite your video by clicks.
Download Mac Version ](https://tools.techidaily.com/wondershare/filmora/download/ )
8 Free YouTube Video Editor Online
Here is a comparison table. You will learn more information about 4K and price. Each of them has noticable features, so have a look.
| Price | Share to YouTube | Support 4K | Include templates | |
|---|---|---|---|---|
| video editor | Free | N | Y | Y |
| Wevideo | Free | Y | Y | Y |
| Loopster | Free | Y | N | N |
| Kizoa | Free | Y | Y | Y |
| Tubechop | Free | N | N | Y |
| Magisto | Free | Y | N | Y |
| Wideo | Free | Y | N | Y |
| Renderforest | Free | Y | N | Y |
| Powtoon | Free | Y | N | Y |
| YouTube Studio | Free | Y | Y | N |
2. Wevideo
This software tool makes online editing task much easier and fun oriented where you can easily make connections with other cloud services for exporting data. Users can access its paid as well as free version where later comes with watermarked editing feature. The editing experience with Wevideo is really outstanding and simple where interactive tools can be used for drag and drop, trimming and transitioning of files.
Pros:
Collaborative software feature where it is possible to call friends for uploading any footage to project created by you.
Cons:
Free version comes with a limitation of watermarked video type.
3.Loopster
Loopster is one of the best options for educators, film makers, professionals as well as beginners due to its interactive interface. You can avail its free version along with other affordable packages as per need. The special features include splicing of features, adjustment of video angles, sound effect creations and addition of music from external sources.
Pros:
Easy to use interface with fast access to photo and video transfers; allows fast uploading to YouTube account along with other simple functions.
Cons:
Comes with very basic functions and transition feature is not that interactive; is not useful for animation needs.
4.Kizoa
Kizoa is a popular cloud based video editor that comes with user friendly interface where users can edit, share and store photos as per requirement as its storage capacity goes up to 1GB even with free account. It comes with cloud base and web base where you can also upload music from your personal computer.
Pros:
It comes with numerous templates and effects.
Cons:
Free account allows users to work only on a 10 second clip; and resolution is not much appreciable.
5.Tubechop
It is actually a website that allows easy chopping of YouTube videos; users need to copy and paste the URL of videos and select the desired part of video for chopping. This tool provides lots of options to for sharing chopped videos to other platforms.
Pros:
Trimming and sharing of videos is much easier as easy to use interface makes everything much easier.
Cons:
Not suitable for those who want to add background music to their video files.
6.Magisto
Magisto is a great app that is really popular for automatically turning what would otherwise be an everyday type video into a beautiful poignant movie. . Magisto allows users to derive a funny video from any random footage and the results are worth watching.
Pros:
This online video editing tool is well designed, engaging and offers highly automated video production feature.
Cons:
Less control over edits, restricted length of productions and pricey subscriptions.
7.Wideo
It is one of the latest web based application tool that allows easy to use interface for creation of presentations and animations. This software window contains lots of stylish templates, objects, editing tools, and other interactive elements.
Pros:
Comes with free unbranded player and video hosting service, outstanding customer support, special discounts are added for educators and students.
Cons:
Possess limited editing tools for audios; users need faster internet connection for proper connectivity.
8.Renderforest
Renderforest is a cloud-based video maker platform. It offers a wide variety of branding and editing tools for YouTubers, including advanced video trimmer and voice-over options, logo animations, intros, and promotional video templates. Creators can share their videos on social media, publish them on Facebook or Youtube directly from the preview page.
Pros:
Intuitive and user-friendly interface, easy editing tools, and more than 800+ video templates available for free. The subscription plans come with other tools, including a website builder, logo maker, and mockup editor.
Cons:
With the free plan, users can create an unlimited number of 3-minute videos in 360p with watermarks.
9.Powtoon
Powtoon is an amazing online application that you don’t need to download on your system as it provides all facilities on your premium account. This tool contains so many tools for animation creation and acts like a professional studio for all users. Premium users can easily download their finished videos with high resolution here.
Pros:
Powtoon possesses numerous editing tools and supports many file types; this platform is more famous for animations and professional video editing needs.
Cons:
It is little difficult to use this software for beginners and demands very high speed internet connection.
10.YouTube Studio (Beta)
YouTube video editor was one of the most widely used free online video editing tool over the internet until 20th September, 2017, because after that time, users will no longer be able to use the complimentary editing suite. Check the best YouTube video editor alternatives from this complete guide.
However, the new YouTube Studio now allows you to trim, split video uploaded YouTube videos and add blur effects to faces or objects. Though this easy to use free online video editor doesn’t feature tools like combine several video clips, photos into one longer video, nor add Pan and Zoom effects like the previous version, you can still add audio tracks from its Audio Library to Video. Yeah, this is a video maker online with music and effects. So, it is in our best free online video editor list. Remember, if you’re looking for a free online video editor for YouTube for these simple editing features, then you can try the Editor under YouTube Studio.
Richard Bennett
Richard Bennett is a writer and a lover of all things video.
Follow @Richard Bennett
How to Use AdSense for YouTube
How to Use AdSense for YouTube
Richard Bennett
Mar 27, 2024• Proven solutions
Now, since your YouTube channel has a large of subscribers and views, you start thinking to make money by using YouTube AdSense. However, do you really know YouTube AdSense very well? Or even, do you even know what it is exactly. In order to let you better understand it and make money, we have rounded up all information here to explain the basic knowledge of AdSense to you. Keeping reading to learn more!
- Part1: What is Adsense
- Part2: How to Link YouTube Account to Adsense
- Part3: How to Use AdSense for YouTube
Part 1: What is Adsense?
You might have noticed several ads displayed on the videos on various social platforms. AdSense is a part of Google that is responsible for placing such ads in the videos. You can sign in from YouTube account directly.
When you wish to place an ad, you may publish it on various media through Adsense. As an advertiser, you may publish anything in videos, images or texts on the websites and pay per impression or per click or per conversion.
Having a YouTube Adsense account or your website connected to Adsense account can help you earn money when Google places ads to your channel.
Do not worry, creating a Google Adsense account is free and when you create one, your YouTube channel or your website gets free eligibility for Google Ads. You just need to copy a code and paste it to start. The AdSense returns calculation is on pay per click or on a per-impression basis. However, if you want to receive the payment, you need to set up AdSense account first.
Part 2: How to Link YouTube Account to Adsense
Step 1: Link YouTube Account To Adsense
- Click on Setup YouTube AdSense or from monetization option, click on Setup Adsense option for your channel. Press Next. You are directed to Adsense sign up page.
- Select your email account, you wish to sign up with. You may also sign up with existing id or create a new one

- In case, you are using your existing email, sign in to YouTube Adsense with the same id. Once signed up, fill personal details form with information like address, name, etc.
- While filling your payee name be very careful and fill exactly as in your bank account name.

- Submit the form. Your application goes under review and might be under process for 2-3 hours to a few days depending on your Google Adsense and channel quality.
Step 2: Enable Monetization
- Click on My Channel from the menu option. Next, click on monetization to monetize your videos
- From monetization, click on monetize videos option for selecting the type of ads to monetize the video content or your channel.

- You may also monetize videos individually selecting the one you like from Video Manager segment if you do not wish to monetize all videos at once.
- Click monetize from the Action drop-down menu. Select ad type as per your wish. Press the monetize button.

- If you need to change monetization setting for a specific video, edit from the video manager or click on the dollar icon.
- To edit, click monetization option and select monetize with ads. Select the format of ads to monetize the particular video. Save the changes made.
Part 3: How to Use AdSense for YouTube
1. Finding Your Money in AdSense
Intuitively, many YouTube creators think that the first thing they see when they open up AdSense should be their daily earnings. This is not the case. Besides how much money you have made, AdSense keeps track of a lot of things the average YouTuber will not find useful. Getting to a report on your daily earnings actually takes a bit of navigation.
First, click on Performance Report near the top of your screen in AdSense. In the next page there will be a dropdown menu that says Days. Click on that menu and change it to Products.
In Products, scroll down until you get to a chart where there are two options: Hosted AdSense for Content and AdSense for Content. AdSense for Content relates to a personal website. For information about your YouTube channel click on Hosted AdSense for Content.

The next page is a report of how much money you have made from monetizing your YouTube channel. Your earnings will be organized by date. The money you see in this report has already had YouTube’s 45% commission deducted.
2. How are my earnings determined?
How much money you make through AdSense depends on your CPMs and EPMs. CPM is an acronym for “cost per mille” and indicates how much money and advertiser is paying for 1000 impressions of an ad. RPM is your revenue per 1000 impressions.
A lot of YouTubers new to AdSense assume that “per thousand impressions” means “per thousand views”, and that is incorrect. Besides the fact that not all views are monetized, impressions are not views. They are ad clicks. For long, skippable, video ads an “impression” is when a viewer watches the ad to the end instead of skipping it.
CPMs vary depending on the type of ad, where it is being run, and current advertising trends. Advertisers pay more for certain kinds of ads or for ad space in more popular videos. Beware of MCN scams claiming they can guarantee you a certain CPM; they cannot. Which ads are displayed in your videos is determined automatically by YouTube’s system and depends on factors like how you categorized your videos and how many views they have.
3. How do I get paid?
There are five different ways to get paid through AdSense: Check, Western Union Quick Cash, Wire Transfer, Rapida, or an Electronic Funds Transfer (EFT). Generally, AdSense will begin the process of paying you your monthly earnings on the 21st of the following month. How long it takes to get your money after that depends on your payment method.
Using Western Union Quick Cash you can pick your cash up at your Western Union branch the same day.
EFTs get your money to you within seven business days after the 21st.
Checks can take two to four weeks to arrive in the mail.
Wire Transfers and Rapida can each take up to 15 days.

In order to be paid you will have to earn enough to reach the payment threshold, which is $100. So, if you only earn $5 in a month, you should not expect to receive a payment for that month. You will receive your first payment after you earn $100.
Conclusion
Making money with YouTube Adsense is one of the best media that is reliable, easy to use, and better than any other ways of creating money. With Adsense, you can create various size and kinds of ad units to add it to your website. Those ad spaces are filled by Google with the content and traffic relevant to your site. There are also some YouTuber influencer marketing platforms such as InflueNex , which enables YouTubers to learn about their own channels, their competitors’ channels, and join the platform for establishing replationship with the brands.
Richard Bennett
Richard Bennett is a writer and a lover of all things video.
Follow @Richard Bennett
Richard Bennett
Mar 27, 2024• Proven solutions
Now, since your YouTube channel has a large of subscribers and views, you start thinking to make money by using YouTube AdSense. However, do you really know YouTube AdSense very well? Or even, do you even know what it is exactly. In order to let you better understand it and make money, we have rounded up all information here to explain the basic knowledge of AdSense to you. Keeping reading to learn more!
- Part1: What is Adsense
- Part2: How to Link YouTube Account to Adsense
- Part3: How to Use AdSense for YouTube
Part 1: What is Adsense?
You might have noticed several ads displayed on the videos on various social platforms. AdSense is a part of Google that is responsible for placing such ads in the videos. You can sign in from YouTube account directly.
When you wish to place an ad, you may publish it on various media through Adsense. As an advertiser, you may publish anything in videos, images or texts on the websites and pay per impression or per click or per conversion.
Having a YouTube Adsense account or your website connected to Adsense account can help you earn money when Google places ads to your channel.
Do not worry, creating a Google Adsense account is free and when you create one, your YouTube channel or your website gets free eligibility for Google Ads. You just need to copy a code and paste it to start. The AdSense returns calculation is on pay per click or on a per-impression basis. However, if you want to receive the payment, you need to set up AdSense account first.
Part 2: How to Link YouTube Account to Adsense
Step 1: Link YouTube Account To Adsense
- Click on Setup YouTube AdSense or from monetization option, click on Setup Adsense option for your channel. Press Next. You are directed to Adsense sign up page.
- Select your email account, you wish to sign up with. You may also sign up with existing id or create a new one
- In case, you are using your existing email, sign in to YouTube Adsense with the same id. Once signed up, fill personal details form with information like address, name, etc.
- While filling your payee name be very careful and fill exactly as in your bank account name.
- Submit the form. Your application goes under review and might be under process for 2-3 hours to a few days depending on your Google Adsense and channel quality.
Step 2: Enable Monetization
- Click on My Channel from the menu option. Next, click on monetization to monetize your videos
- From monetization, click on monetize videos option for selecting the type of ads to monetize the video content or your channel.
- You may also monetize videos individually selecting the one you like from Video Manager segment if you do not wish to monetize all videos at once.
- Click monetize from the Action drop-down menu. Select ad type as per your wish. Press the monetize button.
- If you need to change monetization setting for a specific video, edit from the video manager or click on the dollar icon.
- To edit, click monetization option and select monetize with ads. Select the format of ads to monetize the particular video. Save the changes made.
Part 3: How to Use AdSense for YouTube
1. Finding Your Money in AdSense
Intuitively, many YouTube creators think that the first thing they see when they open up AdSense should be their daily earnings. This is not the case. Besides how much money you have made, AdSense keeps track of a lot of things the average YouTuber will not find useful. Getting to a report on your daily earnings actually takes a bit of navigation.
First, click on Performance Report near the top of your screen in AdSense. In the next page there will be a dropdown menu that says Days. Click on that menu and change it to Products.
In Products, scroll down until you get to a chart where there are two options: Hosted AdSense for Content and AdSense for Content. AdSense for Content relates to a personal website. For information about your YouTube channel click on Hosted AdSense for Content.
The next page is a report of how much money you have made from monetizing your YouTube channel. Your earnings will be organized by date. The money you see in this report has already had YouTube’s 45% commission deducted.
2. How are my earnings determined?
How much money you make through AdSense depends on your CPMs and EPMs. CPM is an acronym for “cost per mille” and indicates how much money and advertiser is paying for 1000 impressions of an ad. RPM is your revenue per 1000 impressions.
A lot of YouTubers new to AdSense assume that “per thousand impressions” means “per thousand views”, and that is incorrect. Besides the fact that not all views are monetized, impressions are not views. They are ad clicks. For long, skippable, video ads an “impression” is when a viewer watches the ad to the end instead of skipping it.
CPMs vary depending on the type of ad, where it is being run, and current advertising trends. Advertisers pay more for certain kinds of ads or for ad space in more popular videos. Beware of MCN scams claiming they can guarantee you a certain CPM; they cannot. Which ads are displayed in your videos is determined automatically by YouTube’s system and depends on factors like how you categorized your videos and how many views they have.
3. How do I get paid?
There are five different ways to get paid through AdSense: Check, Western Union Quick Cash, Wire Transfer, Rapida, or an Electronic Funds Transfer (EFT). Generally, AdSense will begin the process of paying you your monthly earnings on the 21st of the following month. How long it takes to get your money after that depends on your payment method.
Using Western Union Quick Cash you can pick your cash up at your Western Union branch the same day.
EFTs get your money to you within seven business days after the 21st.
Checks can take two to four weeks to arrive in the mail.
Wire Transfers and Rapida can each take up to 15 days.
In order to be paid you will have to earn enough to reach the payment threshold, which is $100. So, if you only earn $5 in a month, you should not expect to receive a payment for that month. You will receive your first payment after you earn $100.
Conclusion
Making money with YouTube Adsense is one of the best media that is reliable, easy to use, and better than any other ways of creating money. With Adsense, you can create various size and kinds of ad units to add it to your website. Those ad spaces are filled by Google with the content and traffic relevant to your site. There are also some YouTuber influencer marketing platforms such as InflueNex , which enables YouTubers to learn about their own channels, their competitors’ channels, and join the platform for establishing replationship with the brands.
Richard Bennett
Richard Bennett is a writer and a lover of all things video.
Follow @Richard Bennett
Also read:
- Channel Your Creativity Convert YouTube Clips Into Dynamic Gifs
- [Updated] Building Your Way to Greatness A Complete Guide to Valorant Video Thumbnails
- 2024 Approved Channeling Creativity Get Green Screen Tips From YouTube
- Ace Your Videos Essential Editors for YouTube
- [Updated] Best Camera Apps to Shoot and Record Videos on iPhone and Andriod Phones
- Download All YouTube Images for Free
- Peaking at Popularity The Ultimate List of 10 Most Successful YouTubers
- 2024 Approved Best Alternatives to Blockbuster Flicks
- 2024 Approved Enhancing Visual Appeal YouTube Images in Presentations
- Fresh Pioneers 8 YouTube's Fastest Climbers
- [New] Analyzing the Post-Upload Process in YouTube's Ecosystem
- In 2024, Engaging Video Audiences Choosing Impactful YouTube Images
- [New] Creating Heartfelt YouTube Journeys
- Top 5 Snug Scenarios for Your Snowy Youtube Sessions
- YouTube Shorts Revenue Sharing Explained How Much Will I Make?
- Dominate Search Results Essential Tips for Optimizing YouTube Videos for 2024
- [Updated] Empowering Learning Through Educational Videos on YouTube
- [New] Boosting Views Essential Hashtags for Trending Shorts
- Optimal Video Techniques to Dominate FreeFire Vlogs
- 2024 Approved Beyond Tubes The Ultimate Video Share Sites
- In 2024, Universal Unlock Pattern for Oppo Reno 11 Pro 5G
- How to Share Location in Messenger On Infinix Smart 7? | Dr.fone
- In 2024, Best Ways on How to Unlock/Bypass/Swipe/Remove Vivo Y78t Fingerprint Lock
- Leading Trivia Networks of 2024 Unveiled
- How to Reset Apple iPhone 14 Pro Max to Factory Settings? | Dr.fone
- [New] Speak Up with Text-to-Speech on TikTok Platform
- Updated In 2024, Convert 4K to MP4 The Easiest Video Downloader for All Devices
- [Updated] Inexpensive PCs Optimized Video Settings Guide
- In 2024, Effortlessly Integrating OBS Into Your Mac Step by Step Guide
- [Updated] 2024 Approved Simplifying Your Life with TikTok, Mac, and PC Edition
- Updated Best Stop Motion Apps for iOS and Android for 2024
- [Updated] 2024 Approved Audience Take MovaviScreenVision's New Release
- LiveMedia App Assessment Guide
- [New] In 2024, The Complete Process Recording YouTube Livestream on Multiple Platforms
- Updated In 2024, Online Dailymotion Converter Convert Videos to Any Format for Free
- In 2024, From Playtime to Pixels The Ultimate List of 6 Ways to Record Minecraft
- Updated 2024 Approved Unlock Smooth Video Playback Top WebM to MP4 Converters
- Title: "The Best Free, Cloud-Based Video Editing Tools"
- Author: Steven
- Created at : 2024-05-25 20:29:16
- Updated at : 2024-05-26 20:29:16
- Link: https://youtube-clips.techidaily.com/the-best-free-cloud-based-video-editing-tools/
- License: This work is licensed under CC BY-NC-SA 4.0.
