
:max_bytes(150000):strip_icc()/ScreenShot2022-01-28at1.31.59PM-51c7b26d3d0e4393a587f0fd791f18a8.png)
"In 2024, Essential Tips Enhancing Focus in Your YouTube Video"
Essential Tips: Enhancing Focus in Your YouTube Video
How to Blur Background of Your YouTube Video

Richard Bennett
Mar 27, 2024• Proven solutions
A lot of YouTubers like to vlog in front of blurred backgrounds. Blurring the background of your YouTube video is a fast way to make it look more professional – you stand out when you are entirely in focus, and everything behind you is blurry. Plus, it is an easy way to disguise the room you are vlogging from.

Even if your set is clean, there could be things like books behind you, which will distract viewers; they will be trying to read the spines. Blurring out the background of your shot makes your video look polished and keeps people’s focus entirely on you.
- Part 1: Blur YouTube Video Background in Shooting Videos
- Part 2: Add Tilt-Shift Effects to Video in Editing
Part 1: How to Blur Background of Your YouTube Video in Shooting Videos
Blurring your background is also how you create a beautiful bokeh lighting effect. Bokeh is when you blur lights in the background of your shot, creating halo-like circles of light. By attaching a filter with a shape cut out to the camera lens, you can even generate bokeh lights in other shapes, like hearts or stars.
Aperture refers to the hole in your lens which allows light into your camera. A narrow aperture lets in less light, and a wide aperture lets in more. The wider your aperture is, the shallower your depth of field will be. Widening your aperture also helps your camera perform better in low-light situations. Widening your aperture too much under the wrong circumstances can let in too much light and result in your footage being overexposed.
Depth of Field is the area of your image that is in focus. If you have a large depth of field, then objects close to and far away from your camera will all be in focus. Only a select area will be focused and the rest will be blurred if you have a shallow depth of field.
F-Stops are the measurement of an aperture’s width. The higher your f-stop, the narrower your aperture will be. To create a blurred background or a bokeh effect, you need a wide aperture, and thus a small f-stop. F-stops are written like ‘f/1.4’. You need an f-stop of less than f/4 to blur your background, and less than f/2.8 for bokeh.
1. Blurring and Bokeh
Blurred backgrounds and bokeh are very closely related. A bokeh effect is essentially a blurred background that includes lights.
To achieve a blurred background or a bokeh effect, you need to have a shallow depth of field. That means a wide aperture and a low f-stop.
2. How to Blur your Background
Place your subject – in the case of a vlog, your subject is probably yourself – in a shallow depth of field, and they will remain sharply in focus while everything behind them is blurred.
If the subject is yourself, you might need a helper to either operate your camera or stand in for you while you set up your camera. You will need to be able to check that the place you plan to stand or sit is in focus.
To get a shallow depth of field, make sure your aperture is wide. Do this by setting a low f-stop. Ideally, your f-stop will be 2.8 or lower, but if your camera cannot go that low, then f/3 or f/4 can also work.
Creating a bokeh effect is mostly the same, except that it works best when your subject/depth of field is very close to the camera, and you have a light source off in the background. Zoom Lenses do not usually have wide enough apertures to create bokeh backgrounds.
Blur Video Background in Post-Production with Wondershare Filmora Video Editor
If you need to blur the video background after shooting, you can use some video editing software to add the bokeh effect or the tilt-off effect in post-production. Here, I will show you how to do that in Filmora.
Filmora is one of the most widely used video editing software among YouTubers. Its user-friendly interface and tutorial guide enables green-hands to start video editing quickly. Besides, you can find many free filters, effects, and elements pre-programmed, so you can use them directly without looking for presets and templates somewhere else.
1. Add Bokeh Filter to Video in Filmora
There are about 20 bokeh effects available in filters and overlays. You can find them easily by typing bokeh in the search bar in Effects.
Note: you should select Included to see all bokeh effects pre-programmed in Filmora. If you need more visual effects, just go to the Filmstock effects store.

Double click the bokeh effect to preview the result, and if you find the bokeh effect fits the video, just drop it to the track above the video. And the bokeh filter or overlay will be applied to the video automatically.
2. Use Tilt-Shift Circle/Linear Effect to Blur Video Background
Filmora features two tilt effects, tilt-shift circle and tilt-shift linear, which allows you to highlight people in the video, blur, and conceal the video background.
Go to the Effects tab and then switch to the Utility menu under Included category.

Here, I will select the Tilt-Shift Circle effect and drop it to the track above the video. Now, you can adjust the size, position, and intensity of the tilt-shift circle effect

You see, the video background is blurred, and the people are highlighted. Now it’s your turn to download the Filmora video editor and try it yourself.


Richard Bennett
Richard Bennett is a writer and a lover of all things video.
Follow @Richard Bennett
Richard Bennett
Mar 27, 2024• Proven solutions
A lot of YouTubers like to vlog in front of blurred backgrounds. Blurring the background of your YouTube video is a fast way to make it look more professional – you stand out when you are entirely in focus, and everything behind you is blurry. Plus, it is an easy way to disguise the room you are vlogging from.
Even if your set is clean, there could be things like books behind you, which will distract viewers; they will be trying to read the spines. Blurring out the background of your shot makes your video look polished and keeps people’s focus entirely on you.
- Part 1: Blur YouTube Video Background in Shooting Videos
- Part 2: Add Tilt-Shift Effects to Video in Editing
Part 1: How to Blur Background of Your YouTube Video in Shooting Videos
Blurring your background is also how you create a beautiful bokeh lighting effect. Bokeh is when you blur lights in the background of your shot, creating halo-like circles of light. By attaching a filter with a shape cut out to the camera lens, you can even generate bokeh lights in other shapes, like hearts or stars.
Aperture refers to the hole in your lens which allows light into your camera. A narrow aperture lets in less light, and a wide aperture lets in more. The wider your aperture is, the shallower your depth of field will be. Widening your aperture also helps your camera perform better in low-light situations. Widening your aperture too much under the wrong circumstances can let in too much light and result in your footage being overexposed.
Depth of Field is the area of your image that is in focus. If you have a large depth of field, then objects close to and far away from your camera will all be in focus. Only a select area will be focused and the rest will be blurred if you have a shallow depth of field.
F-Stops are the measurement of an aperture’s width. The higher your f-stop, the narrower your aperture will be. To create a blurred background or a bokeh effect, you need a wide aperture, and thus a small f-stop. F-stops are written like ‘f/1.4’. You need an f-stop of less than f/4 to blur your background, and less than f/2.8 for bokeh.
1. Blurring and Bokeh
Blurred backgrounds and bokeh are very closely related. A bokeh effect is essentially a blurred background that includes lights.
To achieve a blurred background or a bokeh effect, you need to have a shallow depth of field. That means a wide aperture and a low f-stop.
2. How to Blur your Background
Place your subject – in the case of a vlog, your subject is probably yourself – in a shallow depth of field, and they will remain sharply in focus while everything behind them is blurred.
If the subject is yourself, you might need a helper to either operate your camera or stand in for you while you set up your camera. You will need to be able to check that the place you plan to stand or sit is in focus.
To get a shallow depth of field, make sure your aperture is wide. Do this by setting a low f-stop. Ideally, your f-stop will be 2.8 or lower, but if your camera cannot go that low, then f/3 or f/4 can also work.
Creating a bokeh effect is mostly the same, except that it works best when your subject/depth of field is very close to the camera, and you have a light source off in the background. Zoom Lenses do not usually have wide enough apertures to create bokeh backgrounds.
Blur Video Background in Post-Production with Wondershare Filmora Video Editor
If you need to blur the video background after shooting, you can use some video editing software to add the bokeh effect or the tilt-off effect in post-production. Here, I will show you how to do that in Filmora.
Filmora is one of the most widely used video editing software among YouTubers. Its user-friendly interface and tutorial guide enables green-hands to start video editing quickly. Besides, you can find many free filters, effects, and elements pre-programmed, so you can use them directly without looking for presets and templates somewhere else.
1. Add Bokeh Filter to Video in Filmora
There are about 20 bokeh effects available in filters and overlays. You can find them easily by typing bokeh in the search bar in Effects.
Note: you should select Included to see all bokeh effects pre-programmed in Filmora. If you need more visual effects, just go to the Filmstock effects store.
Double click the bokeh effect to preview the result, and if you find the bokeh effect fits the video, just drop it to the track above the video. And the bokeh filter or overlay will be applied to the video automatically.
2. Use Tilt-Shift Circle/Linear Effect to Blur Video Background
Filmora features two tilt effects, tilt-shift circle and tilt-shift linear, which allows you to highlight people in the video, blur, and conceal the video background.
Go to the Effects tab and then switch to the Utility menu under Included category.
Here, I will select the Tilt-Shift Circle effect and drop it to the track above the video. Now, you can adjust the size, position, and intensity of the tilt-shift circle effect
You see, the video background is blurred, and the people are highlighted. Now it’s your turn to download the Filmora video editor and try it yourself.
Richard Bennett
Richard Bennett is a writer and a lover of all things video.
Follow @Richard Bennett
Unlock YouTube Success with Top 8 Thumbnail Strategies
Best 8 YouTube Thumbnail Grabbers You Should Know
Richard Bennett
Oct 26, 2023• Proven solutions
A YouTube thumbnail must be made very engaging and attractive to tell the potential viewers what the video is about and make them watch it. Since YouTube is a visual media platform, viewers set their eyes on the thumbnails first before they read the title of the video. If you’ve made a collage of YouTube thumbnails or designed YouTube channel art containing various freeze-frame images from different YouTube videos, you are no stranger to needing a fast way to collect YouTube thumbnail images. Online, there are several tools dedicated to solving this exact problem. These are the top five YouTube Thumbnail grabbers:
These thumbnails can be then be used in videos, blogs, articles, web pages, etc. Let’s have a look at 8 best thumbnail grabbers in the market:
- YouTube Thumbnail Grabber
- BoingBoing
- Thumbnailsave.com
- Get YouTube Thumbnail
- Fbutube.com
- YT Thumbnail Downloader
- Youtubethumbnailimage.com
- Youthumbnail.com
#1: YouTube Thumbnail Grabber
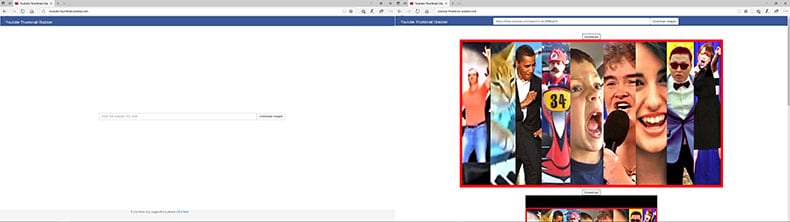
https://youtube-thumbnail-grabber.com
YouTube Thumbnail Grabber is at the top of our list. The website is very simple and clean with no ads. All you need to do is enter the YouTube video URL and click on the “Download Images” button. The site will then present you with your downloadable images in different sizes. It’s free and fast!
#2: BoingBoing
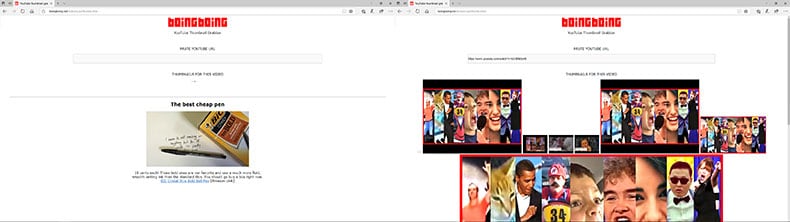
https://boingboing.net/features/getthumbs.html
BoingBoing is faster than YouTube Thumbnail grabber because it skips the “Download Images” step. As soon as you enter in your YouTube video URL, BoingBoing will automatically present you with your downloadable images. Although it is one step faster than YouTube Thumbnail Grabber, you will have to deal with having to view one small ad at the bottom of the page. In case you also want to download freeze frames that occur midway through the video, BoingBoing also gives you the option to download those images as well.
#3: Thumbnailsave.com
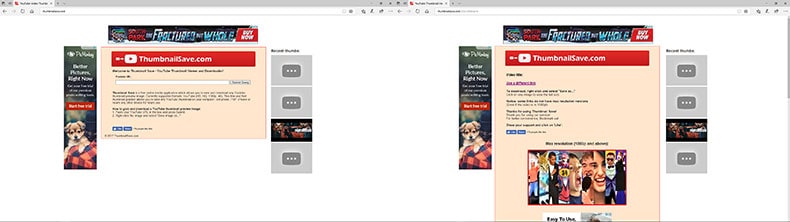
Another free, straightforward website for grabbing your YouTube thumbnails is Thumbnailsave.com. Again, all you need to do is enter the YouTube video URL and click the “Submit” button. Unlike our first two options, this site has a lot more ads. You’ll see a banner ad at the top as well as an ad to the side of the page. One interesting thing about this website is that it displays a column of thumbnails recently grabbed by users all over the world (displayed on the right side of the page). You might find this entertaining. If you are captivated by one of the thumbnail images, you can download it onto your computer and then do a reverse image search on Google to find the video.
#4: Get YouTube Thumbnail
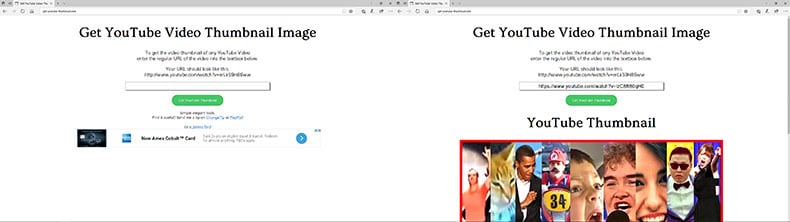
http://www.get-youtube-thumbnail.com
Get YouTube Thumbnail is another free, straightforward tool for grabbing YouTube thumbnail images. All you need to do is paste the URL of the YouTube video and click on the “Get YouTube Thumbnail” button to retrieve your thumbnail. Yes, that’s right. One thumbnail image. What’s different about this website is that it provides you with a unique image URL. This might be useful for anyone not wanting to deal with files. While this website is free to use, it does have ads.
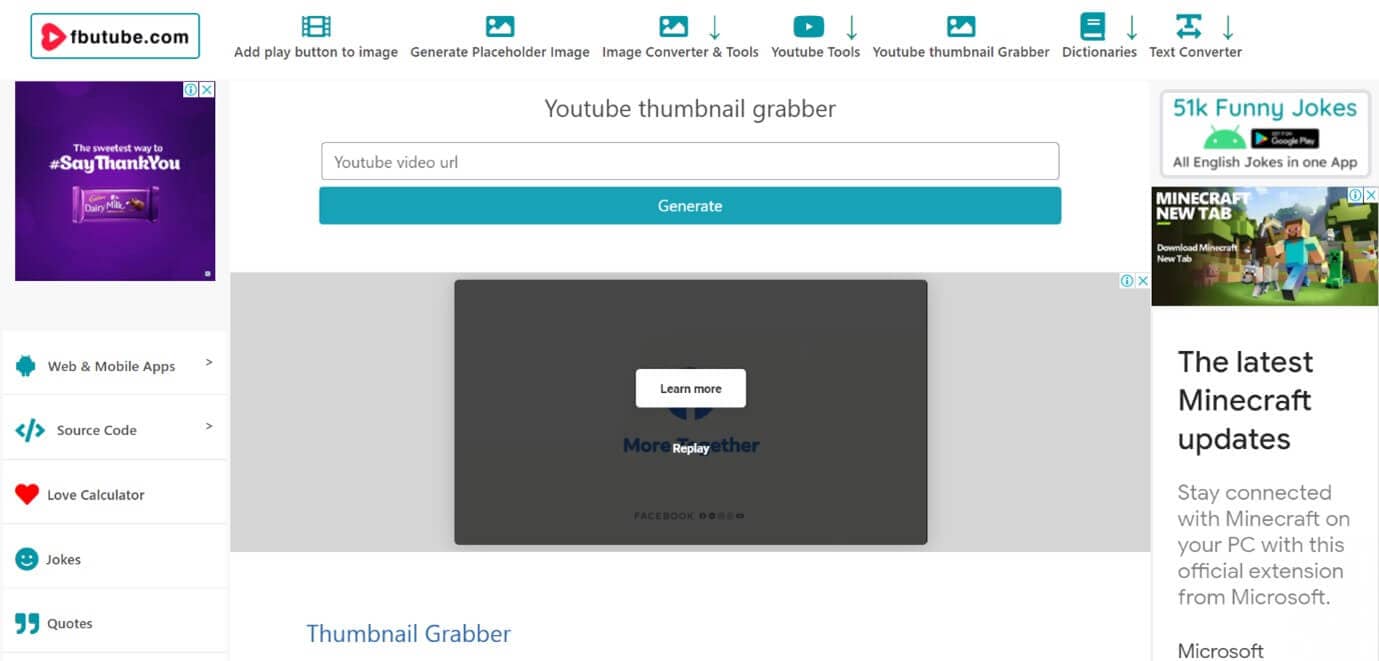
#5: Fbutube.com
Fbtube.com is a tool that is used to download YouTube thumbnails by bloggers, YouTubers, graphic designers, etc. This tool helps to grab all the thumbnails available for a YouTube video. All you need to do is copy and paste the link of the YouTube video you like in the search bar and tap on the Generate tab.
A number of thumbnail images will be displayed of different sizes and resolutions (720p, 360p, 180p, and 90p) will be displayed for you to choose from. You can download the thumbnail you like by hitting the Download tab. This tool also offers an option to create a custom YouTube thumbnail for sharing on Facebook.
https://fbutube.com/youtube-thumbnail-grabber
#6: YT Thumbnail Downloader
YT Thumbnail Downloader is a free online tool that you can use to download the thumbnail of any YouTube video you wish. This tool is very easy to use, contains no ads, and offers thumbnails in 1080p, 720p, 480p, and 360p format.
To download the thumbnail simply paste the link of the YouTube video you like and hit the Download button. A list of thumbnails of different qualities will be displayed. Choose your desired quality and hit Download again. Another plus point of YTThumbnail Downloader is that it allows extracting thumbnails of live streaming videos.
https://yt-thumbnail-downloader.com/
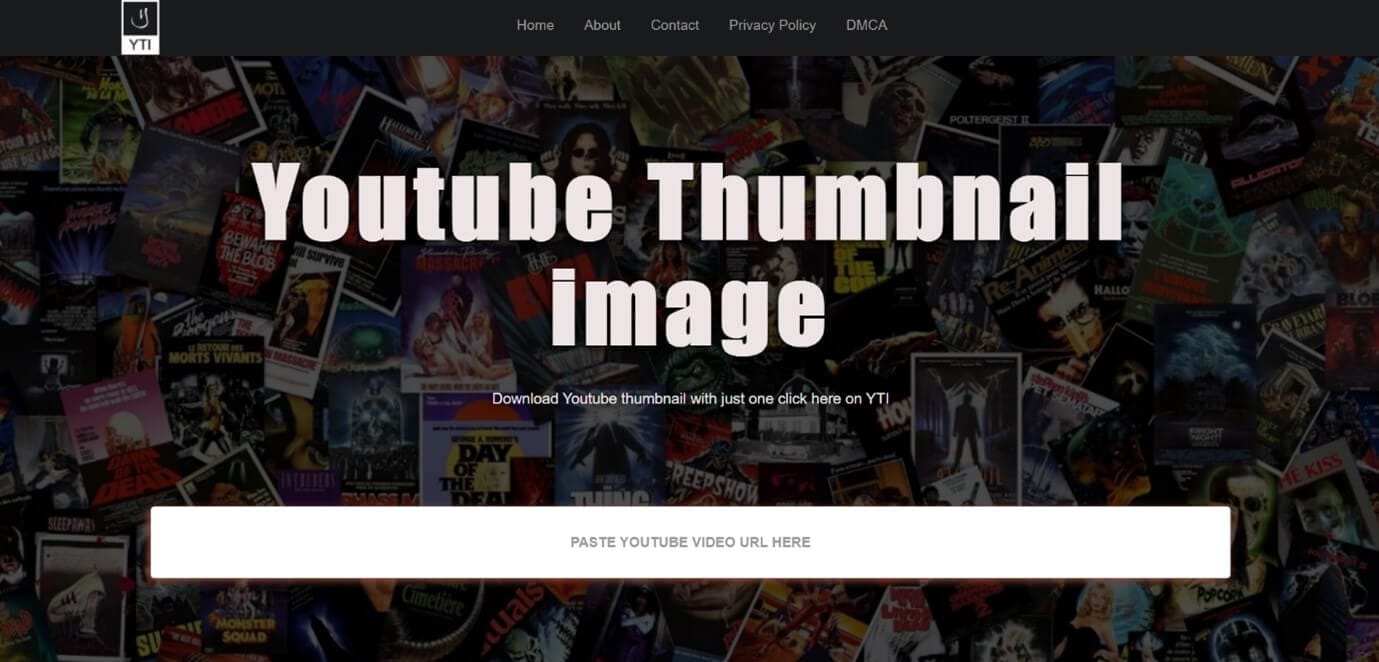
#7: Youtubethumbnailimage.com
Youtubethumbnailimage.com is another free site that allows you to download YouTube thumbnails. This site allows to download thumbnails in 4 different dimensions, HD 1920x1080, SD 640x480, HQ 480x360, and MQ 320x180.
To download the thumbnail you just have to copy and paste the URL of your desired YouTube video in the search bar and hit Search. Once the results are displayed, choose a dimension and hit Download.
https://youtubethumbnailimage.com/
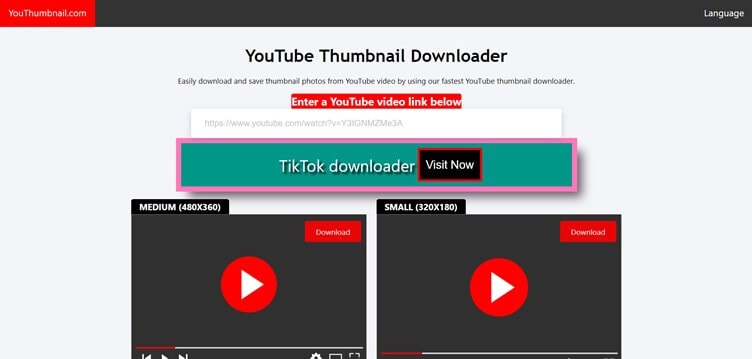
#8: Youthumbnail.com
Youthumbnail.com is the final tool we will be talking about that can help you save the YouTube thumbnail of a YouTube video. This free tool contains some annoying ads but can download YouTube thumbnail fast and easily in 3 different qualities.
To download the YouTube thumbnail, paste the link of the YouTube video you like in the search box and press Enter. Select the image of your choice from the three images displayed and the thumbnail will be downloaded for your later use.
So that’s our list of top online tools to grab your YouTube thumbnails with our favorite one being YouTube Thumbnail Grabber.
Want to know more about what makes a great YouTube thumbnail? Read all about it in our Ultimate Guide to YouTube Thumbnails.
Custom Videos with Versatile Video Editor
Filmora is a stunning video editing software that is suggested both by beginners and professionals alike for creating and editing all sorts of videos, from Gifs and one-minute videos to high-quality movies and YouTube videos. It packs in a wide variety of features like 4K editing, noise removal, color tuning, audio mixer, scene detection, video stabilization, advanced text editor, GIF support, audio equalizer, etc. that can be used to create an outstanding YouTube video of your own.
Some other features offered by Filmora that can be used to make your YouTube video more attractive are 800+ video effects, motion tracking, green screen editing, screen recording, 3D Lut, and the option to export videos to YouTube directly
Conclusion
The thumbnail is one of the most important metadata of a YouTube video and hence all the YouTubers try to design it in the best way possible. As a result, most of the thumbnails are very attractive, creative and speak a lot about the content. Hence many people including bloggers, YouTubers, content creators, etc. want to download and save these thumbnails for their videos, blogs, articles wallpapers, and much more.
The YouTube thumbnail grabbers we have listed above are free and can be used by anyone to download their desired YouTube video thumbnail in good quality. Along with that anyone who wishes to create an attractive YouTube video that stands out can use Wondershare Filmora and its extensive video editing features. Hope our suggestions help you in the future. Thank you.
Richard Bennett
Richard Bennett is a writer and a lover of all things video.
Follow @Richard Bennett
Richard Bennett
Oct 26, 2023• Proven solutions
A YouTube thumbnail must be made very engaging and attractive to tell the potential viewers what the video is about and make them watch it. Since YouTube is a visual media platform, viewers set their eyes on the thumbnails first before they read the title of the video. If you’ve made a collage of YouTube thumbnails or designed YouTube channel art containing various freeze-frame images from different YouTube videos, you are no stranger to needing a fast way to collect YouTube thumbnail images. Online, there are several tools dedicated to solving this exact problem. These are the top five YouTube Thumbnail grabbers:
These thumbnails can be then be used in videos, blogs, articles, web pages, etc. Let’s have a look at 8 best thumbnail grabbers in the market:
- YouTube Thumbnail Grabber
- BoingBoing
- Thumbnailsave.com
- Get YouTube Thumbnail
- Fbutube.com
- YT Thumbnail Downloader
- Youtubethumbnailimage.com
- Youthumbnail.com
#1: YouTube Thumbnail Grabber
https://youtube-thumbnail-grabber.com
YouTube Thumbnail Grabber is at the top of our list. The website is very simple and clean with no ads. All you need to do is enter the YouTube video URL and click on the “Download Images” button. The site will then present you with your downloadable images in different sizes. It’s free and fast!
#2: BoingBoing
https://boingboing.net/features/getthumbs.html
BoingBoing is faster than YouTube Thumbnail grabber because it skips the “Download Images” step. As soon as you enter in your YouTube video URL, BoingBoing will automatically present you with your downloadable images. Although it is one step faster than YouTube Thumbnail Grabber, you will have to deal with having to view one small ad at the bottom of the page. In case you also want to download freeze frames that occur midway through the video, BoingBoing also gives you the option to download those images as well.
#3: Thumbnailsave.com
Another free, straightforward website for grabbing your YouTube thumbnails is Thumbnailsave.com. Again, all you need to do is enter the YouTube video URL and click the “Submit” button. Unlike our first two options, this site has a lot more ads. You’ll see a banner ad at the top as well as an ad to the side of the page. One interesting thing about this website is that it displays a column of thumbnails recently grabbed by users all over the world (displayed on the right side of the page). You might find this entertaining. If you are captivated by one of the thumbnail images, you can download it onto your computer and then do a reverse image search on Google to find the video.
#4: Get YouTube Thumbnail
http://www.get-youtube-thumbnail.com
Get YouTube Thumbnail is another free, straightforward tool for grabbing YouTube thumbnail images. All you need to do is paste the URL of the YouTube video and click on the “Get YouTube Thumbnail” button to retrieve your thumbnail. Yes, that’s right. One thumbnail image. What’s different about this website is that it provides you with a unique image URL. This might be useful for anyone not wanting to deal with files. While this website is free to use, it does have ads.
#5: Fbutube.com
Fbtube.com is a tool that is used to download YouTube thumbnails by bloggers, YouTubers, graphic designers, etc. This tool helps to grab all the thumbnails available for a YouTube video. All you need to do is copy and paste the link of the YouTube video you like in the search bar and tap on the Generate tab.
A number of thumbnail images will be displayed of different sizes and resolutions (720p, 360p, 180p, and 90p) will be displayed for you to choose from. You can download the thumbnail you like by hitting the Download tab. This tool also offers an option to create a custom YouTube thumbnail for sharing on Facebook.
https://fbutube.com/youtube-thumbnail-grabber
#6: YT Thumbnail Downloader
YT Thumbnail Downloader is a free online tool that you can use to download the thumbnail of any YouTube video you wish. This tool is very easy to use, contains no ads, and offers thumbnails in 1080p, 720p, 480p, and 360p format.
To download the thumbnail simply paste the link of the YouTube video you like and hit the Download button. A list of thumbnails of different qualities will be displayed. Choose your desired quality and hit Download again. Another plus point of YTThumbnail Downloader is that it allows extracting thumbnails of live streaming videos.
https://yt-thumbnail-downloader.com/
#7: Youtubethumbnailimage.com
Youtubethumbnailimage.com is another free site that allows you to download YouTube thumbnails. This site allows to download thumbnails in 4 different dimensions, HD 1920x1080, SD 640x480, HQ 480x360, and MQ 320x180.
To download the thumbnail you just have to copy and paste the URL of your desired YouTube video in the search bar and hit Search. Once the results are displayed, choose a dimension and hit Download.
https://youtubethumbnailimage.com/
#8: Youthumbnail.com
Youthumbnail.com is the final tool we will be talking about that can help you save the YouTube thumbnail of a YouTube video. This free tool contains some annoying ads but can download YouTube thumbnail fast and easily in 3 different qualities.
To download the YouTube thumbnail, paste the link of the YouTube video you like in the search box and press Enter. Select the image of your choice from the three images displayed and the thumbnail will be downloaded for your later use.
So that’s our list of top online tools to grab your YouTube thumbnails with our favorite one being YouTube Thumbnail Grabber.
Want to know more about what makes a great YouTube thumbnail? Read all about it in our Ultimate Guide to YouTube Thumbnails.
Custom Videos with Versatile Video Editor
Filmora is a stunning video editing software that is suggested both by beginners and professionals alike for creating and editing all sorts of videos, from Gifs and one-minute videos to high-quality movies and YouTube videos. It packs in a wide variety of features like 4K editing, noise removal, color tuning, audio mixer, scene detection, video stabilization, advanced text editor, GIF support, audio equalizer, etc. that can be used to create an outstanding YouTube video of your own.
Some other features offered by Filmora that can be used to make your YouTube video more attractive are 800+ video effects, motion tracking, green screen editing, screen recording, 3D Lut, and the option to export videos to YouTube directly
Conclusion
The thumbnail is one of the most important metadata of a YouTube video and hence all the YouTubers try to design it in the best way possible. As a result, most of the thumbnails are very attractive, creative and speak a lot about the content. Hence many people including bloggers, YouTubers, content creators, etc. want to download and save these thumbnails for their videos, blogs, articles wallpapers, and much more.
The YouTube thumbnail grabbers we have listed above are free and can be used by anyone to download their desired YouTube video thumbnail in good quality. Along with that anyone who wishes to create an attractive YouTube video that stands out can use Wondershare Filmora and its extensive video editing features. Hope our suggestions help you in the future. Thank you.
Richard Bennett
Richard Bennett is a writer and a lover of all things video.
Follow @Richard Bennett
Also read:
- Elevate Your Content Strategies to Climb YouTube Ranks
- Cut the Cord Clutter Simultaneous Playthrough of Videos
- [New] Amplifying Impact YouTube Visibility Techniques
- 7 Insider Tips to Make Money Quickly on YouTube Shorts
- Gaining Ground on the Groundswell of Online Viewers
- In 2024, Compliance in Recording Video Streams on YouTube
- 2024 Approved Elevating YouTube Productions with Effective Video Lighting
- [New] Break the Ice with These Beginner Video Gadgets
- The Ultimate Guide to Closing Videos Effectively
- Enhancing Video Content Top Formats on YouTube
- In 2024, Digital Dollars Kings & Queens YouTube Edition
- In 2024, How to Edit YouTube Videos in Windows Movie Maker
- 15 YouTube Financial Experts You Can Trust
- [New] Craft Your Content Cross-Pollination with YouTube+TikTok
- In 2024, Customizing Your Watch The Art of Altering YouTube Video Pace
- In 2024, Amplify Your Vlog Presence with TubeBuddy's Tools
- Mastering the Art of Divergence in Channels' Identities and Names
- In 2024, Ditch YouTube on Your Phone Top 10 Free Video App Alternatives
- Select 10 YouTube News Prowlers
- 2024 Approved Create Engaging Reaction Videos with These Mobile Apps
- 2024 Approved Speech-to-Text Conversion Methods
- [Updated] The Path to Connected Playlists & Channels
- How to Use Phone Clone to Migrate Your Nokia G42 5G Data? | Dr.fone
- 4 Ways to Unlock Apple iPhone 14 Plus to Use USB Accessories Without Passcode
- [New] Fix Mobile Device Errors FB Vids Not Loading
- [New] 2024 Approved Unleash Premium Zoom Audio Quality with Simple Adjustments
- 2024 Approved IPhone 7 Perfect Methods for Screen Recording
- [New] Snapchat to Device - The Step by Step Process Explained for 2024
- In 2024, 8 Best Apps for Screen Mirroring Google Pixel 8 PC | Dr.fone
- In 2024, How to Lock Apps on Infinix Note 30 Pro to Protect Your Individual Information
- How To Activate and Use Life360 Ghost Mode On Samsung Galaxy Z Flip 5 | Dr.fone
- [Updated] In 2024, Optimizing Your Livestream YouTube, Twitch with OBS
- 3 Effective Ways to Bypass Activation Lock on Apple iPhone X
- Title: "In 2024, Essential Tips Enhancing Focus in Your YouTube Video"
- Author: Steven
- Created at : 2024-05-25 19:46:56
- Updated at : 2024-05-26 19:46:56
- Link: https://youtube-clips.techidaily.com/in-2024-essential-tips-enhancing-focus-in-your-youtube-video/
- License: This work is licensed under CC BY-NC-SA 4.0.
