
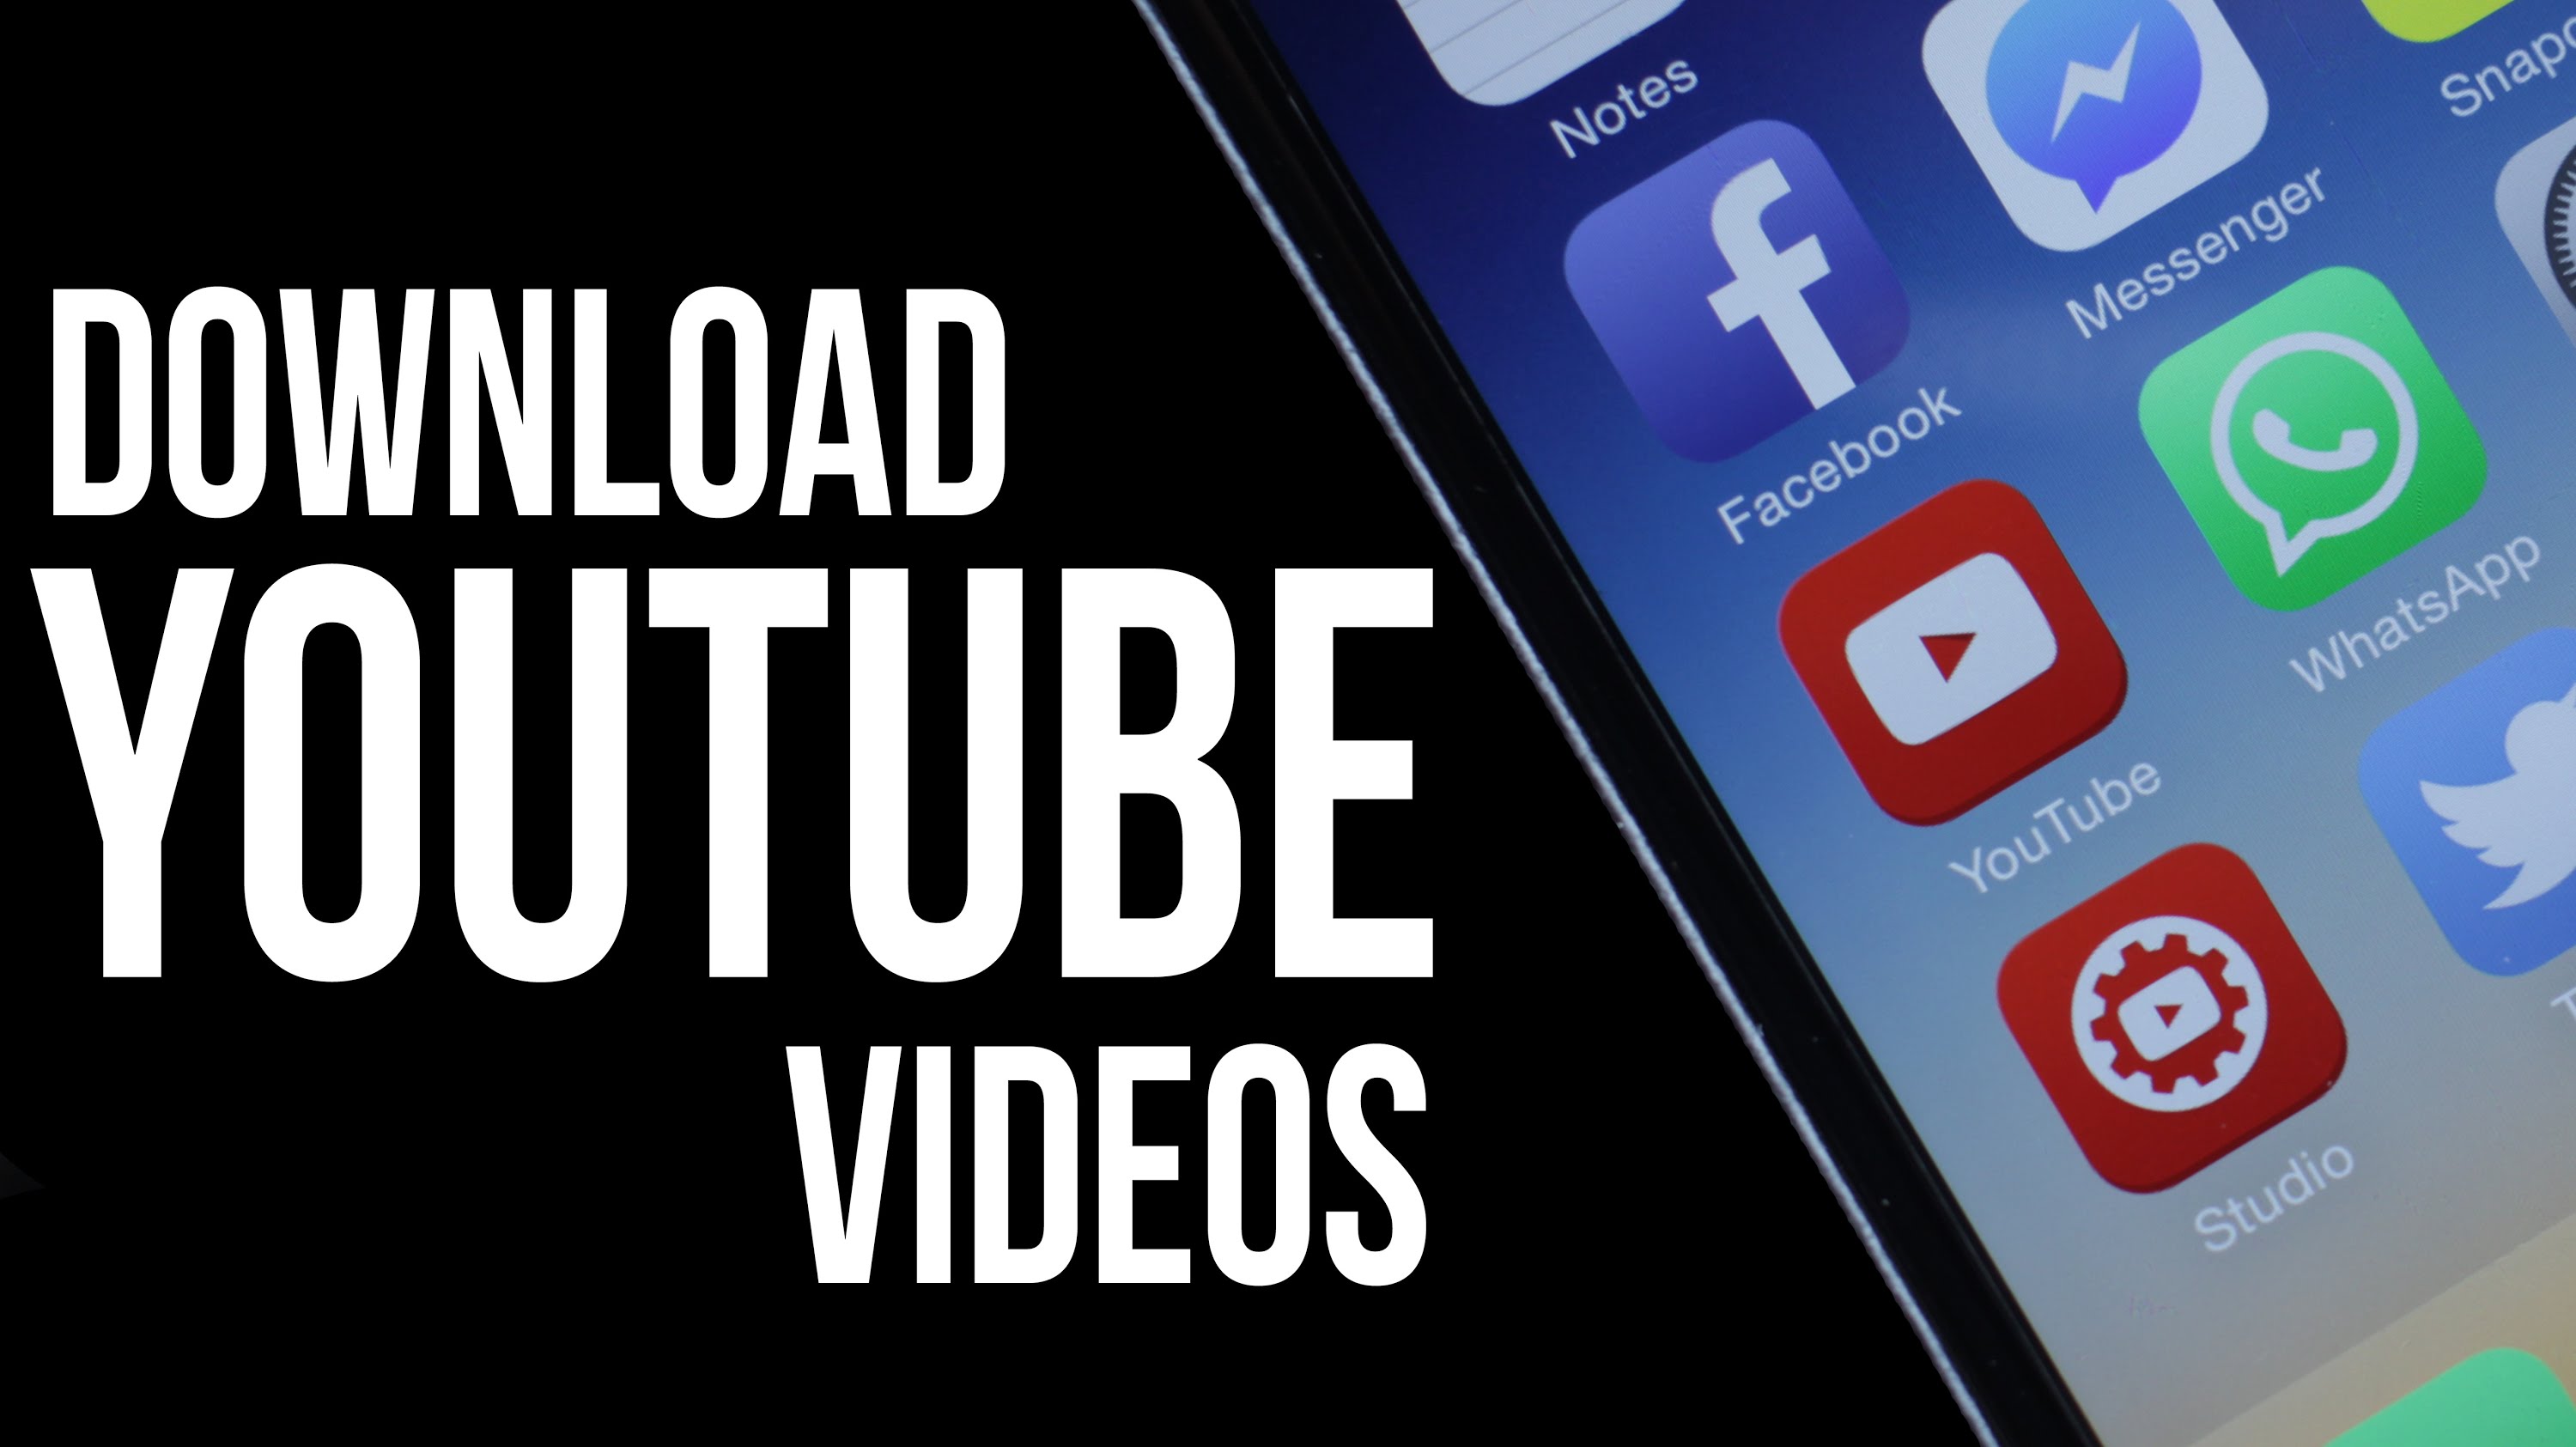
"In 2024, Creating Cost-Effective YouTube Closure Elements"
Creating Cost-Effective YouTube Closure Elements
How to Create YouTube Intros & End Cards - Free and Easy

Shanoon Cox
Oct 26, 2023• Proven solutions
Part1: Intros
Elements of an Intro
Intros should only last about five seconds, and that can be cut down to two or three if you have a larger following.
When your intro video is longer than five seconds viewers are more likely to click away. The first 15 seconds of a video is when viewers are most likely to decide to click on one of the recommended videos, or go back to their search results and choose something else. The odds of them leaving within these first 15 seconds are greater if you do not get right to the main point of your video. That is why long intro sequences are bad for your watch time.
Whether it is better to put your intro at the very beginning of your video, or after you introduce your topic, will depend on your viewers. You may want to try it both ways and then look at your retention report (found in your YouTube Creator Studio under Analytics) to see which works best for you.
Top Intro Sites
There are a few different sites where you can download animated intros, customized to include your username or logo. Here are two of the best:
FlixPress.com
This is probably the most popular intro site. There are a lot of great animated intros available for under $5, or even for free.
IntroMaker.net
This is another site with really professional looking intros for $5. They only have two free options, though.
Creating an Intro in Filmora
You can create a simple intro card in Filmora.


- Choose your background. You may want to use a short clip as your intro, or you may just want a colored background.
- Drag your clip or background into the video track of your timeline and trim it down to five seconds.
- If you have a logo, import it into Filmora and drag it into your picture-in-picture track.
- With your logo selected, click on the Green Screen icon. In the pop-up, select the background of your logo to make it transparent. For this to work your logo cannot be the same color as its background.
- Click on the editing icon with your logo selected and choose an animation.
- Go to the Text/Titles menu and choose an animated title that suits your channel. Drag it into your text track and edit it to include your name.
- The last piece of your intro is sound. You can choose a song from Filmora’s library and cut it down to five seconds, or import your sound effect.
- Export your video and save it for use in all of your other videos.
Part 2: End Cards
When your video ends, YouTube will recommend a selection of videos users may want to watch next. Often, these recommendations will not include more of your videos.
To keep viewers on your channel, you can create your End Card which recommends other content you have created.
Elements of an End Card
An end card includes clips from two or three of your videos, muted, and shrunk down to thumbnail-size. Using spotlight annotations you can make these thumbnails click-able.
It is also important that your end card includes multiple calls to action. A call to action is meant to spur a viewer to some kind of action. Writing ‘Check out this video’ above one of your thumbnails is a call to action.
You should also have a subscribe link somewhere in your end card, ideally a very noticeable button with a proven call to action like ‘Subscribe Now!’.
Some creators will leave their end cards at that and play music overtop, but it can be even more effective to include a voiceover where you ask viewers to subscribe and watch your other videos.
How To Make an End Card
- Choose a static background. You may want to download an end card template or create one in a drawing program. If you do, make sure to include calls to action like ‘Watch more!’ and ‘Subscribe’.
- Drag your background into your timeline at the end of your video.
- Import two or three of your previous videos and drag them into your picture in picture tracks. Each clip should be on its track.
- Trim the clips in your picture in picture track down to the same length as your end card.
- Shrink your clips down to thumbnail-size by dragging their corners in the preview window.
- Position your clips so they are spaced evenly by dragging them in the preview screen.
- Mute your clips.
- If your background does not include any calls to action, choose a title from the Text/Titles menu in Filmora and create at least two – one asking viewers to subscribe, and one asking them to watch your suggested videos.
- Export your video from Filmora and upload it to YouTube.
- Go to your Video Manager and select Annotations in the drop-down menu next to your video.
- Go to your end card in the previewer, as that is where you want to add your annotations.
- Click Add Annotation and add a spotlight annotation to your video. Stretch it over one of your thumbnails and then check the Link box under your Annotation’s timing. Insert a link to the video you are previewing.
- Repeat for any other thumbnails. For your subscribe button, change where it said ‘Video’ to ‘Subscribe’ and enter your channel URL.
- Click Apply Changes.
Shanoon Cox
Shanoon Cox is a writer and a lover of all things video.
Follow @Shanoon Cox
Shanoon Cox
Oct 26, 2023• Proven solutions
Part1: Intros
Elements of an Intro
Intros should only last about five seconds, and that can be cut down to two or three if you have a larger following.
When your intro video is longer than five seconds viewers are more likely to click away. The first 15 seconds of a video is when viewers are most likely to decide to click on one of the recommended videos, or go back to their search results and choose something else. The odds of them leaving within these first 15 seconds are greater if you do not get right to the main point of your video. That is why long intro sequences are bad for your watch time.
Whether it is better to put your intro at the very beginning of your video, or after you introduce your topic, will depend on your viewers. You may want to try it both ways and then look at your retention report (found in your YouTube Creator Studio under Analytics) to see which works best for you.
Top Intro Sites
There are a few different sites where you can download animated intros, customized to include your username or logo. Here are two of the best:
FlixPress.com
This is probably the most popular intro site. There are a lot of great animated intros available for under $5, or even for free.
IntroMaker.net
This is another site with really professional looking intros for $5. They only have two free options, though.
Creating an Intro in Filmora
You can create a simple intro card in Filmora.
- Choose your background. You may want to use a short clip as your intro, or you may just want a colored background.
- Drag your clip or background into the video track of your timeline and trim it down to five seconds.
- If you have a logo, import it into Filmora and drag it into your picture-in-picture track.
- With your logo selected, click on the Green Screen icon. In the pop-up, select the background of your logo to make it transparent. For this to work your logo cannot be the same color as its background.
- Click on the editing icon with your logo selected and choose an animation.
- Go to the Text/Titles menu and choose an animated title that suits your channel. Drag it into your text track and edit it to include your name.
- The last piece of your intro is sound. You can choose a song from Filmora’s library and cut it down to five seconds, or import your sound effect.
- Export your video and save it for use in all of your other videos.
Part 2: End Cards
When your video ends, YouTube will recommend a selection of videos users may want to watch next. Often, these recommendations will not include more of your videos.
To keep viewers on your channel, you can create your End Card which recommends other content you have created.
Elements of an End Card
An end card includes clips from two or three of your videos, muted, and shrunk down to thumbnail-size. Using spotlight annotations you can make these thumbnails click-able.
It is also important that your end card includes multiple calls to action. A call to action is meant to spur a viewer to some kind of action. Writing ‘Check out this video’ above one of your thumbnails is a call to action.
You should also have a subscribe link somewhere in your end card, ideally a very noticeable button with a proven call to action like ‘Subscribe Now!’.
Some creators will leave their end cards at that and play music overtop, but it can be even more effective to include a voiceover where you ask viewers to subscribe and watch your other videos.
How To Make an End Card
- Choose a static background. You may want to download an end card template or create one in a drawing program. If you do, make sure to include calls to action like ‘Watch more!’ and ‘Subscribe’.
- Drag your background into your timeline at the end of your video.
- Import two or three of your previous videos and drag them into your picture in picture tracks. Each clip should be on its track.
- Trim the clips in your picture in picture track down to the same length as your end card.
- Shrink your clips down to thumbnail-size by dragging their corners in the preview window.
- Position your clips so they are spaced evenly by dragging them in the preview screen.
- Mute your clips.
- If your background does not include any calls to action, choose a title from the Text/Titles menu in Filmora and create at least two – one asking viewers to subscribe, and one asking them to watch your suggested videos.
- Export your video from Filmora and upload it to YouTube.
- Go to your Video Manager and select Annotations in the drop-down menu next to your video.
- Go to your end card in the previewer, as that is where you want to add your annotations.
- Click Add Annotation and add a spotlight annotation to your video. Stretch it over one of your thumbnails and then check the Link box under your Annotation’s timing. Insert a link to the video you are previewing.
- Repeat for any other thumbnails. For your subscribe button, change where it said ‘Video’ to ‘Subscribe’ and enter your channel URL.
- Click Apply Changes.
Shanoon Cox
Shanoon Cox is a writer and a lover of all things video.
Follow @Shanoon Cox
Transferring TV Episodes: Downloading YouTube Content iOS-Style
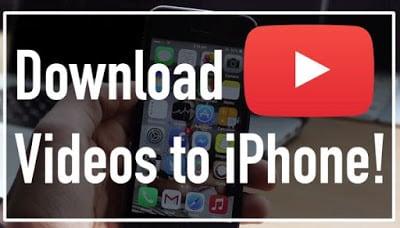
A Complete Guide to Downloading YouTube Videos to iPhone or iPad

Richard Bennett
Mar 27, 2024• Proven solutions
It is no secret that the iPhone and the iPad are the most popular smartphone and tablet respectively. You could argue that Samsung has impressive sales and is almost at par with Apple but in regards to sheer dominance or superiority, the South Korea based conglomerate bows down to the American tech juggernaut. YouTube is indisputably the most popular video hosting and sharing site in the world. It doesn’t help that YouTube is owned by Google, the search engine giant that also owns Android which powers all popular Samsung smartphones at the moment. As a result, what you get is a tad incompatible with YouTube and iPhone or iPad. Downloading YouTube videos is very simple if you are using an Android smartphone or a Windows computer. It is not so when you are using an iPhone, iPad or even a Mac.
You May Also Like: iPhone Video Downloaders >>
Fortunately, there are ways you can download YouTube videos to iPhone or iPad, and we aren’t talking about YouTube’s promise of offline video streaming. Here is a complete guide.
Note: We resolutely oppose all forms of copyright-infringing downloads. This tutorial is only for downloading YouTube videos/audio materials from your own channel.
First, you need a video downloader
You need a third party app which is approved by Apple and available in App Store. There are quite a few free video downloader apps that you can check. But do make sure that the app is active or usable right now. Apple is a tad infamous for deleting some of the apps from its store from time to time. If that happens after you have installed and started using a video downloader, then you can just remove it and opt for another. Most of these free video downloader apps will save your videos within the app. Some would add them to the videos in your Camera Roll. You can use AirPlay to watch the videos if you have an Apple TV. The videos saved by downloader apps will not be found in the native Videos app of iPhone or iPad. When you search for such apps, use ‘video downloader’ or ‘YouTube downloader’ as the keywords.
Find a suitable app, download it for free and install it
Some of the downloader apps will have premium or pro versions. You don’t need to pay before you have used the free or basic version. Once installed, start the app. Most of these apps have a built-in browser which should allow you to access YouTube. In most cases, you would get to m.youtube.com. If there is no default address, then save the mobile version of YouTube as the default URL. On iPad, you can go for <www.youtube.com>.
Downloading Youtube videos to iPhone or iPad
In all likelihood, you are familiar with how YouTube works. Search for a video that you wish to download, pick the one you want from the search results and it would automatically start to play. In some cases, you may have to click the play button or tap on the video thumbnail for it to start playing. As the video begins to stream or buffer, you would find an icon of the app, usually bobbing or hovering over the screen playing the video. You can tap on this icon, which could be a disk sign or the logo of the app. As you tap on it, you would have a popup that will prompt you to download the video that you are watching.
Depending on the app you are using, the download may begin immediately after tapping on the download icon or there can be another step, which will perhaps show you the list of downloading videos or videos that you have downloaded already. If the download doesn’t start immediately, there could be another button to initiate the download. Tap on it and you are done. The download would be automated and you don’t need to do anything else. You can also have your iPhone or iPad in sleep mode and the download would be completed, as long as there is an active internet connection. You can also see the progress made. Once the download or downloads are complete, you would get a notification. The video downloaded would be within the app’s video library or in your files.
Some apps rename the videos that are being downloaded so it is best you opt for a title or a name that will help you to recognize the video immediately. Other apps will keep the name of the video that appears on YouTube.
Almost all video downloader apps for iPhone and iPad will allow you to watch these videos offline. Some apps may need an internet connection to open but the videos saved will not require any internet to be played and replayed.
Given the fact that there are many video downloader apps and you cannot be sure of the experience of any, you will have to indulge in a bit of trial and error to find the best one.
Richard Bennett
Richard Bennett is a writer and a lover of all things video.
Follow @Richard Bennett
Richard Bennett
Mar 27, 2024• Proven solutions
It is no secret that the iPhone and the iPad are the most popular smartphone and tablet respectively. You could argue that Samsung has impressive sales and is almost at par with Apple but in regards to sheer dominance or superiority, the South Korea based conglomerate bows down to the American tech juggernaut. YouTube is indisputably the most popular video hosting and sharing site in the world. It doesn’t help that YouTube is owned by Google, the search engine giant that also owns Android which powers all popular Samsung smartphones at the moment. As a result, what you get is a tad incompatible with YouTube and iPhone or iPad. Downloading YouTube videos is very simple if you are using an Android smartphone or a Windows computer. It is not so when you are using an iPhone, iPad or even a Mac.
You May Also Like: iPhone Video Downloaders >>
Fortunately, there are ways you can download YouTube videos to iPhone or iPad, and we aren’t talking about YouTube’s promise of offline video streaming. Here is a complete guide.
Note: We resolutely oppose all forms of copyright-infringing downloads. This tutorial is only for downloading YouTube videos/audio materials from your own channel.
First, you need a video downloader
You need a third party app which is approved by Apple and available in App Store. There are quite a few free video downloader apps that you can check. But do make sure that the app is active or usable right now. Apple is a tad infamous for deleting some of the apps from its store from time to time. If that happens after you have installed and started using a video downloader, then you can just remove it and opt for another. Most of these free video downloader apps will save your videos within the app. Some would add them to the videos in your Camera Roll. You can use AirPlay to watch the videos if you have an Apple TV. The videos saved by downloader apps will not be found in the native Videos app of iPhone or iPad. When you search for such apps, use ‘video downloader’ or ‘YouTube downloader’ as the keywords.
Find a suitable app, download it for free and install it
Some of the downloader apps will have premium or pro versions. You don’t need to pay before you have used the free or basic version. Once installed, start the app. Most of these apps have a built-in browser which should allow you to access YouTube. In most cases, you would get to m.youtube.com. If there is no default address, then save the mobile version of YouTube as the default URL. On iPad, you can go for <www.youtube.com>.
Downloading Youtube videos to iPhone or iPad
In all likelihood, you are familiar with how YouTube works. Search for a video that you wish to download, pick the one you want from the search results and it would automatically start to play. In some cases, you may have to click the play button or tap on the video thumbnail for it to start playing. As the video begins to stream or buffer, you would find an icon of the app, usually bobbing or hovering over the screen playing the video. You can tap on this icon, which could be a disk sign or the logo of the app. As you tap on it, you would have a popup that will prompt you to download the video that you are watching.
Depending on the app you are using, the download may begin immediately after tapping on the download icon or there can be another step, which will perhaps show you the list of downloading videos or videos that you have downloaded already. If the download doesn’t start immediately, there could be another button to initiate the download. Tap on it and you are done. The download would be automated and you don’t need to do anything else. You can also have your iPhone or iPad in sleep mode and the download would be completed, as long as there is an active internet connection. You can also see the progress made. Once the download or downloads are complete, you would get a notification. The video downloaded would be within the app’s video library or in your files.
Some apps rename the videos that are being downloaded so it is best you opt for a title or a name that will help you to recognize the video immediately. Other apps will keep the name of the video that appears on YouTube.
Almost all video downloader apps for iPhone and iPad will allow you to watch these videos offline. Some apps may need an internet connection to open but the videos saved will not require any internet to be played and replayed.
Given the fact that there are many video downloader apps and you cannot be sure of the experience of any, you will have to indulge in a bit of trial and error to find the best one.
Richard Bennett
Richard Bennett is a writer and a lover of all things video.
Follow @Richard Bennett
Also read:
- [New] Discover the Leading Free Naming Resources - 11 Must-Have Makers
- [New] Discovering Underrated Gems This Year (Films)
- [New] Lens Legends Choice The Finest 6 4K DSLR Cameras
- [Updated] Constructing Captivating Valorant YouTube Thumbnails
- [Updated] Creating a Memorable and Unique Moniker for Your Filmora Content for 2024
- 10 Best Classic Family Vacation Movie for Summer for 2024
- 2024 Approved Become a Headline Hero Proven Strategies in Focus
- Avoiding Pitfalls in Sub4sub Key Lessons From a Seasoned Guide
- Discover 7 Online Techniques to Elevate Your Proficiency in Prompt Engineering
- Drafting Dynamic Denouements for 2024
- Endless Entertainment Loop YouTube Content on TV
- How To Transfer Data From iPhone XS To Other iPhone 12 devices? | Dr.fone
- In 2024, Customize & Captivate Thumbnail Magic for Shorts
- In 2024, Effortless Methods Amp Up Your YT Video Quality
- Quick-Time Cameo Evaluation
- The Musk Revelation: TruthGPT Explained
- Top 5 Premium Mouse Pads Reviewed - Comprehensive Ratings by ZDNet
- Title: In 2024, Creating Cost-Effective YouTube Closure Elements
- Author: Steven
- Created at : 2025-01-11 19:16:35
- Updated at : 2025-01-16 09:33:53
- Link: https://youtube-clips.techidaily.com/in-2024-creating-cost-effective-youtube-closure-elements/
- License: This work is licensed under CC BY-NC-SA 4.0.