"Enhance Your Video's Call-to-Action A Step-by-Step Filmora Guide"
Enhance Your Video’s Call-to-Action: A Step-by-Step Filmora Guide
How to Make Your YouTube Animated Subscribe Button Easily With Filmora

Richard Bennett
Mar 27, 2024• Proven solutions
The main goal of every content creator is to increase its audience to expand its reach and views. To do so, it’s essential to provide something unique and different to the viewer. Without providing them the content they are looking for, it is impossible to grow your channel and reach. Once your content is ready and you are getting many views, it is essential to make these potential viewers your permanent viewers. The animated subscribe button will help you achieve this goal. While your viewers are watching your videos, you must remind them about subscribing to your channel for receiving such incredible content in the future. Subscribe animation plays a vital role in converting your viewers into subscribers.
There are so many platforms on the internet from where you can get Youtube subscribe button animation free, and you can also purchase these subscribe png gifs. But creating your own animated subscribe button can make you stand out from the crowd and make your videos unique and exclusive. Because it enables you to design it the way you want according to your brand, so, let’s create your own subscribe animation using Wondershare Filmora .
Step-By-Step guide
Step 1: To get started,open Filmora X. On your upper left corner, click on the “Sample Colors,” select the Green color and drag it to Video Track into the timeline. We are using a Green background to easily remove it using the green screen feature in Filmora to use it in our future projects after exporting it, without creating it again. Adjust the duration of this track according to your requirement. In my case, I am trying to make an animated subscribe button of 5 seconds.
Step 2: Lock this track by clicking on the lock icon to work on subscribe animation without disturbing the background easily.
Step 3: Now it’s time to design the subscribe png gif. Go to the Sample colors again and drag the red color into the time above the green background.
Step 4: Double click on the red color in the timeline and adjust its size. Make it look like a subscribe button that is a rectangle and place it at the bottom center of the background. You can put it anywhere you want it to appear in your future videos.
Step 5: Now, let’s add Subscribe text into the button. Go to the Title and select any style that you like. “Basic 6” will work perfectly fine for this purpose. Drag and drop it into the timeline above all tracks.
Step 6: Double click on the Title on the timeline and edit it with “Subscribe” and place it under the red rectangle and click OK.
Step 7: We have put a cursor that can click on the animated subscribe button. You can use Google Search to find a transparent cursor. Make sure to save it in png format. Download it and import it into Filmora.
Step 8: Drag and drop the cursor into the timeline and place it above all the other three tracks to make it prominent. Adjust the size of the cursor place it on the Subscribe button where you want it to appear.
Step 9: Now, it’s time to animate the design using keyframes. First of all, let’s animate the red rectangle. Double click on the red color on the timeline. Go to the ‘Animation’ tab and then click ‘Customize.’ Move to the 1 second in the timeline and click ‘Add.’
Step 10: Now go back to the beginning in the timeline and adjust the scale to 0%. It will make the rectangle pop up when you play the clip.
Step 11: Text needs to be animated as well to match it with the rectangle. Double click on the text in the timeline and click ‘ADVANCED.’
Step 12: In this Advance text editor, go to the ‘Animation’ tab and select any animation that you like. On the timeline under the preview screen, adjusts the dark areas according to the time you set on the rectangle, which was 1 second. We want the text to appear on the screen in 1 second, like the rectangle. Also, adjust the ending time when you want the text to disappear again. We have set it on 4 seconds. Which means it will start to fade after 4 seconds.
Step 13: Now, to animate the mouse cursor, we will use the same process we used for a rectangle that is key framing. Double click on the cursor track on the timeline and move the time on your timeline to a point when you want the cursor to appear. Now add a key frame by clicking ‘Add’.
Step 14: Now jump back to a point in your timeline, when the cursor will start appearing from outside the screen. Move the cursor outside the screen from where you want it to start moving toward the subscribe animation.
Step 15: To animate the click of the cursor, move ahead a little bit into your timeline and scale down the cursor to around 70%. Move it a little further and scale it up to 100%.
Step 16: You can add the sound of mouse click to make it more realistic. You can find this sound anywhere on the internet. Download it and import it into Filmora. Now place it into the timeline where it can match the movement of the cursor.
Step 17: Now it’s time to make this subscribe animation button disappear. Move forward into the time to the end, at around 4 seconds. Double click on the red button in the timeline and add a key frame at its actual scale.
Step 18: After that, move further in the timeline to the end and make its scale 0. It will make it disappear.
Step 19: Do the same with the cursor. Double click on the cursor in the time and add a key frame at its actual position.
Step 20: Move ahead when you want it to disappear. Move the cursor out of the screen and click ‘OK’.
Step 21: Your Subscribe png gif is ready to be exported and used in your videos. Click on export and choose from various formats and options to choose from while exporting it.
You may also like: How to Get People to Subscribe Channel
Conclusion:Your own Animated Subscribe Button is ready to be used in your future videos and projects. This is a ready-to-use subscribe button that can be easily used using the green screen effect in Filmora. Just import the clip, remove the green screen, and you are good to go. You can also customize this Subscribe Animation using your channel and more. Keep experimenting with new things using Filmora.


Richard Bennett
Richard Bennett is a writer and a lover of all things video.
Follow @Richard Bennett
Richard Bennett
Mar 27, 2024• Proven solutions
The main goal of every content creator is to increase its audience to expand its reach and views. To do so, it’s essential to provide something unique and different to the viewer. Without providing them the content they are looking for, it is impossible to grow your channel and reach. Once your content is ready and you are getting many views, it is essential to make these potential viewers your permanent viewers. The animated subscribe button will help you achieve this goal. While your viewers are watching your videos, you must remind them about subscribing to your channel for receiving such incredible content in the future. Subscribe animation plays a vital role in converting your viewers into subscribers.
There are so many platforms on the internet from where you can get Youtube subscribe button animation free, and you can also purchase these subscribe png gifs. But creating your own animated subscribe button can make you stand out from the crowd and make your videos unique and exclusive. Because it enables you to design it the way you want according to your brand, so, let’s create your own subscribe animation using Wondershare Filmora .
Step-By-Step guide
Step 1: To get started,open Filmora X. On your upper left corner, click on the “Sample Colors,” select the Green color and drag it to Video Track into the timeline. We are using a Green background to easily remove it using the green screen feature in Filmora to use it in our future projects after exporting it, without creating it again. Adjust the duration of this track according to your requirement. In my case, I am trying to make an animated subscribe button of 5 seconds.
Step 2: Lock this track by clicking on the lock icon to work on subscribe animation without disturbing the background easily.
Step 3: Now it’s time to design the subscribe png gif. Go to the Sample colors again and drag the red color into the time above the green background.
Step 4: Double click on the red color in the timeline and adjust its size. Make it look like a subscribe button that is a rectangle and place it at the bottom center of the background. You can put it anywhere you want it to appear in your future videos.
Step 5: Now, let’s add Subscribe text into the button. Go to the Title and select any style that you like. “Basic 6” will work perfectly fine for this purpose. Drag and drop it into the timeline above all tracks.
Step 6: Double click on the Title on the timeline and edit it with “Subscribe” and place it under the red rectangle and click OK.
Step 7: We have put a cursor that can click on the animated subscribe button. You can use Google Search to find a transparent cursor. Make sure to save it in png format. Download it and import it into Filmora.
Step 8: Drag and drop the cursor into the timeline and place it above all the other three tracks to make it prominent. Adjust the size of the cursor place it on the Subscribe button where you want it to appear.
Step 9: Now, it’s time to animate the design using keyframes. First of all, let’s animate the red rectangle. Double click on the red color on the timeline. Go to the ‘Animation’ tab and then click ‘Customize.’ Move to the 1 second in the timeline and click ‘Add.’
Step 10: Now go back to the beginning in the timeline and adjust the scale to 0%. It will make the rectangle pop up when you play the clip.
Step 11: Text needs to be animated as well to match it with the rectangle. Double click on the text in the timeline and click ‘ADVANCED.’
Step 12: In this Advance text editor, go to the ‘Animation’ tab and select any animation that you like. On the timeline under the preview screen, adjusts the dark areas according to the time you set on the rectangle, which was 1 second. We want the text to appear on the screen in 1 second, like the rectangle. Also, adjust the ending time when you want the text to disappear again. We have set it on 4 seconds. Which means it will start to fade after 4 seconds.
Step 13: Now, to animate the mouse cursor, we will use the same process we used for a rectangle that is key framing. Double click on the cursor track on the timeline and move the time on your timeline to a point when you want the cursor to appear. Now add a key frame by clicking ‘Add’.
Step 14: Now jump back to a point in your timeline, when the cursor will start appearing from outside the screen. Move the cursor outside the screen from where you want it to start moving toward the subscribe animation.
Step 15: To animate the click of the cursor, move ahead a little bit into your timeline and scale down the cursor to around 70%. Move it a little further and scale it up to 100%.
Step 16: You can add the sound of mouse click to make it more realistic. You can find this sound anywhere on the internet. Download it and import it into Filmora. Now place it into the timeline where it can match the movement of the cursor.
Step 17: Now it’s time to make this subscribe animation button disappear. Move forward into the time to the end, at around 4 seconds. Double click on the red button in the timeline and add a key frame at its actual scale.
Step 18: After that, move further in the timeline to the end and make its scale 0. It will make it disappear.
Step 19: Do the same with the cursor. Double click on the cursor in the time and add a key frame at its actual position.
Step 20: Move ahead when you want it to disappear. Move the cursor out of the screen and click ‘OK’.
Step 21: Your Subscribe png gif is ready to be exported and used in your videos. Click on export and choose from various formats and options to choose from while exporting it.
You may also like: How to Get People to Subscribe Channel
Conclusion:Your own Animated Subscribe Button is ready to be used in your future videos and projects. This is a ready-to-use subscribe button that can be easily used using the green screen effect in Filmora. Just import the clip, remove the green screen, and you are good to go. You can also customize this Subscribe Animation using your channel and more. Keep experimenting with new things using Filmora.
Richard Bennett
Richard Bennett is a writer and a lover of all things video.
Follow @Richard Bennett
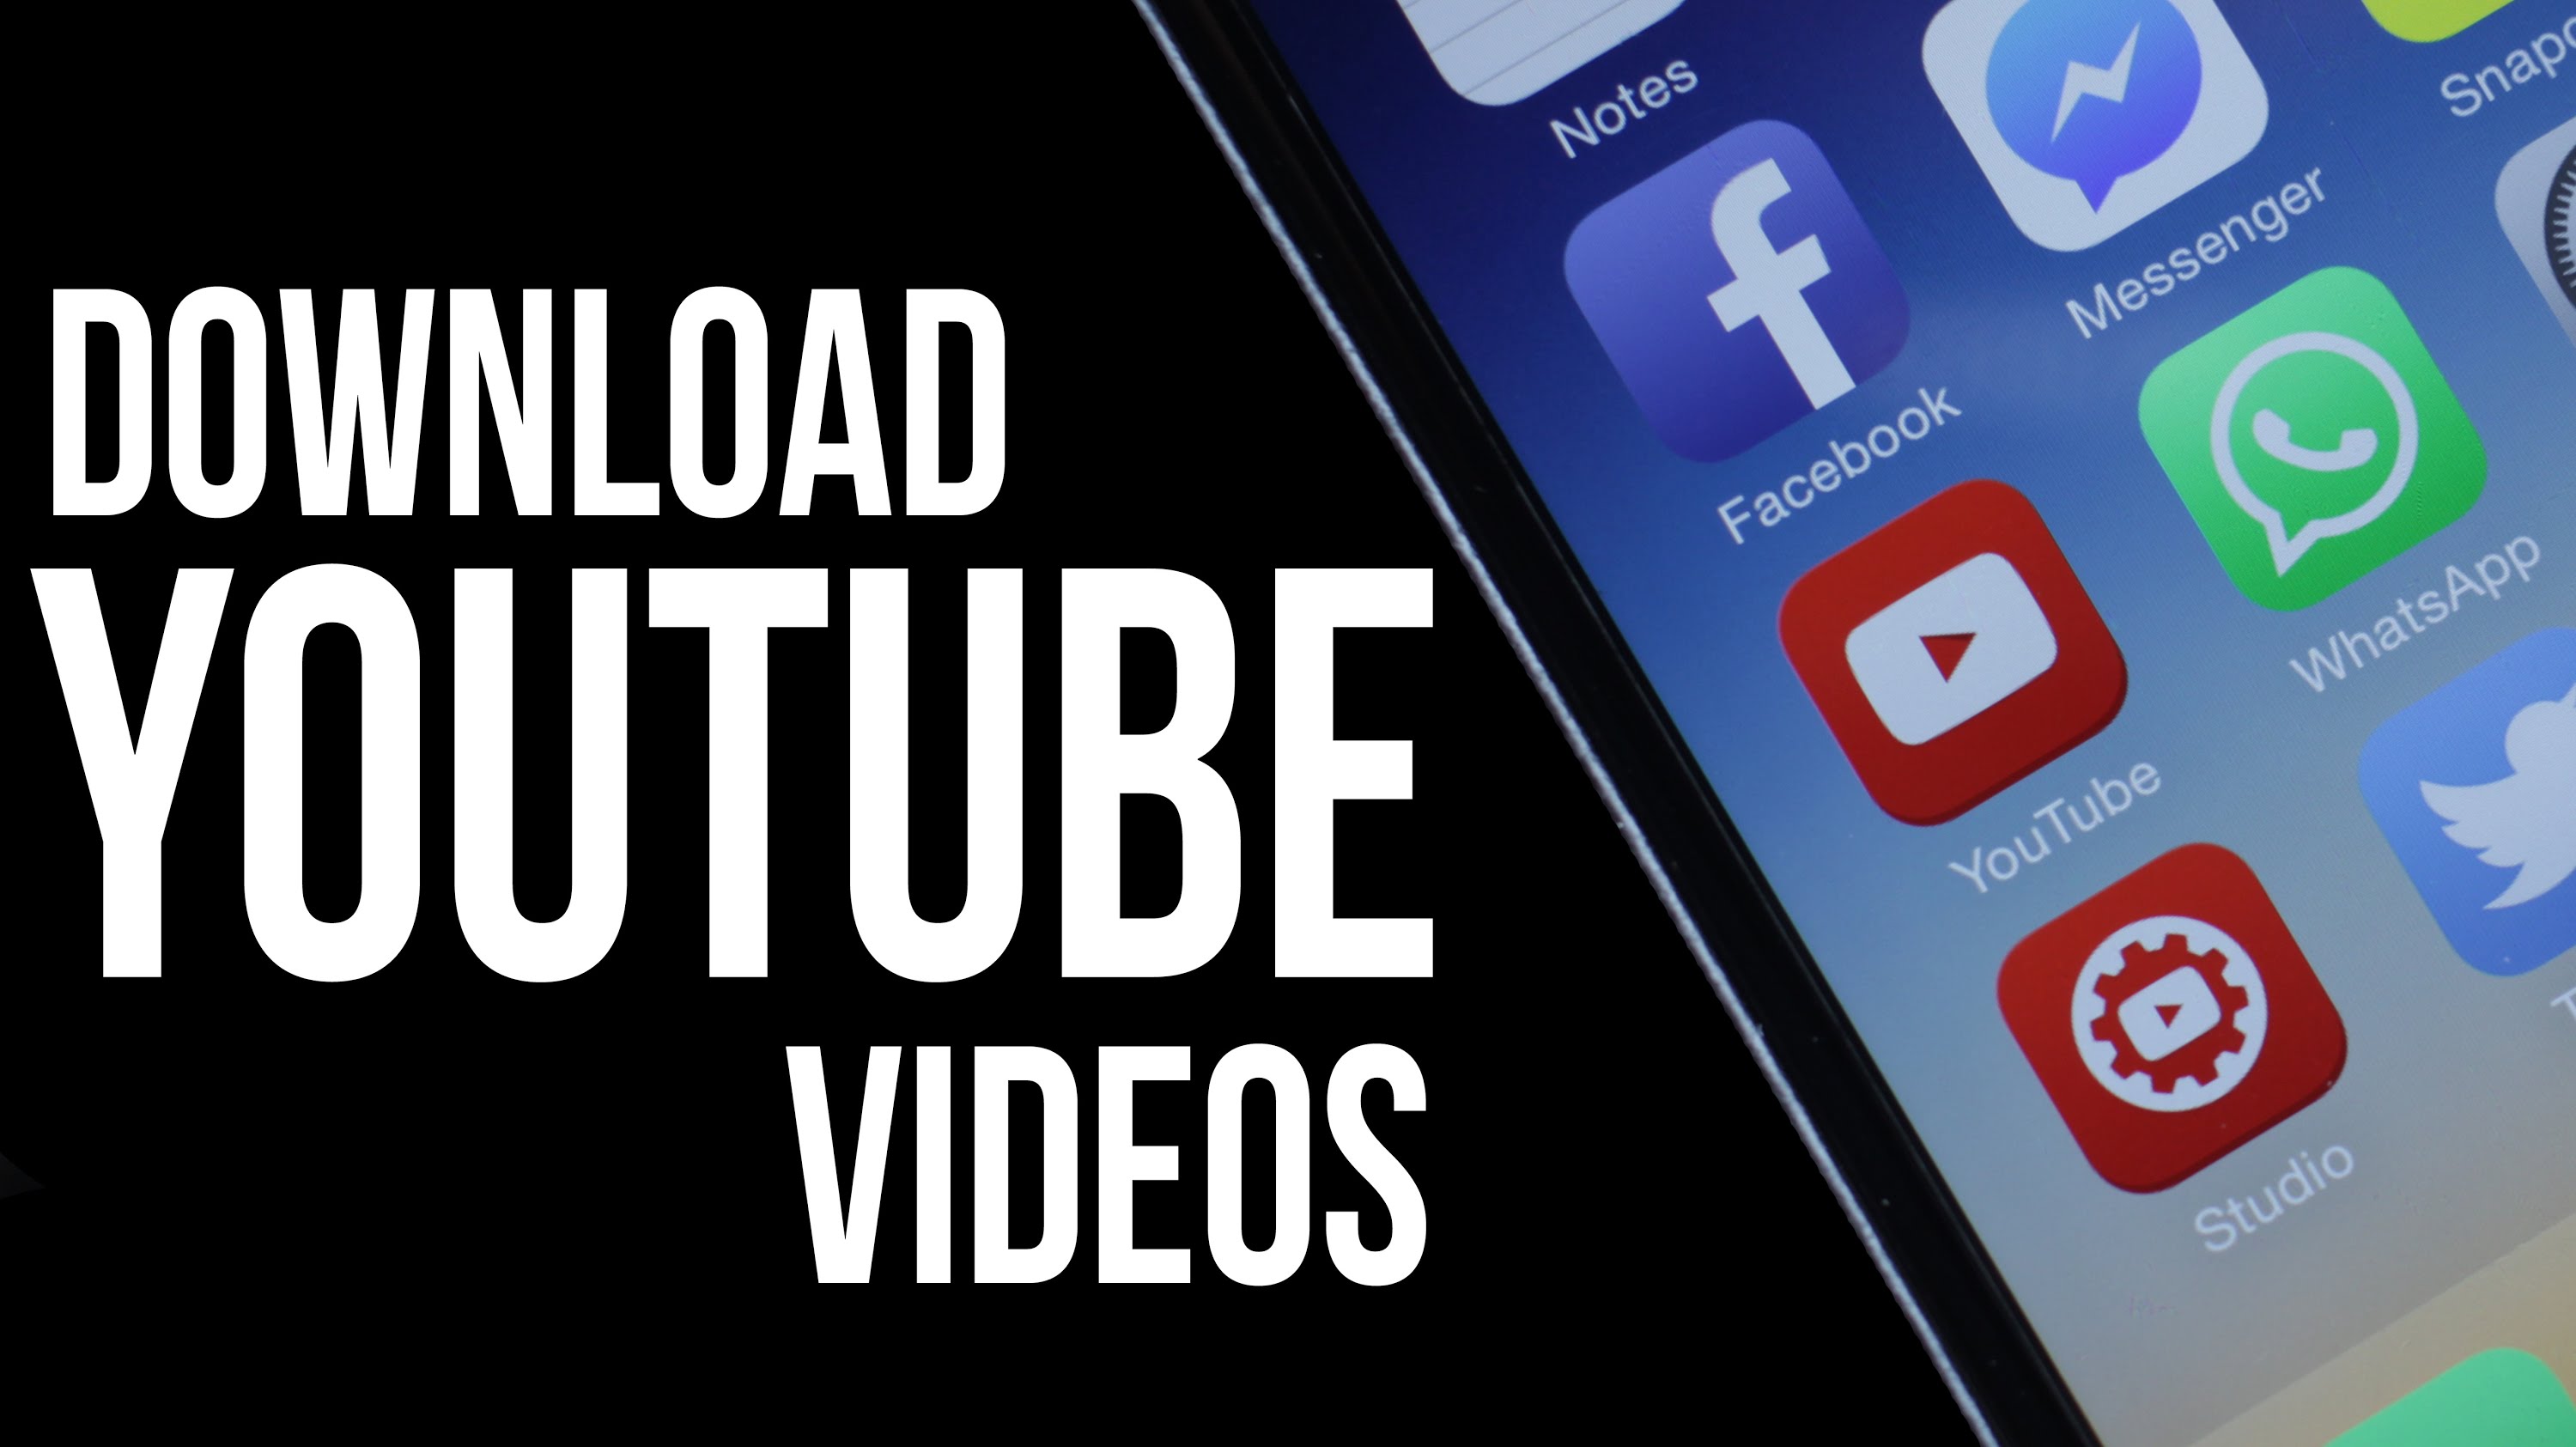
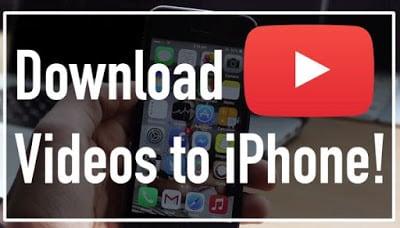
Youtube on Your iPhone/iPad: The Ultimate Downloading Guide
A Complete Guide to Downloading YouTube Videos to iPhone or iPad
Richard Bennett
Mar 27, 2024• Proven solutions
It is no secret that the iPhone and the iPad are the most popular smartphone and tablet respectively. You could argue that Samsung has impressive sales and is almost at par with Apple but in regards to sheer dominance or superiority, the South Korea based conglomerate bows down to the American tech juggernaut. YouTube is indisputably the most popular video hosting and sharing site in the world. It doesn’t help that YouTube is owned by Google, the search engine giant that also owns Android which powers all popular Samsung smartphones at the moment. As a result, what you get is a tad incompatible with YouTube and iPhone or iPad. Downloading YouTube videos is very simple if you are using an Android smartphone or a Windows computer. It is not so when you are using an iPhone, iPad or even a Mac.
You May Also Like: iPhone Video Downloaders >>
Fortunately, there are ways you can download YouTube videos to iPhone or iPad, and we aren’t talking about YouTube’s promise of offline video streaming. Here is a complete guide.
Note: We resolutely oppose all forms of copyright-infringing downloads. This tutorial is only for downloading YouTube videos/audio materials from your own channel.
First, you need a video downloader
You need a third party app which is approved by Apple and available in App Store. There are quite a few free video downloader apps that you can check. But do make sure that the app is active or usable right now. Apple is a tad infamous for deleting some of the apps from its store from time to time. If that happens after you have installed and started using a video downloader, then you can just remove it and opt for another. Most of these free video downloader apps will save your videos within the app. Some would add them to the videos in your Camera Roll. You can use AirPlay to watch the videos if you have an Apple TV. The videos saved by downloader apps will not be found in the native Videos app of iPhone or iPad. When you search for such apps, use ‘video downloader’ or ‘YouTube downloader’ as the keywords.
Find a suitable app, download it for free and install it
Some of the downloader apps will have premium or pro versions. You don’t need to pay before you have used the free or basic version. Once installed, start the app. Most of these apps have a built-in browser which should allow you to access YouTube. In most cases, you would get to m.youtube.com. If there is no default address, then save the mobile version of YouTube as the default URL. On iPad, you can go for <www.youtube.com>.
Downloading Youtube videos to iPhone or iPad
In all likelihood, you are familiar with how YouTube works. Search for a video that you wish to download, pick the one you want from the search results and it would automatically start to play. In some cases, you may have to click the play button or tap on the video thumbnail for it to start playing. As the video begins to stream or buffer, you would find an icon of the app, usually bobbing or hovering over the screen playing the video. You can tap on this icon, which could be a disk sign or the logo of the app. As you tap on it, you would have a popup that will prompt you to download the video that you are watching.
Depending on the app you are using, the download may begin immediately after tapping on the download icon or there can be another step, which will perhaps show you the list of downloading videos or videos that you have downloaded already. If the download doesn’t start immediately, there could be another button to initiate the download. Tap on it and you are done. The download would be automated and you don’t need to do anything else. You can also have your iPhone or iPad in sleep mode and the download would be completed, as long as there is an active internet connection. You can also see the progress made. Once the download or downloads are complete, you would get a notification. The video downloaded would be within the app’s video library or in your files.
Some apps rename the videos that are being downloaded so it is best you opt for a title or a name that will help you to recognize the video immediately. Other apps will keep the name of the video that appears on YouTube.
Almost all video downloader apps for iPhone and iPad will allow you to watch these videos offline. Some apps may need an internet connection to open but the videos saved will not require any internet to be played and replayed.
Given the fact that there are many video downloader apps and you cannot be sure of the experience of any, you will have to indulge in a bit of trial and error to find the best one.
Richard Bennett
Richard Bennett is a writer and a lover of all things video.
Follow @Richard Bennett
Richard Bennett
Mar 27, 2024• Proven solutions
It is no secret that the iPhone and the iPad are the most popular smartphone and tablet respectively. You could argue that Samsung has impressive sales and is almost at par with Apple but in regards to sheer dominance or superiority, the South Korea based conglomerate bows down to the American tech juggernaut. YouTube is indisputably the most popular video hosting and sharing site in the world. It doesn’t help that YouTube is owned by Google, the search engine giant that also owns Android which powers all popular Samsung smartphones at the moment. As a result, what you get is a tad incompatible with YouTube and iPhone or iPad. Downloading YouTube videos is very simple if you are using an Android smartphone or a Windows computer. It is not so when you are using an iPhone, iPad or even a Mac.
You May Also Like: iPhone Video Downloaders >>
Fortunately, there are ways you can download YouTube videos to iPhone or iPad, and we aren’t talking about YouTube’s promise of offline video streaming. Here is a complete guide.
Note: We resolutely oppose all forms of copyright-infringing downloads. This tutorial is only for downloading YouTube videos/audio materials from your own channel.
First, you need a video downloader
You need a third party app which is approved by Apple and available in App Store. There are quite a few free video downloader apps that you can check. But do make sure that the app is active or usable right now. Apple is a tad infamous for deleting some of the apps from its store from time to time. If that happens after you have installed and started using a video downloader, then you can just remove it and opt for another. Most of these free video downloader apps will save your videos within the app. Some would add them to the videos in your Camera Roll. You can use AirPlay to watch the videos if you have an Apple TV. The videos saved by downloader apps will not be found in the native Videos app of iPhone or iPad. When you search for such apps, use ‘video downloader’ or ‘YouTube downloader’ as the keywords.
Find a suitable app, download it for free and install it
Some of the downloader apps will have premium or pro versions. You don’t need to pay before you have used the free or basic version. Once installed, start the app. Most of these apps have a built-in browser which should allow you to access YouTube. In most cases, you would get to m.youtube.com. If there is no default address, then save the mobile version of YouTube as the default URL. On iPad, you can go for <www.youtube.com>.
Downloading Youtube videos to iPhone or iPad
In all likelihood, you are familiar with how YouTube works. Search for a video that you wish to download, pick the one you want from the search results and it would automatically start to play. In some cases, you may have to click the play button or tap on the video thumbnail for it to start playing. As the video begins to stream or buffer, you would find an icon of the app, usually bobbing or hovering over the screen playing the video. You can tap on this icon, which could be a disk sign or the logo of the app. As you tap on it, you would have a popup that will prompt you to download the video that you are watching.
Depending on the app you are using, the download may begin immediately after tapping on the download icon or there can be another step, which will perhaps show you the list of downloading videos or videos that you have downloaded already. If the download doesn’t start immediately, there could be another button to initiate the download. Tap on it and you are done. The download would be automated and you don’t need to do anything else. You can also have your iPhone or iPad in sleep mode and the download would be completed, as long as there is an active internet connection. You can also see the progress made. Once the download or downloads are complete, you would get a notification. The video downloaded would be within the app’s video library or in your files.
Some apps rename the videos that are being downloaded so it is best you opt for a title or a name that will help you to recognize the video immediately. Other apps will keep the name of the video that appears on YouTube.
Almost all video downloader apps for iPhone and iPad will allow you to watch these videos offline. Some apps may need an internet connection to open but the videos saved will not require any internet to be played and replayed.
Given the fact that there are many video downloader apps and you cannot be sure of the experience of any, you will have to indulge in a bit of trial and error to find the best one.
Richard Bennett
Richard Bennett is a writer and a lover of all things video.
Follow @Richard Bennett
Also read:
- [New] Cutting Clout, Not Content Efficient Video Length Reduction
- [New] Enhance Your Game Experience with These 5 Screen Capture Techniques for Minecraft (Mac)
- [Updated] Daily Vlogging Ideas What to Talk About While Vlogging?
- [Updated] Tech Bites The Future of Screen Capture Apps
- 2024 Approved Escalate Your Channel with a Swift Move Towards YouTube Partner Status
- 2024 Approved Your One-Stop Shop for Unbeatable Tamil Ringtone Purchases & Edits
- Asus AX6000 RT-AX88U - Top Smart Wi-Fi 6 Router Evaluated
- Best Vocal Modification Software for Content Creators for 2024
- Blueprints for Making YouTube Intro Videos that Stick
- Discover the Ultimate Selection of Mobile Charging Solutions for Your Laptop
- In 2024, Crafting Easy YouTube Animation Subscribe Bars in Filmora
- In 2024, Cultivating Connection, Not Compulsion in Subscriptions
- In 2024, Discover Top 6 Short Video Download Sites (FREE)
- In 2024, Game Masters & YouTube Earning Strategies
- Troubleshooting Guide: Why Visual Look Up Fails on iPhones
- Visionary 8 Tools Transforming Gameplay
- WinX DVD Ripper Platinumを使って動画からDVDへの書き込み手順 - 初学者ガイド
- Title: Enhance Your Video's Call-to-Action A Step-by-Step Filmora Guide
- Author: Steven
- Created at : 2025-01-23 20:27:20
- Updated at : 2025-01-29 22:39:05
- Link: https://youtube-clips.techidaily.com/enhance-your-videos-call-to-action-a-step-by-step-filmora-guide/
- License: This work is licensed under CC BY-NC-SA 4.0.