
"Enhance and Clean Up YouTube Footage Borderless Tutorial for 2024"
Enhance and Clean Up YouTube Footage: Borderless Tutorial
How to Remove Black Bars from YouTube Videos

Richard Bennett
Mar 27, 2024• Proven solutions
The black bars appear because the video uploaded by the users may include horizontal black bars at the bottom and top of the video player to fit an aspect ratio of 4:3. The YouTube video player has an aspect ratio of 16:9, so it adds vertical black bars to fit according to the dimension. And in this guide, we will help you get rid of this trouble and remove annoying black bars from YouTube videos.
- Part 1: Removing the black bars before uploading
- Part 2: Removing the black bars from uploaded YouTube videos
Remove the black bars before uploading
You can make use of the following software to remove the black bars from your videos.
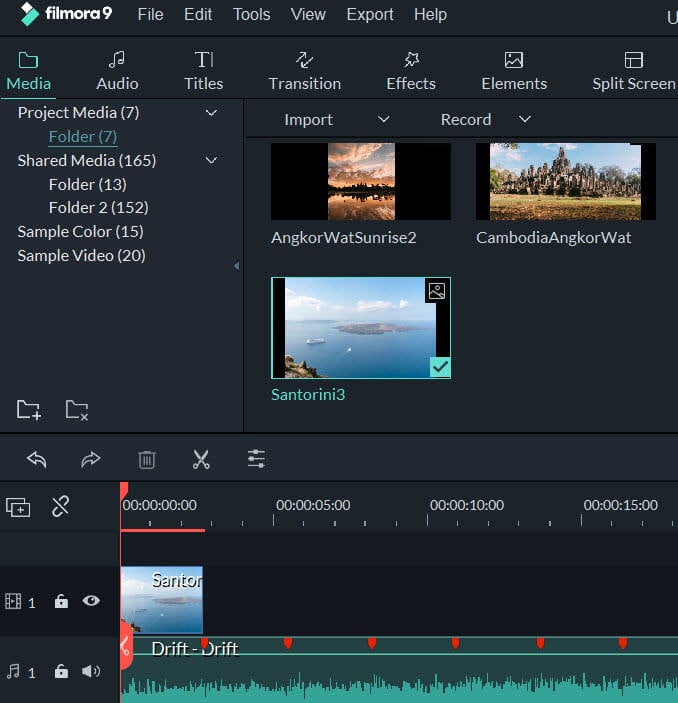
1. Wondershare Filmora
Filmora supports a large format of videos hence one of the widely used. Follow these steps to remove the black bars:
- Import the video or drag and drop it in Wondershare Flimora.
- Select the video with black bars and right click on it.
- Click on “crop and zoom” which will open the crop window.
- Set your desired frameset (16:9, 4:3 or customized aspect ratio) and see your video in the preview pane.
- Save the new video without the black bars by clicking on “Export”.
 Download Mac Version ](https://tools.techidaily.com/wondershare/filmora/download/ )
2. Sony Vegas Pro
One of the most popular and sought after video editing tool, Sony Vegas Pro can help removing the black bars very simply:
- Open the video.
- You will see the video in preview and a timeline beneath, right click on the video clip on the timeline.
- Click on properties, a new window will pop-up, click on disable resample and make sure that “maintain aspect ratio” is unchecked.
- Your video will be without the black bars. Save the video.
3. Windows Live Movie Maker
This inbuilt tool in Windows for video editing can be used to remove the black bars from your YouTube videos.
- Drop and drag the video to windows live movie maker.
- Select the video and you will see a couple of options to set aspect ratio.
- Click on the desired one and the black bars will be removed.
- You can save the video in different formats.
4. Final Cut Pro
Final Cut pro offers you a whole lot of video editing options that includes removal of black bars. Right aspect ratio ensures there are no unpleasant black bars on either side of the video. To get them removed with the help of Final Cut Pro:
- Import the video with black bars.
- Select the video and change its aspect ratio. (Either stretch it or crop it).
- Save the video after it has been corrected.
Removing the black bars from uploaded YouTube videos
It is very simple to remove black bars from existing YouTube videos or while uploading a video. Click on the Edit button next to the video, and add the most suited instruction in the Tag bar below:

yt:crop=16:9
This tag zooms in on the video because of which the contents at the borders (black bars in this case) do not appear anymore.
yt:stretch=16:9
This tag stretches the video in the aspect ratio of 16:9. It is used to view the video in wide-screen format.
yt:stretch=4:3
if your video is appearing in wide-screen format, but you want it to display in 720 x 480 pixels, apply this tag. It scales down the video 4:3 aspect.
Try any of the above software to remove black bars from existing YouTube videos or the new videos and make it pleasant to viewers.
Richard Bennett
Richard Bennett is a writer and a lover of all things video.
Follow @Richard Bennett
Richard Bennett
Mar 27, 2024• Proven solutions
The black bars appear because the video uploaded by the users may include horizontal black bars at the bottom and top of the video player to fit an aspect ratio of 4:3. The YouTube video player has an aspect ratio of 16:9, so it adds vertical black bars to fit according to the dimension. And in this guide, we will help you get rid of this trouble and remove annoying black bars from YouTube videos.
- Part 1: Removing the black bars before uploading
- Part 2: Removing the black bars from uploaded YouTube videos
Remove the black bars before uploading
You can make use of the following software to remove the black bars from your videos.
1. Wondershare Filmora
Filmora supports a large format of videos hence one of the widely used. Follow these steps to remove the black bars:
- Import the video or drag and drop it in Wondershare Flimora.
- Select the video with black bars and right click on it.
- Click on “crop and zoom” which will open the crop window.
- Set your desired frameset (16:9, 4:3 or customized aspect ratio) and see your video in the preview pane.
- Save the new video without the black bars by clicking on “Export”.
Download Mac Version ](https://tools.techidaily.com/wondershare/filmora/download/ )
2. Sony Vegas Pro
One of the most popular and sought after video editing tool, Sony Vegas Pro can help removing the black bars very simply:
- Open the video.
- You will see the video in preview and a timeline beneath, right click on the video clip on the timeline.
- Click on properties, a new window will pop-up, click on disable resample and make sure that “maintain aspect ratio” is unchecked.
- Your video will be without the black bars. Save the video.
3. Windows Live Movie Maker
This inbuilt tool in Windows for video editing can be used to remove the black bars from your YouTube videos.
- Drop and drag the video to windows live movie maker.
- Select the video and you will see a couple of options to set aspect ratio.
- Click on the desired one and the black bars will be removed.
- You can save the video in different formats.
4. Final Cut Pro
Final Cut pro offers you a whole lot of video editing options that includes removal of black bars. Right aspect ratio ensures there are no unpleasant black bars on either side of the video. To get them removed with the help of Final Cut Pro:
- Import the video with black bars.
- Select the video and change its aspect ratio. (Either stretch it or crop it).
- Save the video after it has been corrected.
Removing the black bars from uploaded YouTube videos
It is very simple to remove black bars from existing YouTube videos or while uploading a video. Click on the Edit button next to the video, and add the most suited instruction in the Tag bar below:
yt:crop=16:9
This tag zooms in on the video because of which the contents at the borders (black bars in this case) do not appear anymore.
yt:stretch=16:9
This tag stretches the video in the aspect ratio of 16:9. It is used to view the video in wide-screen format.
yt:stretch=4:3
if your video is appearing in wide-screen format, but you want it to display in 720 x 480 pixels, apply this tag. It scales down the video 4:3 aspect.
Try any of the above software to remove black bars from existing YouTube videos or the new videos and make it pleasant to viewers.
Richard Bennett
Richard Bennett is a writer and a lover of all things video.
Follow @Richard Bennett
Upload MP3 Quickly: Step-by-Step to YouTube Broadcasting
MP3 to YouTube Converter: Upload MP3 to YouTube
Richard Bennett
Mar 27, 2024• Proven solutions
Latest survey shows that Google’s video streaming site Youtube has surpassed radio, as well as CDs to be the most popular way American adolescents listen to music. Almost 91% of the music fans would listen to the samples before they purchase a song on iTunes. “Watching” music is getting more and more popular with Youtube’s arising popularity among music fans.
However, here comes the dilemma if you are trying to share your favorite music list with your friends on Youtube since Youtube is not designed to host files that are purely audio. Only video files are allowed to be uploaded to its server. Despite all this, is there a safe and easy solution to this issue? The answer if absolutely Yes! Wondershare audio converter let you upload an MP3 to Youtube by converting them to videos files first without losing any of its quality, helping you remove the barrier of uploading audio files to Youtube.
With it, you can not only add pictures to your MP3 files but also retouch them with various fantastic effects. Now follow the steps below to check out how to achieve it.

1 Import Files to Audio Converter
Before upload MP3 to YouTube, you can collect the relevant image, album cover or band picture to your music. Then run this MP3 to YouTube converter and choose 16:9 or 4:3 ratio according to your needs. After that, click “Import” to add the MP3 file and the pictures to the program. Then all the imported files will be displayed as thumbnails in the Media library.
2 Add Pictures to MP3 Files
Drag and drop your MP3 file to the music layer, and the picture to the video layer. These will be located under the timeline bar. Then choose the picture and move your mouse to expand the picture exposure time frame exactly as long as your MP3 file. If less, the remaining part will be blacked out, while too long will create silence in the overextended portions of the video.
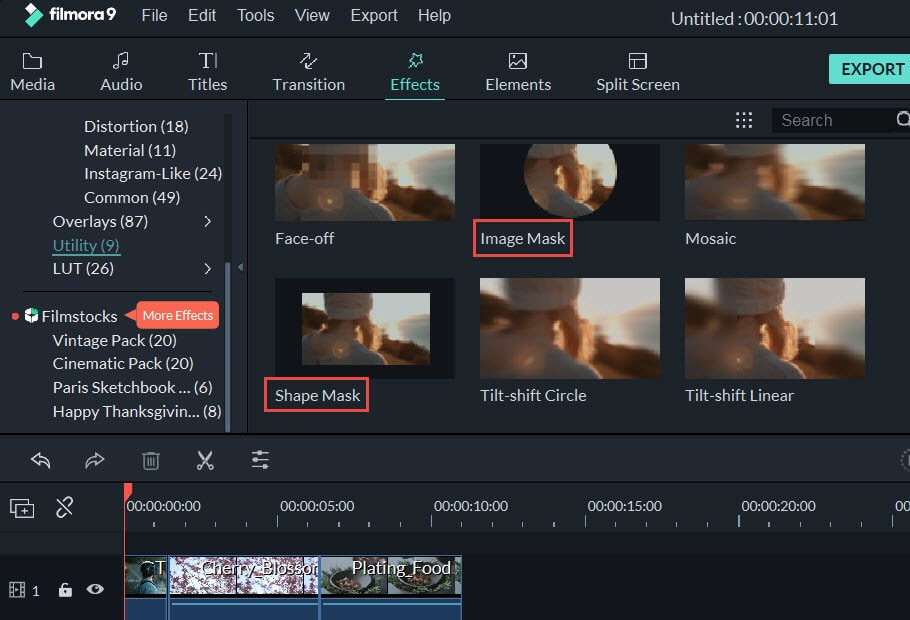
If you want to add and show multiple pictures at a time for a single MP3 file, drag-n-drop them to the PIP layers. This MP3 to YouTube converter supports up to 10 pictures for the same MP3 file. Then adjust the position and size of each picture. You can also do more touch up to your creation. For example, you can right click and choose edit to add motion, mask and more effects as you like.
3 Directly Upload MP3s to YouTube
Watch and check the audio quality of your video. When you are satisfied, click “Create” and switch to the YouTube tab. Enter your YouTube Account, Password and related MP3 information to directly upload your works to YouTube.

Tip:
Besides uploading to YouTube, you can also save your creation to various formats and play on different devices or burn to DVD.
See, it’s easy convert MP3 to YouTube using this powerful video editing tool. Download and have a try now!
Richard Bennett
Richard Bennett is a writer and a lover of all things video.
Follow @Richard Bennett
Richard Bennett
Mar 27, 2024• Proven solutions
Latest survey shows that Google’s video streaming site Youtube has surpassed radio, as well as CDs to be the most popular way American adolescents listen to music. Almost 91% of the music fans would listen to the samples before they purchase a song on iTunes. “Watching” music is getting more and more popular with Youtube’s arising popularity among music fans.
However, here comes the dilemma if you are trying to share your favorite music list with your friends on Youtube since Youtube is not designed to host files that are purely audio. Only video files are allowed to be uploaded to its server. Despite all this, is there a safe and easy solution to this issue? The answer if absolutely Yes! Wondershare audio converter let you upload an MP3 to Youtube by converting them to videos files first without losing any of its quality, helping you remove the barrier of uploading audio files to Youtube.
With it, you can not only add pictures to your MP3 files but also retouch them with various fantastic effects. Now follow the steps below to check out how to achieve it.
1 Import Files to Audio Converter
Before upload MP3 to YouTube, you can collect the relevant image, album cover or band picture to your music. Then run this MP3 to YouTube converter and choose 16:9 or 4:3 ratio according to your needs. After that, click “Import” to add the MP3 file and the pictures to the program. Then all the imported files will be displayed as thumbnails in the Media library.
2 Add Pictures to MP3 Files
Drag and drop your MP3 file to the music layer, and the picture to the video layer. These will be located under the timeline bar. Then choose the picture and move your mouse to expand the picture exposure time frame exactly as long as your MP3 file. If less, the remaining part will be blacked out, while too long will create silence in the overextended portions of the video.
If you want to add and show multiple pictures at a time for a single MP3 file, drag-n-drop them to the PIP layers. This MP3 to YouTube converter supports up to 10 pictures for the same MP3 file. Then adjust the position and size of each picture. You can also do more touch up to your creation. For example, you can right click and choose edit to add motion, mask and more effects as you like.
3 Directly Upload MP3s to YouTube
Watch and check the audio quality of your video. When you are satisfied, click “Create” and switch to the YouTube tab. Enter your YouTube Account, Password and related MP3 information to directly upload your works to YouTube.
Tip:
Besides uploading to YouTube, you can also save your creation to various formats and play on different devices or burn to DVD.
See, it’s easy convert MP3 to YouTube using this powerful video editing tool. Download and have a try now!
Richard Bennett
Richard Bennett is a writer and a lover of all things video.
Follow @Richard Bennett
Also read:
- [New] Enhancing Storytelling with Jump Cuts Technique
- [Updated] Captivating Viewers with Youtube's Visual Polishing
- 1. Unbeatable Chromebook: Top 6 Benefits That Make It Ideal for Everyone
- 2024 Approved 8 Premium Complimentary Streaming Media Processors
- DVDs Wenn Sie Ohne Download Frei Abspielen Können: Die Einfache Lösung Mit Einem Kostenlosen Decoder
- Essential Errors to Dodge Beginner YouTuber's Guide
- Essential Tips for YouTube Thumbnail Design for 2024
- Framework Developing Transformative Lifestyle Broadcasts
- How to Unlock Motorola Moto G04 Phone without Any Data Loss
- In 2024, Essentials for Professionals Advanced Strategies in Video Tagging
- In 2024, Streamlining Ad Revenue Post-Monetization YT Tips & Tricks
- Mastering Key Film Snippets with Ranked Tools for 2024
- Maximize YouTube Traction Affordable Audience Expansion
- Overcoming iPhone 14'S Charging Concerns: A Comprehensive Guide
- Panne De Fichiers Word: 6 Solutions Innovantes Pour Reprendre Le Contrôle!
- Unlocking Your Secrets: A Step-by-Step Guide to Finding Passwords in macOS Keychain on ZDNet
- Unveiling Steps to Fix 'Rockalldll.dll Not Found Error'
- Title: Enhance and Clean Up YouTube Footage Borderless Tutorial for 2024
- Author: Steven
- Created at : 2025-01-25 16:54:39
- Updated at : 2025-01-29 21:51:18
- Link: https://youtube-clips.techidaily.com/enhance-and-clean-up-youtube-footage-borderless-tutorial-for-2024/
- License: This work is licensed under CC BY-NC-SA 4.0.