
:max_bytes(150000):strip_icc()/GettyImages-868647678-7738fe2c895c48ce9ea77b4853f927bb.jpg)
"Effortless Engagement Integrating GS & YT Strategies"
Effortless Engagement: Integrating GS & YT Strategies
Create High-Quality Video - Wondershare Filmora
An easy and powerful YouTube video editor
Numerous video and audio effects to choose from
Detailed tutorials provided by the official channel
Advances in filmmaking have brought many concepts into reality. And the green screen is one common practice. Green screen technology is a technique where you use two images or video streams to composite them together. You can use any background images, either foreground or behind the actors. For YouTube, you can use green screen subscribe to facilitate video Call To Action. A green screen easily produces impossible scenes and expands filming ideas. Everything done at the Studio is also the best way to protect actors from hazardous environments.
More so, the best trick is to allow actors to appear together on the screen even when the scenes were captured separately. And did you know that subscribe green screen makes it easy to add YouTube Call To Action and direct viewers on what to do?

Methods to add a subscribe button to your video
Viewers are not likely to subscribe to any channel if they are not guided. One best method is to engage a subscribe button to your video and draw the attention of as many as possible.
1 Use Subscribe Green Screen
Put your green screen to work by subscribing to it. Follow these steps to produce eye-catching videos, with a call to action closing point.
Step 1. Set screen
You need to create a background at the Studio – and that’s the green screen. Keenly hand it on a frame before you start filming. Also, note that no wrinkles or fold-ups are visible.

Step 2. Adjust lighting
Lighting is important to facilitate high-resolution video output quality. Put appropriate lighting settings to avoid directional shadows and get the best results.
Step 3. Set up the subject
Give ample space between the subject and the green screen for an effective outcome. If they are too close, there will be a reflection of the green screen on the subject. It isn’t professional as it will be hard when it comes to matching to a different background.

Step 4. Start filming
Begin to film your video and ensure you take various shots for comparison. It is good to film at different angles to see what works best.
Step 5. Polish the rough cut
Tune all the footage to perfect video clips. It will save your efforts when keying out green screen footage. Remove the unwanted parts by trimming. You can also do other edits like merge and split where necessary.
Step 6. Key out the footage and edit the green screen
Your footage is now ready, and you are now free to edit the green screen. It is better to engage reliable editing software to remove the green traces in the shot.
Step 7. Paste the new background
Any background concept can now fit in. Add your desired background video or image in a new layer below the subject. You can continue to make other necessary adjustments like sharpness and hue for reality.
Step 8. Add Call To Action
Finally, tell your viewers to subscribe to your YouTube channel while watching the video. You can also introduce your other channels that aren’t yet known or those that have not reached 1,000 subscribers.
2 Using YouTube Studio
You can also enable the green screen to subscribe via the YouTube Studio. It is a YouTube application that provides you with the tools you need to create a successful YouTube channel. You can manage your videos, respond to comments and even add adverts to your content for pay. Here are the steps to add subscribe button.
Step 1. First, go directly to “studio.youtube.com” or click on your profile picture on the YouTube page to launch YT Studio.

Step 2. Click on the “Menu” option and choose the “Settings”> “Channel” option.

Step 3. Then select the “Choose” image and select which subscribe button image you wish to use as your branding watermark. You can easily get one on the Google images section.
Step 4. Next, choose the display time for the branding watermark. It could be a custom start time if you want the branding watermark to start showing at a specific time. You can also choose “End or video” for it to appear at the last 10 to 15 seconds of your video. Likewise, the branding watermark can show throughout the video if you choose the “Entire video” option.
Step 5. Finally, save the changes. Voila! Viewers can subscribe to your channel easily, with a single click of a button.
3 Using Subscribe Effects
You can also use the subscribers’ effects to add a Call To Action. Remember, your main aim is to increase the audience to your channel. And in most cases, viewers forget to subscribe even though they love your video. Perhaps they don’t understand the importance it holds to your channel. You can do this using a reliable video editor software – Filmora.
Filmora is a sophisticated tool that is easy to use and export your videos to your computer and upload them to YouTube. It has over 300 effects for YouTubers and comprises exclusive overlays for any scene. Follow these steps to add the subscribe button with subscribe effects.
Key Features of Filmora
- Edit and export your videos at up to 4K resolution
- Supports GIF animation, which you can use for CTA
- It has an advanced text editor
- Easily remove background noise for a polished video sound
- It has an audio equalizer functionality for audio uniformity
- It has the video stabilization functionality
For Win 7 or later (64-bit)
For macOS 10.12 or later
Step 1. Launch Filmora
Open Filmora on your computer, then navigate to the upper left corner of the screen. Click on the “Sample Colors” and select the “Green color.” Next, drag it to video track into the timeline. Then adjust the duration of your video track to your preference.

Step 2. Design the subscribe GIF animation
Use a different color shade to design the subscribe GIF animation. Take “Red” in this case as it smartly blends with the green color that we choose earlier. Drag the red color above the green background.

Step 3. Adjust the red box
Make the added color red button look like a subscribe button. Then place it at any point you want it to appear in front of the background.
Step 4. Add the subscribe text
Write a text into the button. Filmora offers you various styles of text to choose from. You can select the text style you want to use, then drag and drop it into the timeline.

Step 5. Edit title with “Subscribe”
Edit your text with the word “Subscribe,” then place it under the red rectangle and hit the “OK” button.
Step 6. Animate the “Subscribe” button
Double click on the “Red” button. Just go to the “Animate” tab and click on the “Customize” option. Next, click on the “Add” button.

Step 7. Animate text as well
Go to the “Text” option in the timeline and click on “Advanced” text editor. Then go to the “Animation” tab and select the animation you wish to use. Here, you can adjust your text’s start and ending time when you want it to start fading.
Step 8. Export GIF
Your Subscribe GIF is now ready to be exported to your video. Hit the “Export” button and select which format to export it in.

Extra Tip: Ways to Include Calls to Action on videos
Know how to include CTA in your video marketing strategy to boost your subscribers.
- Include Annotations
Annotations are eye-catching and a quick reminder for viewers. You have a variety to choose from, like bubbles, shoutouts, etc. They are used to remind you to subscribe to the channel, view another video, or comment after watching it. - Edit CTAs in your video
It lets the viewer know what to do next before the video ends. The likely reminder is to subscribe to the channel. They could also be reminded to watch the next video or leave a comment. - YouTube Ad Overlays also work
However, ad overlay is for content creators with Google AdWords enabled on their YT channel. Adding an Ad Overlay will link you to any part of the web. Do you want to know the best part? No cost at all! You only need to pay for the views you buy during your video promotion.
Conclusion
● The best strategy to get viewers to subscribe to your YouTube channel is to engage a Call To Action. A bigger number of subscribers guarantees more watch time and the possible growth of your channel. Subscribe green screen even makes it perfect as far as video creation is concerned. You can get different video background ideas and make every scene look authentic. You can engage a third-party tool like Filmora. It will effortlessly add a green screen subscribe in a few steps. Likewise, you can add annotations and other text styles to enhance your look.
Advances in filmmaking have brought many concepts into reality. And the green screen is one common practice. Green screen technology is a technique where you use two images or video streams to composite them together. You can use any background images, either foreground or behind the actors. For YouTube, you can use green screen subscribe to facilitate video Call To Action. A green screen easily produces impossible scenes and expands filming ideas. Everything done at the Studio is also the best way to protect actors from hazardous environments.
More so, the best trick is to allow actors to appear together on the screen even when the scenes were captured separately. And did you know that subscribe green screen makes it easy to add YouTube Call To Action and direct viewers on what to do?
Methods to add a subscribe button to your video
Viewers are not likely to subscribe to any channel if they are not guided. One best method is to engage a subscribe button to your video and draw the attention of as many as possible.
1 Use Subscribe Green Screen
Put your green screen to work by subscribing to it. Follow these steps to produce eye-catching videos, with a call to action closing point.
Step 1. Set screen
You need to create a background at the Studio – and that’s the green screen. Keenly hand it on a frame before you start filming. Also, note that no wrinkles or fold-ups are visible.
Step 2. Adjust lighting
Lighting is important to facilitate high-resolution video output quality. Put appropriate lighting settings to avoid directional shadows and get the best results.
Step 3. Set up the subject
Give ample space between the subject and the green screen for an effective outcome. If they are too close, there will be a reflection of the green screen on the subject. It isn’t professional as it will be hard when it comes to matching to a different background.
Step 4. Start filming
Begin to film your video and ensure you take various shots for comparison. It is good to film at different angles to see what works best.
Step 5. Polish the rough cut
Tune all the footage to perfect video clips. It will save your efforts when keying out green screen footage. Remove the unwanted parts by trimming. You can also do other edits like merge and split where necessary.
Step 6. Key out the footage and edit the green screen
Your footage is now ready, and you are now free to edit the green screen. It is better to engage reliable editing software to remove the green traces in the shot.
Step 7. Paste the new background
Any background concept can now fit in. Add your desired background video or image in a new layer below the subject. You can continue to make other necessary adjustments like sharpness and hue for reality.
Step 8. Add Call To Action
Finally, tell your viewers to subscribe to your YouTube channel while watching the video. You can also introduce your other channels that aren’t yet known or those that have not reached 1,000 subscribers.
2 Using YouTube Studio
You can also enable the green screen to subscribe via the YouTube Studio. It is a YouTube application that provides you with the tools you need to create a successful YouTube channel. You can manage your videos, respond to comments and even add adverts to your content for pay. Here are the steps to add subscribe button.
Step 1. First, go directly to “studio.youtube.com” or click on your profile picture on the YouTube page to launch YT Studio.
Step 2. Click on the “Menu” option and choose the “Settings”> “Channel” option.
Step 3. Then select the “Choose” image and select which subscribe button image you wish to use as your branding watermark. You can easily get one on the Google images section.
Step 4. Next, choose the display time for the branding watermark. It could be a custom start time if you want the branding watermark to start showing at a specific time. You can also choose “End or video” for it to appear at the last 10 to 15 seconds of your video. Likewise, the branding watermark can show throughout the video if you choose the “Entire video” option.
Step 5. Finally, save the changes. Voila! Viewers can subscribe to your channel easily, with a single click of a button.
3 Using Subscribe Effects
You can also use the subscribers’ effects to add a Call To Action. Remember, your main aim is to increase the audience to your channel. And in most cases, viewers forget to subscribe even though they love your video. Perhaps they don’t understand the importance it holds to your channel. You can do this using a reliable video editor software – Filmora.
Filmora is a sophisticated tool that is easy to use and export your videos to your computer and upload them to YouTube. It has over 300 effects for YouTubers and comprises exclusive overlays for any scene. Follow these steps to add the subscribe button with subscribe effects.
Key Features of Filmora
- Edit and export your videos at up to 4K resolution
- Supports GIF animation, which you can use for CTA
- It has an advanced text editor
- Easily remove background noise for a polished video sound
- It has an audio equalizer functionality for audio uniformity
- It has the video stabilization functionality
For Win 7 or later (64-bit)
For macOS 10.12 or later
Step 1. Launch Filmora
Open Filmora on your computer, then navigate to the upper left corner of the screen. Click on the “Sample Colors” and select the “Green color.” Next, drag it to video track into the timeline. Then adjust the duration of your video track to your preference.
Step 2. Design the subscribe GIF animation
Use a different color shade to design the subscribe GIF animation. Take “Red” in this case as it smartly blends with the green color that we choose earlier. Drag the red color above the green background.
Step 3. Adjust the red box
Make the added color red button look like a subscribe button. Then place it at any point you want it to appear in front of the background.
Step 4. Add the subscribe text
Write a text into the button. Filmora offers you various styles of text to choose from. You can select the text style you want to use, then drag and drop it into the timeline.
Step 5. Edit title with “Subscribe”
Edit your text with the word “Subscribe,” then place it under the red rectangle and hit the “OK” button.
Step 6. Animate the “Subscribe” button
Double click on the “Red” button. Just go to the “Animate” tab and click on the “Customize” option. Next, click on the “Add” button.
Step 7. Animate text as well
Go to the “Text” option in the timeline and click on “Advanced” text editor. Then go to the “Animation” tab and select the animation you wish to use. Here, you can adjust your text’s start and ending time when you want it to start fading.
Step 8. Export GIF
Your Subscribe GIF is now ready to be exported to your video. Hit the “Export” button and select which format to export it in.
Extra Tip: Ways to Include Calls to Action on videos
Know how to include CTA in your video marketing strategy to boost your subscribers.
- Include Annotations
Annotations are eye-catching and a quick reminder for viewers. You have a variety to choose from, like bubbles, shoutouts, etc. They are used to remind you to subscribe to the channel, view another video, or comment after watching it. - Edit CTAs in your video
It lets the viewer know what to do next before the video ends. The likely reminder is to subscribe to the channel. They could also be reminded to watch the next video or leave a comment. - YouTube Ad Overlays also work
However, ad overlay is for content creators with Google AdWords enabled on their YT channel. Adding an Ad Overlay will link you to any part of the web. Do you want to know the best part? No cost at all! You only need to pay for the views you buy during your video promotion.
Conclusion
● The best strategy to get viewers to subscribe to your YouTube channel is to engage a Call To Action. A bigger number of subscribers guarantees more watch time and the possible growth of your channel. Subscribe green screen even makes it perfect as far as video creation is concerned. You can get different video background ideas and make every scene look authentic. You can engage a third-party tool like Filmora. It will effortlessly add a green screen subscribe in a few steps. Likewise, you can add annotations and other text styles to enhance your look.
Master the Art of Cutting: The Ultimate List of YouTube Short Editors
Best YouTube Shorts Video Editing Apps for iOS and Android

Richard Bennett
Mar 27, 2024• Proven solutions
Even though Shorts is integrated within the YouTube app and still in beta, you can still edit your videos. At this writing, the only additional elements that you can add to your short videos are background music and captions. While these two are good enough to make your clips informative, they might not be able to attract as many viewers as there would have been if the footages were well-decorated with a couple of filters, effects, stickers, etc.
That said, listed below are some of the efficient and feature-packed third-party apps that can help you beautify your videos before they can be published as Shorts on your YouTube channel:
Best Shorts Video Editing Apps for iOS and Android (Free and Paid)
Top 10 short video editing apps for smartphones, along with their attributes, include:
1. Wondershare Filmora
This was developed by one of the IT giants called Wondershare. The elder sibling of Filmora is Filmora, a PC program for both Windows and Mac platforms that gives tough competition to some of the commonly used post-production applications like Adobe Premiere Pro, Final Cut Pro X, etc.
Supported Platforms: Android and iOS (11.0 and above)
Users’ Star Rating (Out of 5): 4.6
Main Features: Allows video editing (trimming, cutting, etc.), adds or extracts music from the videos, supports HD quality exporting, etc.
Aspect Ratio: Almost all widely used sizes
Sharing: Allows publishing directly to YouTube
Pros: Free to use, available for both iOS and Android, a complete package for video editing enthusiasts
Cons: Free version adds a watermark to the exported videos
2. VideoLeap – Video Editor – Film Photo Editor
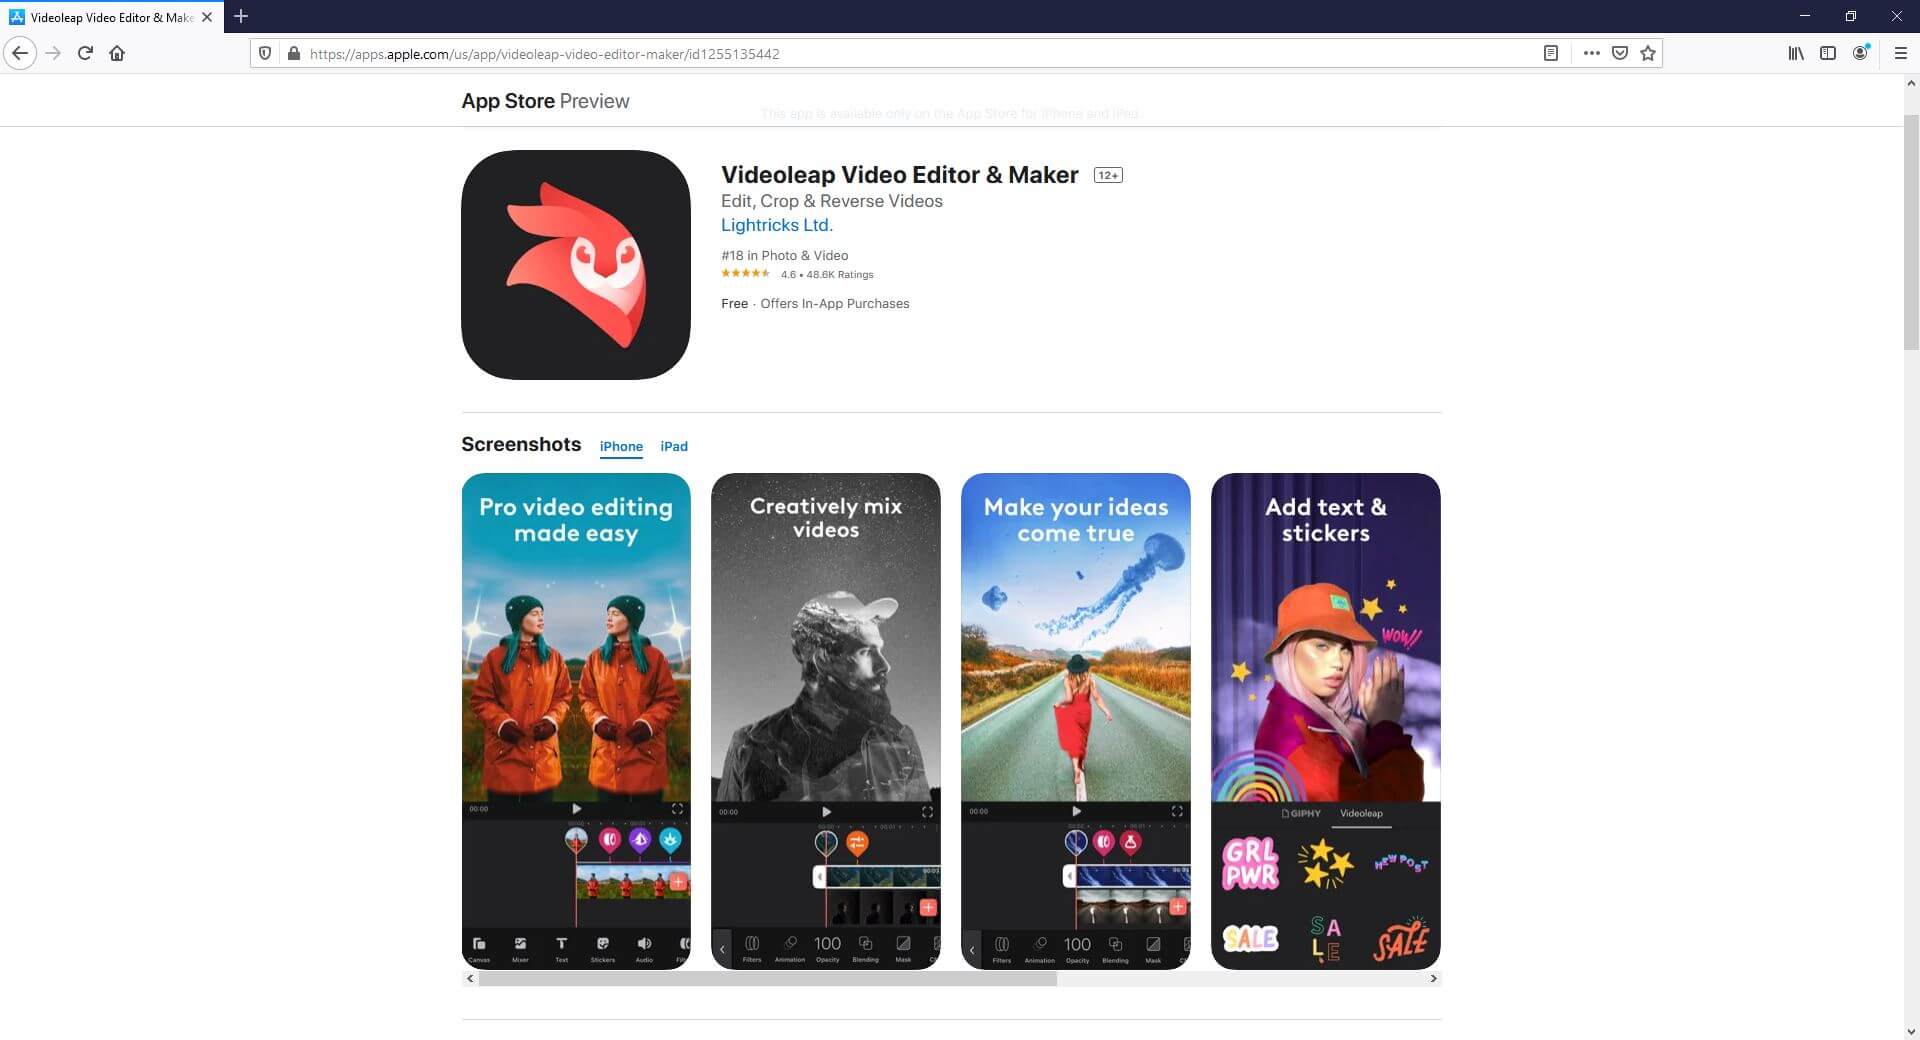
Another lightweight video editor for mobile devices, VideoLeap, lets you edit the videos simply and quickly.
Supported Platforms: Android (4.3 and above) and iOS (12.0 and above)
Users’ Star Rating (Out of 5): 4.3
Main Features: Has more than 200 filters, allows trimming and cropping, offers a practically unlimited number of undoes and redoes
Aspect Ratio: Almost all widely used sizes
Sharing: Exports videos to the device
Pros: Offers layer-based editing, gives access to the professional-level filters for video decoration, has more than 60 overlays, etc.
Cons: Paid subscription is needed to access features like edit, crop, and reverse
3. KineMaster Video Editor
KineMaster is probably one of the most popular video editors among vloggers, beginners, and teenagers. With simple UI, the app offers easy access to many of its features to edit the videos.
Supported Platforms: Android (6.0 and above) and iOS (12.4 and above)
Users’ Star Rating (Out of 5): 4.7
Main Features: Color correction, video reversal, trimming, splitting, cutting, voice changer, sound effects, etc.
Aspect Ratio: Almost all widely used sizes
Sharing: Allows publishing directly to YouTube
Pros: Can export videos to 4K 60 FPS, can be used for free, supports multiple languages
Cons: A premium subscription must be purchased to access advanced features
4. Video Maker for YouTube – Video.Guru
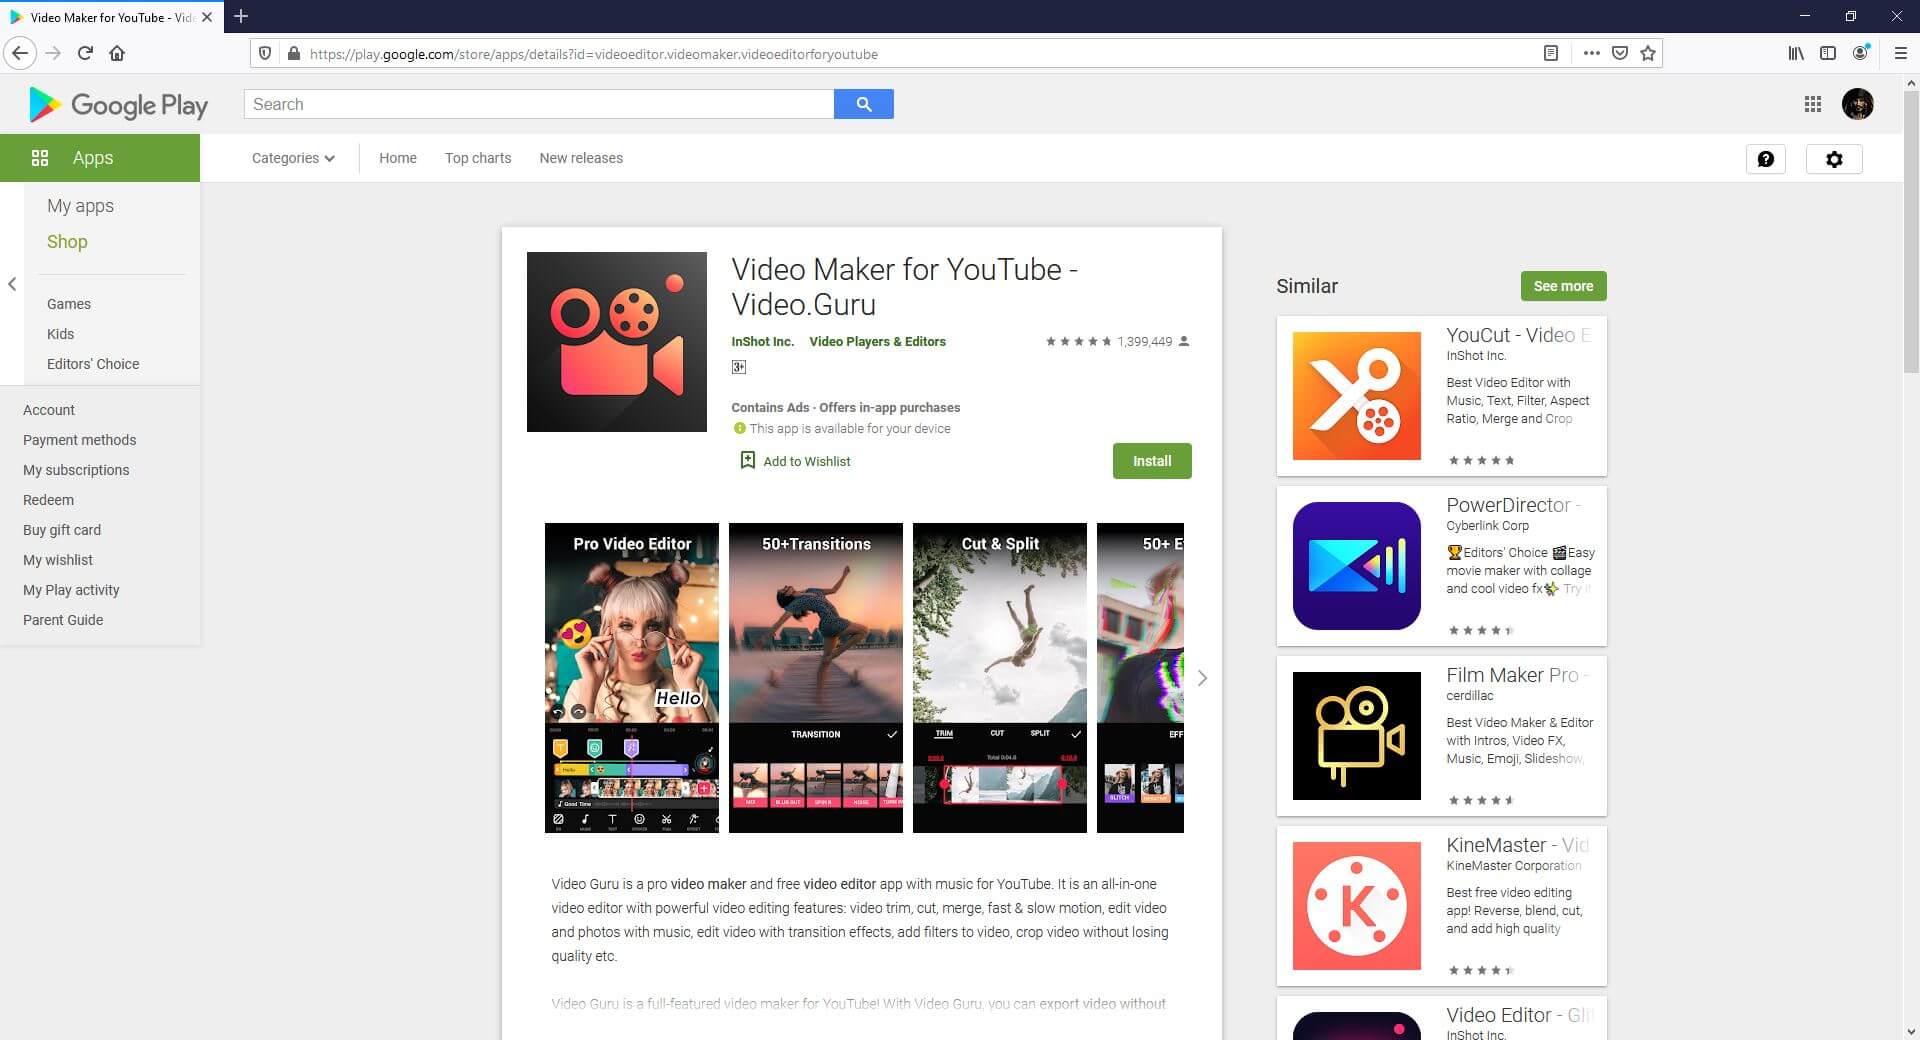
This one is specifically designed and developed for short videos that are prepared for Tik Tok, Facebook, etc.
Supported Platforms: Android (5.0 and above)
Users’ Star Rating (Out of 5): 4.8
Main Features: Supports multi-layer editing, allows voice recording and voiceovers, can be used to create videos for YouTube, has several filters and effects, etc.
Aspect Ratio: Almost all widely used sizes
Sharing: Allows publishing directly to YouTube
Pros: Offers fully licensed music for a video background, allows audio fade-in and fade-out effects, allows music video creation, lets you merge two or more clips into one, etc.
Cons: Some users experience distortion while using an external microphone
5. Adobe Premiere Rush
Developed by the creative application developing giant, Adobe, this app has everything you would possibly need to prepare YouTube Shorts. Because the developer is Adobe, the program can be trusted without any doubts.
Supported Platforms: Android and iOS (13.0 and above)
Users’ Star Rating (Out of 5): 4.6
Main Features: Allows video recording with the built-in camera, allows adding animated titles using the available templates, has a multi-track timeline, etc.
Aspect Ratio: Almost all widely used sizes
Sharing: Allows publishing directly to YouTube
Pros: Offers several editing effects, has a plethora of royalty-free soundtracks, etc.
Cons: Advanced tools can be accessed only after buying a premium subscription
6. Funimate Video Editor & Maker
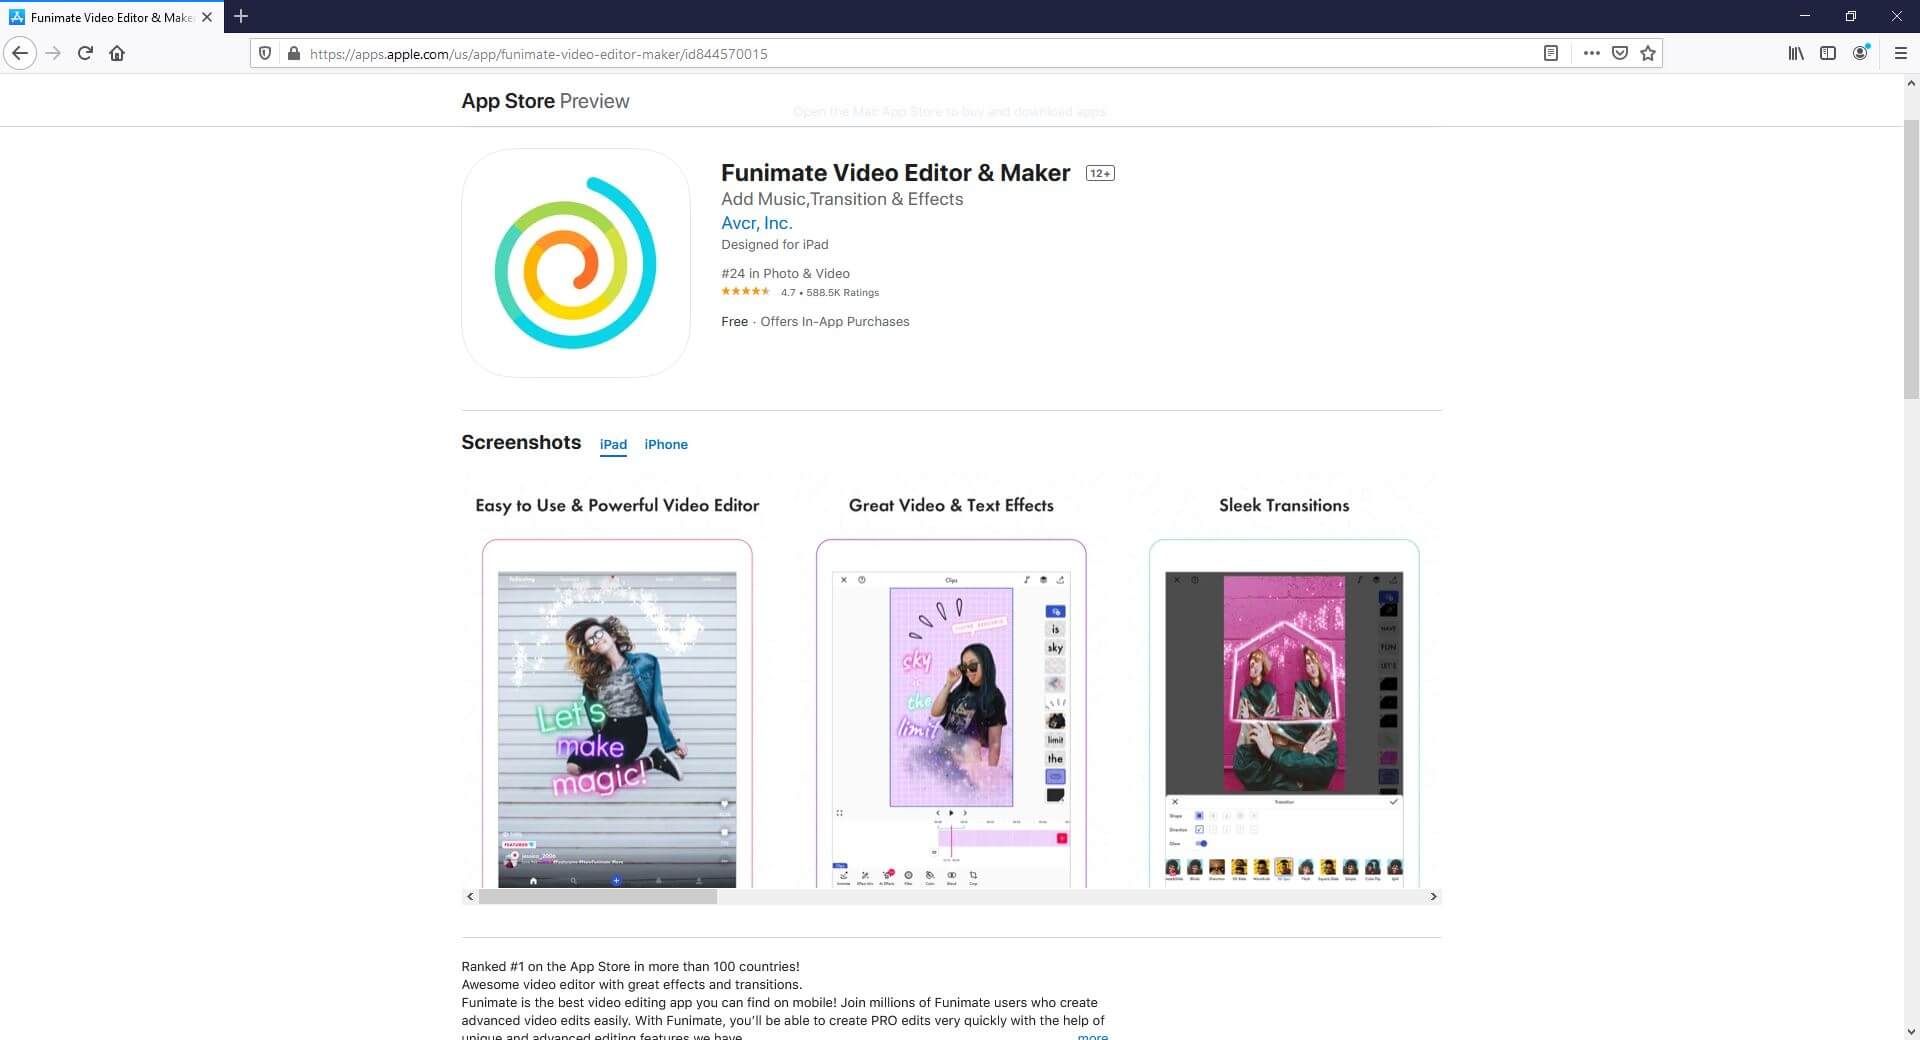
With a 4.7-star rating, this app has been ranked as the best in more than 100 countries. The program has several built-in video effects to make your clips more engaging.
Supported Platforms: Android (5.0 and above) and iOS (12.0 and above)
Users’ Star Rating (Out of 5): 4.7
Main Features: Enables lip-sync, allows keyframe-oriented animations and effects, supports video masking, etc.
Aspect Ratio: Almost all widely used sizes
Sharing: Allows publishing directly to social platforms like YouTube, Tik Tok, Instagram, etc.
Pros: Has intro and outro effects, allows you to add music to the videos, is free to use, etc.
Cons: Paid subscription is needed to unlock all the advanced tools and features of the app
7. LumaFusion
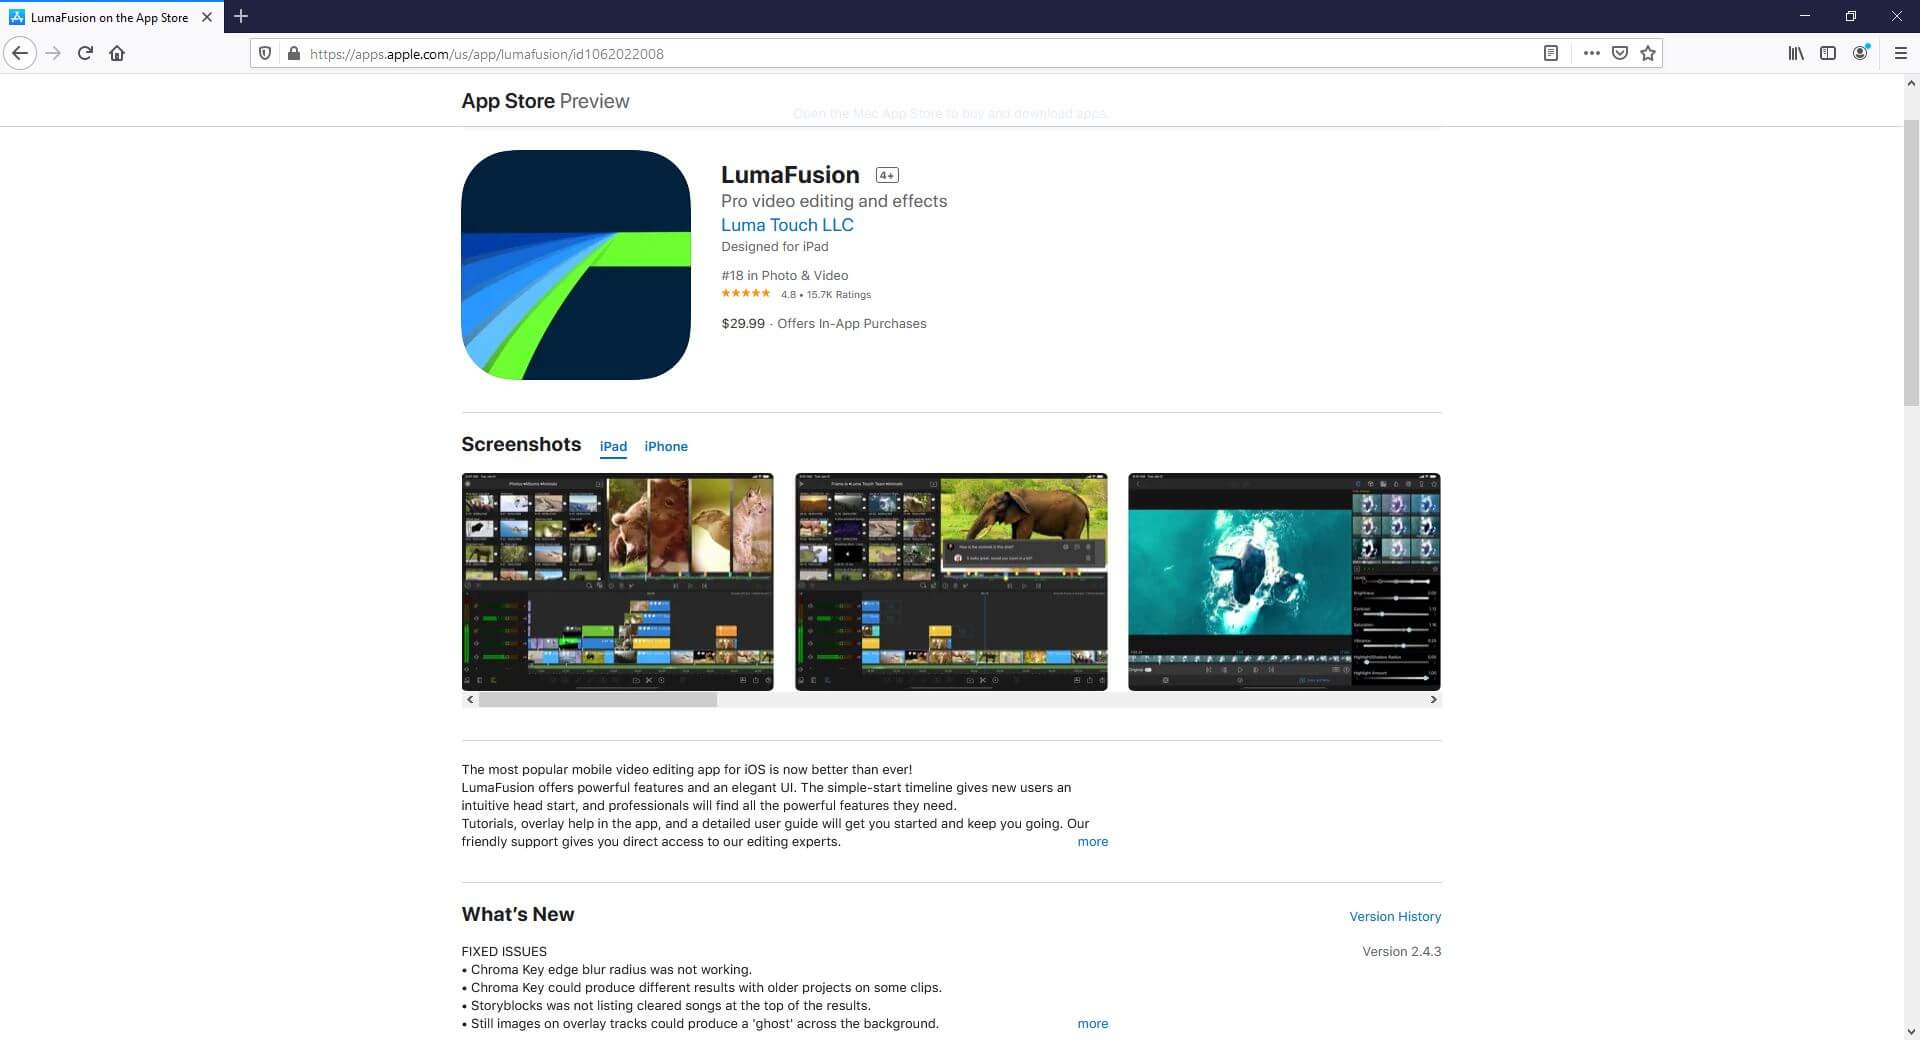
LumaFusion is crowned with a 4.8-star rating and is packed with options like media library, slow and fast motion playback, additional audio tracks, and much more.
Supported Platforms: iOS (13.3 and above)
Users’ Star Rating (Out of 5): 4.8
Main Features: Frame rates that range between 18 FPS to 240 FPS, color correction, keyframe-oriented color, and effects animations, etc.
Aspect Ratio: Almost all widely used sizes
Sharing: Allows publishing directly to almost all platforms
Pros: Can export projects as Final Cut Pro X files for further editing
Cons: Paid subscription is needed for exporting projects for Final Cut Pro X
8. VivaCut – PRO Video Editor APP
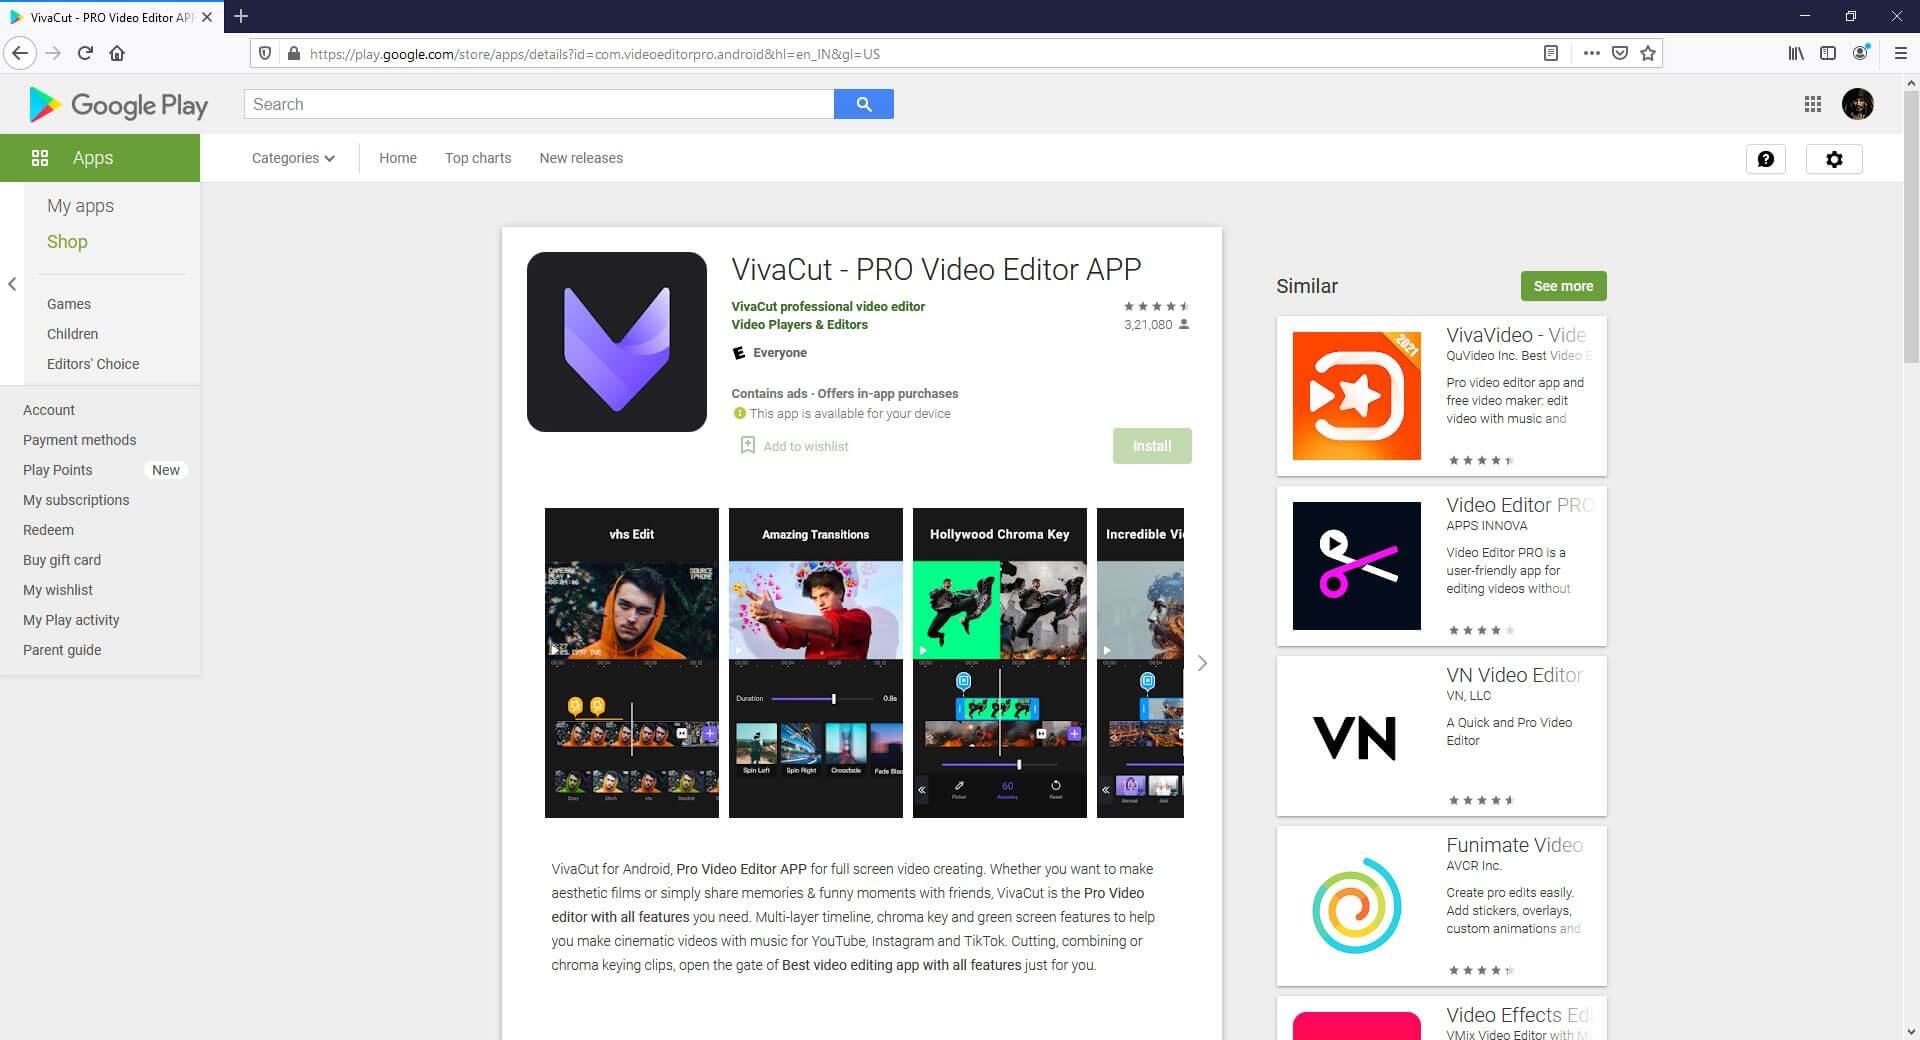
As the name suggests, VivaCut is a professional-level video editing tool for mobile devices that enjoys a decent star rating.
Supported Platforms: Android (5.0 and above) and iOS (9.0 and above)
Users’ Star Rating (Out of 5): 4.7
Main Features: Offers visual effects like VHS, RGP, Glitch, etc., allows Picture-in-Picture (to be released soon), allows video trimming, cropping, and merging, etc.
Aspect Ratio: Almost all widely used sizes
Sharing: Allows one-click publishing directly on YouTube
Pros: Supports up to 4K video resolution
Cons: Paid subscription is required to access the Pro-level features and options
9. Filmmaker Pro – Video Editor
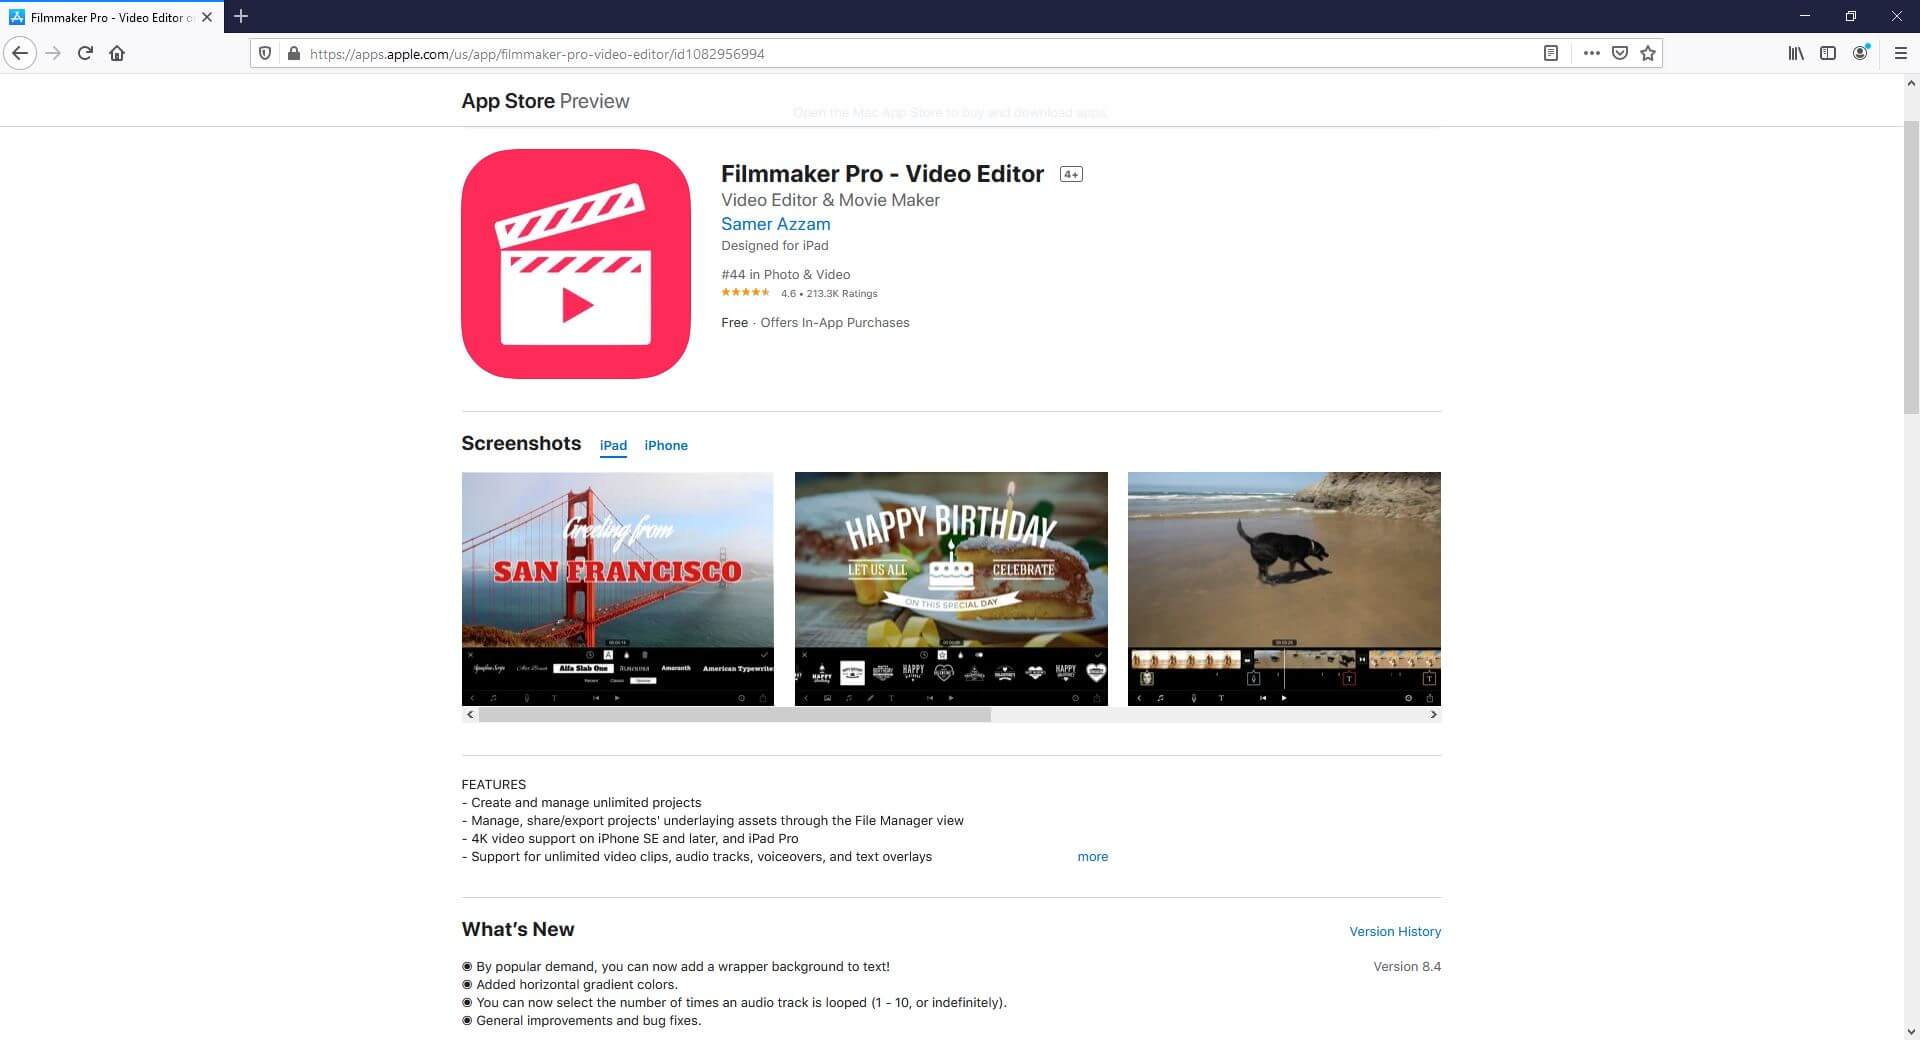
Filmmaker Pro is a free video editing app for mobile devices equipped with a plethora of pro features to make your post-production experience convenient and fun.
Supported Platforms: Android (4.4 and above) and iOS (11.0 and above)
Users’ Star Rating (Out of 5): 4.6
Main Features: Supports video playback reversal, allows Picture-in-Picture for videos and photos, supports green screen (chroma key), and much more.
Aspect Ratio: Almost all widely used sizes
Sharing: Exports videos to the device
Pros: Offers several text animation options, has drawing tools, etc.
Cons: Paid subscription is required to remove watermark from the exported videos
10. Video Editor for YouTube & Video Maker – My Movie
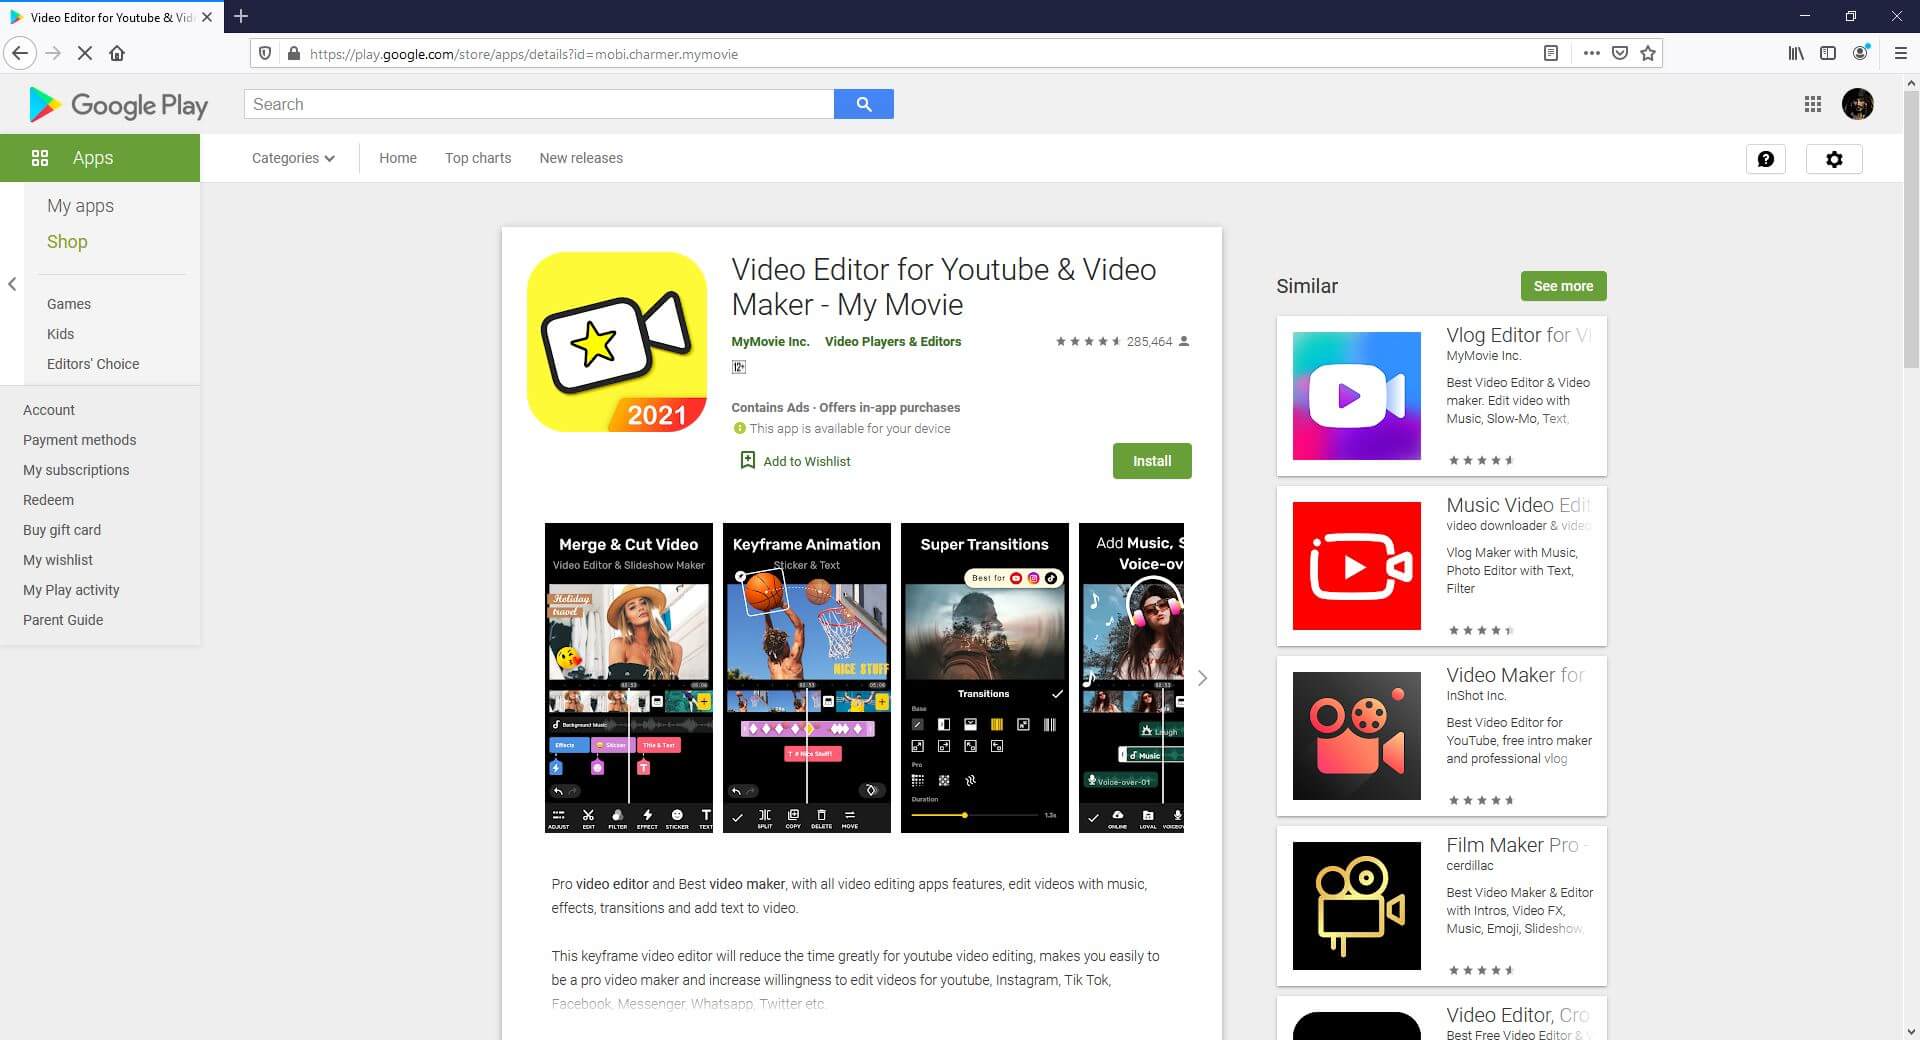
Yet another editor for both amateurs and professionals, Video Editor for YouTube, consists of all the features that a YouTube Shorts video needs to prepare engaging content.
Supported Platforms: Android (5.0 and above)
Users’ Star Rating (Out of 5): 4.6
Main Features: Allows cropping, flipping, and rotating the video clips, allows audio recording for voiceovers, lets you control the playback speed, etc.
Aspect Ratio: Almost all widely used sizes
Sharing: Allows publishing directly on YouTube
Pros: Has keyframe-oriented animation effects, can merge multiple video clips into one, etc.
Cons: Some content might not be suitable for kids below 12 years of age
Above are some of the best video editing apps that you can use on iPhone or Android phones to create YouTube Shorts videos. Besides those third-party apps, you can also create a Shorts video from the YouTube app directly. Check this article to get detailed information about making and uploading a YouTube Shorts Video with Shorts App .
Use Filmora to Create YouTube Shorts Video on PC
If you prefer to convert or make videos on a computer, I recommend you to try our video editor Filmora X , which is an ideal solution for YouTubers.
You can make a vertical video with Filmora easily as it provides a 9:16 aspect ratio that works perfectly for editing YouTube Shorts videos. Compared with mobile apps, desktop softwares like Filmora allows you to add more elements and effects to your video to make it impressive. Check out the below video about how to edit vertical video using our Filmora X and try it out if you are impressed.
For Win 7 or later (64-bit)
 Secure Download
For macOS 10.14 or later
Secure Download
Click here to get Filmora for PC by email
or Try Filmora App for mobile >>>
download filmora app for ios ](https://app.adjust.com/b0k9hf2%5F4bsu85t ) download filmora app for android ](https://app.adjust.com/b0k9hf2%5F4bsu85t )
Conclusion
Making videos less than 60 seconds in duration and then publishing them on YouTube with the ‘#Shorts’ tag in the title or description lets you create short videos for YouTube. The apps listed above help you in this, and you can easily prepare attractive and engaging short clips pretty quickly using any of them. However, the most recommended, widely used, and the much-appreciated program is Wondershare Filmora that is not merely limited to mobile application-level features, it even has tools that usually compete with those available in the desktop software.
Richard Bennett
Richard Bennett is a writer and a lover of all things video.
Follow @Richard Bennett
Richard Bennett
Mar 27, 2024• Proven solutions
Even though Shorts is integrated within the YouTube app and still in beta, you can still edit your videos. At this writing, the only additional elements that you can add to your short videos are background music and captions. While these two are good enough to make your clips informative, they might not be able to attract as many viewers as there would have been if the footages were well-decorated with a couple of filters, effects, stickers, etc.
That said, listed below are some of the efficient and feature-packed third-party apps that can help you beautify your videos before they can be published as Shorts on your YouTube channel:
Best Shorts Video Editing Apps for iOS and Android (Free and Paid)
Top 10 short video editing apps for smartphones, along with their attributes, include:
1. Wondershare Filmora
This was developed by one of the IT giants called Wondershare. The elder sibling of Filmora is Filmora, a PC program for both Windows and Mac platforms that gives tough competition to some of the commonly used post-production applications like Adobe Premiere Pro, Final Cut Pro X, etc.
Supported Platforms: Android and iOS (11.0 and above)
Users’ Star Rating (Out of 5): 4.6
Main Features: Allows video editing (trimming, cutting, etc.), adds or extracts music from the videos, supports HD quality exporting, etc.
Aspect Ratio: Almost all widely used sizes
Sharing: Allows publishing directly to YouTube
Pros: Free to use, available for both iOS and Android, a complete package for video editing enthusiasts
Cons: Free version adds a watermark to the exported videos
2. VideoLeap – Video Editor – Film Photo Editor
Another lightweight video editor for mobile devices, VideoLeap, lets you edit the videos simply and quickly.
Supported Platforms: Android (4.3 and above) and iOS (12.0 and above)
Users’ Star Rating (Out of 5): 4.3
Main Features: Has more than 200 filters, allows trimming and cropping, offers a practically unlimited number of undoes and redoes
Aspect Ratio: Almost all widely used sizes
Sharing: Exports videos to the device
Pros: Offers layer-based editing, gives access to the professional-level filters for video decoration, has more than 60 overlays, etc.
Cons: Paid subscription is needed to access features like edit, crop, and reverse
3. KineMaster Video Editor
KineMaster is probably one of the most popular video editors among vloggers, beginners, and teenagers. With simple UI, the app offers easy access to many of its features to edit the videos.
Supported Platforms: Android (6.0 and above) and iOS (12.4 and above)
Users’ Star Rating (Out of 5): 4.7
Main Features: Color correction, video reversal, trimming, splitting, cutting, voice changer, sound effects, etc.
Aspect Ratio: Almost all widely used sizes
Sharing: Allows publishing directly to YouTube
Pros: Can export videos to 4K 60 FPS, can be used for free, supports multiple languages
Cons: A premium subscription must be purchased to access advanced features
4. Video Maker for YouTube – Video.Guru
This one is specifically designed and developed for short videos that are prepared for Tik Tok, Facebook, etc.
Supported Platforms: Android (5.0 and above)
Users’ Star Rating (Out of 5): 4.8
Main Features: Supports multi-layer editing, allows voice recording and voiceovers, can be used to create videos for YouTube, has several filters and effects, etc.
Aspect Ratio: Almost all widely used sizes
Sharing: Allows publishing directly to YouTube
Pros: Offers fully licensed music for a video background, allows audio fade-in and fade-out effects, allows music video creation, lets you merge two or more clips into one, etc.
Cons: Some users experience distortion while using an external microphone
5. Adobe Premiere Rush
Developed by the creative application developing giant, Adobe, this app has everything you would possibly need to prepare YouTube Shorts. Because the developer is Adobe, the program can be trusted without any doubts.
Supported Platforms: Android and iOS (13.0 and above)
Users’ Star Rating (Out of 5): 4.6
Main Features: Allows video recording with the built-in camera, allows adding animated titles using the available templates, has a multi-track timeline, etc.
Aspect Ratio: Almost all widely used sizes
Sharing: Allows publishing directly to YouTube
Pros: Offers several editing effects, has a plethora of royalty-free soundtracks, etc.
Cons: Advanced tools can be accessed only after buying a premium subscription
6. Funimate Video Editor & Maker
With a 4.7-star rating, this app has been ranked as the best in more than 100 countries. The program has several built-in video effects to make your clips more engaging.
Supported Platforms: Android (5.0 and above) and iOS (12.0 and above)
Users’ Star Rating (Out of 5): 4.7
Main Features: Enables lip-sync, allows keyframe-oriented animations and effects, supports video masking, etc.
Aspect Ratio: Almost all widely used sizes
Sharing: Allows publishing directly to social platforms like YouTube, Tik Tok, Instagram, etc.
Pros: Has intro and outro effects, allows you to add music to the videos, is free to use, etc.
Cons: Paid subscription is needed to unlock all the advanced tools and features of the app
7. LumaFusion
LumaFusion is crowned with a 4.8-star rating and is packed with options like media library, slow and fast motion playback, additional audio tracks, and much more.
Supported Platforms: iOS (13.3 and above)
Users’ Star Rating (Out of 5): 4.8
Main Features: Frame rates that range between 18 FPS to 240 FPS, color correction, keyframe-oriented color, and effects animations, etc.
Aspect Ratio: Almost all widely used sizes
Sharing: Allows publishing directly to almost all platforms
Pros: Can export projects as Final Cut Pro X files for further editing
Cons: Paid subscription is needed for exporting projects for Final Cut Pro X
8. VivaCut – PRO Video Editor APP
As the name suggests, VivaCut is a professional-level video editing tool for mobile devices that enjoys a decent star rating.
Supported Platforms: Android (5.0 and above) and iOS (9.0 and above)
Users’ Star Rating (Out of 5): 4.7
Main Features: Offers visual effects like VHS, RGP, Glitch, etc., allows Picture-in-Picture (to be released soon), allows video trimming, cropping, and merging, etc.
Aspect Ratio: Almost all widely used sizes
Sharing: Allows one-click publishing directly on YouTube
Pros: Supports up to 4K video resolution
Cons: Paid subscription is required to access the Pro-level features and options
9. Filmmaker Pro – Video Editor
Filmmaker Pro is a free video editing app for mobile devices equipped with a plethora of pro features to make your post-production experience convenient and fun.
Supported Platforms: Android (4.4 and above) and iOS (11.0 and above)
Users’ Star Rating (Out of 5): 4.6
Main Features: Supports video playback reversal, allows Picture-in-Picture for videos and photos, supports green screen (chroma key), and much more.
Aspect Ratio: Almost all widely used sizes
Sharing: Exports videos to the device
Pros: Offers several text animation options, has drawing tools, etc.
Cons: Paid subscription is required to remove watermark from the exported videos
10. Video Editor for YouTube & Video Maker – My Movie
Yet another editor for both amateurs and professionals, Video Editor for YouTube, consists of all the features that a YouTube Shorts video needs to prepare engaging content.
Supported Platforms: Android (5.0 and above)
Users’ Star Rating (Out of 5): 4.6
Main Features: Allows cropping, flipping, and rotating the video clips, allows audio recording for voiceovers, lets you control the playback speed, etc.
Aspect Ratio: Almost all widely used sizes
Sharing: Allows publishing directly on YouTube
Pros: Has keyframe-oriented animation effects, can merge multiple video clips into one, etc.
Cons: Some content might not be suitable for kids below 12 years of age
Above are some of the best video editing apps that you can use on iPhone or Android phones to create YouTube Shorts videos. Besides those third-party apps, you can also create a Shorts video from the YouTube app directly. Check this article to get detailed information about making and uploading a YouTube Shorts Video with Shorts App .
Use Filmora to Create YouTube Shorts Video on PC
If you prefer to convert or make videos on a computer, I recommend you to try our video editor Filmora X , which is an ideal solution for YouTubers.
You can make a vertical video with Filmora easily as it provides a 9:16 aspect ratio that works perfectly for editing YouTube Shorts videos. Compared with mobile apps, desktop softwares like Filmora allows you to add more elements and effects to your video to make it impressive. Check out the below video about how to edit vertical video using our Filmora X and try it out if you are impressed.
For Win 7 or later (64-bit)
Secure Download
For macOS 10.14 or later
Secure Download
Click here to get Filmora for PC by email
or Try Filmora App for mobile >>>
download filmora app for ios ](https://app.adjust.com/b0k9hf2%5F4bsu85t ) download filmora app for android ](https://app.adjust.com/b0k9hf2%5F4bsu85t )
Conclusion
Making videos less than 60 seconds in duration and then publishing them on YouTube with the ‘#Shorts’ tag in the title or description lets you create short videos for YouTube. The apps listed above help you in this, and you can easily prepare attractive and engaging short clips pretty quickly using any of them. However, the most recommended, widely used, and the much-appreciated program is Wondershare Filmora that is not merely limited to mobile application-level features, it even has tools that usually compete with those available in the desktop software.
Richard Bennett
Richard Bennett is a writer and a lover of all things video.
Follow @Richard Bennett
Also read:
- [New] Average Income for Popular YouTube Creators
- The Blueprint for YouTube Video Success
- Choosing Free Video Editing Software on iPhone & iPad for 2024
- Unrivaled Popularity Ranking the Top Subscribers on YouTube
- PowerPoint Mastery Integrating External Video URLs
- [Updated] Digital Diving Into YouTube’s Veiled Video Vaults
- Push More Viewers to Your Channel with Easy Tricks (2)
- Discover the Top 10 Historically Rich YouTube Tutorials
- 2024 Approved Elevate Your Day Discovering Youtube's Prime Anime Sources
- In 2024, Craft Cinematic Magic Learn Green Screen Wonders with YouTube
- [New] Construct the Ultimate Experience in Unveiling Videos
- Fuel the Fire Top Videos That Inspire Audiences
- Generating Attention-Grabbing Video Teasers
- Mastering YouTube Google Meet Live Broadcast Steps
- Transform Your Ideas Into Actionable Steps IDevice Screenshots for Video Sharing
- In 2024, Breakdown of Profit Earning Potential From Each YouTube Sponsored Post?
- In 2024, Breaking the Mold Unique Post-VidCon Events
- Vid-Wizards Guide to Glitter and Glamour Creating Your Chanel
- Unlocking High-Quality Videos YouTube's Enhancement Secrets Revealed
- [New] Elevate Storytelling - Free Soundtrack Options Available
- Live Watch Tracker Applications
- Unleashing Your Channel's Potential Increase YouTube Views
- Essential Information for Choosing the Best Video Platform
- A Step-by-Step Guide to Becoming a Vtuber for 2024
- 2024 Approved Club Chronicles Expertly Picked DJ Videos
- Unleash the Power of Digital Advertising with Our Comprehensive Set of 50 FREE YouTube Banners
- 2024 Approved Elevating Your Content 6 Steps to Higher YouTube Visibility
- [New] Download YouTube Videos Directly
- Best Buy Top 10 Gaming GPUs for High-Quality Online Viewing for 2024
- [Updated] Dive Into the World of Cosmetics Launching a Beauty Channel
- In 2024, Cementing Climactic Conclusions
- Identifying Your Individual Song Collection on YouTube
- Direct Transfer of YouTube Playlists - Stepwise Processing
- How to Quickly Fix Bluetooth Not Working on Honor Play 40C | Dr.fone
- Bricked Your Itel A60s? Heres A Full Solution | Dr.fone
- Downloading SamFw FRP Tool 3.0 for Oppo A56s 5G
- Is your Xiaomi Redmi Note 13 5G working too slow? Heres how you can hard reset it | Dr.fone
- ACID Pro A Deep Dive & Competitive Matchups
- Android Unlock Code Sim Unlock Your Oppo K11 5G Phone and Remove Locked Screen
- Broadcast Capture Made Easy Your Comprehensive Guide for 2024
- [Updated] Capture Your Vision Leading Tablet Art Tools
- [New] AcoustiQuest Investigating Soundscape for 2024
- [New] 2024 Approved The Compreeved Compendium Downloading Vimeo Content Pro's Way
- [New] In 2024, Navigating Through the Best 10 Free Video Chat Options for Business and Education Sectors
- In 2024, Top Video Meeting Applications Excluding Zoom
- Title: "Effortless Engagement Integrating GS & YT Strategies"
- Author: Steven
- Created at : 2024-05-25 19:11:50
- Updated at : 2024-05-26 19:11:50
- Link: https://youtube-clips.techidaily.com/effortless-engagement-integrating-gs-and-yt-strategies/
- License: This work is licensed under CC BY-NC-SA 4.0.
