
:max_bytes(150000):strip_icc()/unnamed-73cf43c8e3ae418bb426cb3b0b450125.png)
"Capture Your Best Side Tips for Effective Talking-Head Shots"
Capture Your Best Side: Tips for Effective Talking-Head Shots
4 Ways To Set Up Your Talking-Head Shots For YouTube

Richard Bennett
Oct 26, 2023• Proven solutions
A big part of being a YouTuber involves talking to the camera. How you set up your talking-head shot depends on many factors, including how much space you have, what kind of look you’re going for, and how many people you want to fit in one frame. Here are four ways to set up your talking-head shots for YouTube.
| Table of Contents 1. Close Quarters Wide-Angle Vlog Set-Up2. Medium Vlog Set-Up3. Two Person Vlog Set-Up4. Long Teleprompter Vlog Set-Up |
|---|
How to Set Up Your Talking Heads Shots for YouTube Video [Infographic]
We’ve summarized the key points about setting up talking head style video shots with the Infographic below. It is welcomed to share on social media.

How to Set Up Your Talking-Head Shots for YouTube [4 Ways]
1. Close Quarters Wide-Angle Vlog Set-Up
Don’t have a lot of space to set up your camera and lighting equipment? No problem! You can be within an arm’s length away from your camera with a close quarters wide-angle vlog set-up.
With this set-up, you’re going to need a camera with a wide-angle lens, a tripod, a camera-mounted shotgun mic for sound, and a ring light for light.
Set your camera on the tripod and mount the shotgun mic directly on the camera shoe (the electronic bracket on the top of the camera). Inside the circular space of your ring light, position your camera right in the middle of it so that you can shoot your video through it without getting any part of the lighting equipment in your shot.
In the video above, Sean Cannell demonstrates this set-up. As you can see from this example, the wide-angle lens is able to squeeze in a lot of what’s in front of the camera into the shot.
Objects and people that just make it into the sides of the frame will appear more stretched out as the wide-angle causes distortion and enhances perspectives.
If you look closely into Sean’s eyes, you can also see a specular highlight in the shape of a circle. Many people like the way eyes look against a ring light.
2. Medium Vlog Set-Up
If you have more space and want to shoot a more professional-looking talking-head shot with more realistic perspectives, a medium vlog set-up may be a better alternative for you.
For this set-up, you’ll be using a slightly longer standard/normal lens (like a 35mm or a 50mm lens) attached to your camera which would be set on a tripod. Since this longer lens will show less of the surrounding areas as it “zooms” closer into whatever is in front, you will need to sit further back, away from your camera.
Now that you’re further away from your camera, a camera-mounted shotgun mic may not be the best mic for you. For better sound recording, you’ll need a shotgun mic fixed on a mic stand that is set up like a boom mic, positioned just outside of your camera frame.
At the 39 second mark of the above video, electronic music producer deadmau5 is positioned right in the center of this particular set-up.
You can see from how even the background and couch looks across the entire camera frame that there is no distortion or enhanced perspective.
It appears that, to the right of deadmau5 (camera left), there is a key light and to his left (camera right) there may be a fill light for additional lighting. Behind the couch, there’s also a background uplight to create depth between the subject and the background. At the 1:30 mark of this trailer video, you can briefly see how the Masterclass camera crew set up their shot.
3. Two Person Vlog Set-Up
If your talking-head shot has got to include two people, you can use a similar set-up as the medium vlog set-up detailed above.
If you look back at the 39-second mark of deadmau5’s Masterclass trailer, you can see that there’s a lot of space to the left and right of deadmau5. Now imagine the same shot but with two people.
With two people, though, you’ll want to set up your mic slightly differently. Rather than using a directional shotgun mic with a narrow area of sensitivity, you’ll want to use a directional mic with a wider area of sensitivity.
4. Long Teleprompter Vlog Set-Up
If you want to read over a script but still make it appear like you’re looking straight into the camera, you’ll need to use a long teleprompter vlog set-up.
For this set-up, you’ll need all the same equipment as the medium vlog set-up, but you’ll additionally need a teleprompter placed in front of your camera equipped with a long telephoto lens.
You will have to sit much further back away from your camera for two main reasons. Firstly, you want to be able to fit yourself in your much more zoomed-in camera frame (effect of the long telephoto lens). Secondly, you want to be far enough that the camera cannot detect your eyes reading from left to right. You’ll want to be around six meters away from a 17” teleprompter monitor or around four meters away from a 10” teleprompter monitor.
In the above video, Jared Polin uses a long teleprompter vlog set-up.
In the video, he says there’s about 8 feet (2.4 meters) between himself and his lens. At the 1:15 mark of his video, Jared demonstrates how this set-up works.
It is difficult to know whether the movement in his eyes is caused by not being far enough from the lens or from his horizontal nystagmus condition in his eyes.
Looking to find the right lights for your video recording set? Check out our Top 17 Video Lighting Equipment For YouTubers .
Tips for Making a Talking Head Video Better
To make a talking-head video more interesting, you can add some background music to the video, apply some interesting texts or elements. Filmora has built-in royalty-free music tracks and sound effects as well as text templates , filters and motivating elements. Download the free trial version below and release your creativity.


Richard Bennett
Richard Bennett is a writer and a lover of all things video.
Follow @Richard Bennett
Richard Bennett
Oct 26, 2023• Proven solutions
A big part of being a YouTuber involves talking to the camera. How you set up your talking-head shot depends on many factors, including how much space you have, what kind of look you’re going for, and how many people you want to fit in one frame. Here are four ways to set up your talking-head shots for YouTube.
| Table of Contents 1. Close Quarters Wide-Angle Vlog Set-Up2. Medium Vlog Set-Up3. Two Person Vlog Set-Up4. Long Teleprompter Vlog Set-Up |
|---|
How to Set Up Your Talking Heads Shots for YouTube Video [Infographic]
We’ve summarized the key points about setting up talking head style video shots with the Infographic below. It is welcomed to share on social media.
How to Set Up Your Talking-Head Shots for YouTube [4 Ways]
1. Close Quarters Wide-Angle Vlog Set-Up
Don’t have a lot of space to set up your camera and lighting equipment? No problem! You can be within an arm’s length away from your camera with a close quarters wide-angle vlog set-up.
With this set-up, you’re going to need a camera with a wide-angle lens, a tripod, a camera-mounted shotgun mic for sound, and a ring light for light.
Set your camera on the tripod and mount the shotgun mic directly on the camera shoe (the electronic bracket on the top of the camera). Inside the circular space of your ring light, position your camera right in the middle of it so that you can shoot your video through it without getting any part of the lighting equipment in your shot.
In the video above, Sean Cannell demonstrates this set-up. As you can see from this example, the wide-angle lens is able to squeeze in a lot of what’s in front of the camera into the shot.
Objects and people that just make it into the sides of the frame will appear more stretched out as the wide-angle causes distortion and enhances perspectives.
If you look closely into Sean’s eyes, you can also see a specular highlight in the shape of a circle. Many people like the way eyes look against a ring light.
2. Medium Vlog Set-Up
If you have more space and want to shoot a more professional-looking talking-head shot with more realistic perspectives, a medium vlog set-up may be a better alternative for you.
For this set-up, you’ll be using a slightly longer standard/normal lens (like a 35mm or a 50mm lens) attached to your camera which would be set on a tripod. Since this longer lens will show less of the surrounding areas as it “zooms” closer into whatever is in front, you will need to sit further back, away from your camera.
Now that you’re further away from your camera, a camera-mounted shotgun mic may not be the best mic for you. For better sound recording, you’ll need a shotgun mic fixed on a mic stand that is set up like a boom mic, positioned just outside of your camera frame.
At the 39 second mark of the above video, electronic music producer deadmau5 is positioned right in the center of this particular set-up.
You can see from how even the background and couch looks across the entire camera frame that there is no distortion or enhanced perspective.
It appears that, to the right of deadmau5 (camera left), there is a key light and to his left (camera right) there may be a fill light for additional lighting. Behind the couch, there’s also a background uplight to create depth between the subject and the background. At the 1:30 mark of this trailer video, you can briefly see how the Masterclass camera crew set up their shot.
3. Two Person Vlog Set-Up
If your talking-head shot has got to include two people, you can use a similar set-up as the medium vlog set-up detailed above.
If you look back at the 39-second mark of deadmau5’s Masterclass trailer, you can see that there’s a lot of space to the left and right of deadmau5. Now imagine the same shot but with two people.
With two people, though, you’ll want to set up your mic slightly differently. Rather than using a directional shotgun mic with a narrow area of sensitivity, you’ll want to use a directional mic with a wider area of sensitivity.
4. Long Teleprompter Vlog Set-Up
If you want to read over a script but still make it appear like you’re looking straight into the camera, you’ll need to use a long teleprompter vlog set-up.
For this set-up, you’ll need all the same equipment as the medium vlog set-up, but you’ll additionally need a teleprompter placed in front of your camera equipped with a long telephoto lens.
You will have to sit much further back away from your camera for two main reasons. Firstly, you want to be able to fit yourself in your much more zoomed-in camera frame (effect of the long telephoto lens). Secondly, you want to be far enough that the camera cannot detect your eyes reading from left to right. You’ll want to be around six meters away from a 17” teleprompter monitor or around four meters away from a 10” teleprompter monitor.
In the above video, Jared Polin uses a long teleprompter vlog set-up.
In the video, he says there’s about 8 feet (2.4 meters) between himself and his lens. At the 1:15 mark of his video, Jared demonstrates how this set-up works.
It is difficult to know whether the movement in his eyes is caused by not being far enough from the lens or from his horizontal nystagmus condition in his eyes.
Looking to find the right lights for your video recording set? Check out our Top 17 Video Lighting Equipment For YouTubers .
Tips for Making a Talking Head Video Better
To make a talking-head video more interesting, you can add some background music to the video, apply some interesting texts or elements. Filmora has built-in royalty-free music tracks and sound effects as well as text templates , filters and motivating elements. Download the free trial version below and release your creativity.
Richard Bennett
Richard Bennett is a writer and a lover of all things video.
Follow @Richard Bennett
8 Premium Complimentary Streaming Media Processors
Free Online Video Editors for YouTube
Richard Bennett
Mar 27, 2024• Proven solutions
Most of you might be addicted to YouTube videos because those uploads are outstanding with content that contains information, entertainment stuff and many more. But some of you might be also thinking to get a solution for editing some of your favourite YouTube videos in order to create some customized results. There are so many options available online as well as with downloadable versions. Below are some of the basic details about top seven highly rated online YouTube video editors:
If you need more advanced features like PIP, Green Screen, or audio mixing, check this easy to use and powerful video editor-Wondershare Filmora , and ignite your video by clicks.
Download Mac Version ](https://tools.techidaily.com/wondershare/filmora/download/ )
8 Free YouTube Video Editor Online
Here is a comparison table. You will learn more information about 4K and price. Each of them has noticable features, so have a look.
| Price | Share to YouTube | Support 4K | Include templates | |
|---|---|---|---|---|
| video editor | Free | N | Y | Y |
| Wevideo | Free | Y | Y | Y |
| Loopster | Free | Y | N | N |
| Kizoa | Free | Y | Y | Y |
| Tubechop | Free | N | N | Y |
| Magisto | Free | Y | N | Y |
| Wideo | Free | Y | N | Y |
| Renderforest | Free | Y | N | Y |
| Powtoon | Free | Y | N | Y |
| YouTube Studio | Free | Y | Y | N |
2. Wevideo
This software tool makes online editing task much easier and fun oriented where you can easily make connections with other cloud services for exporting data. Users can access its paid as well as free version where later comes with watermarked editing feature. The editing experience with Wevideo is really outstanding and simple where interactive tools can be used for drag and drop, trimming and transitioning of files.
Pros:
Collaborative software feature where it is possible to call friends for uploading any footage to project created by you.
Cons:
Free version comes with a limitation of watermarked video type.
3.Loopster
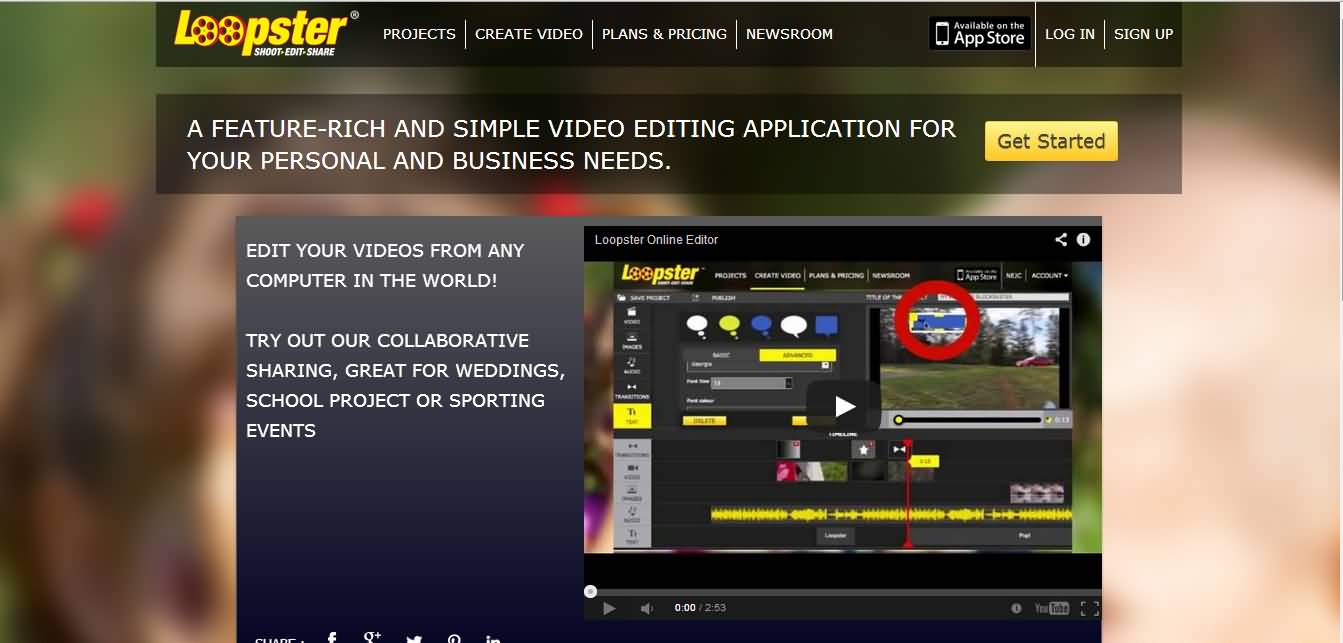
Loopster is one of the best options for educators, film makers, professionals as well as beginners due to its interactive interface. You can avail its free version along with other affordable packages as per need. The special features include splicing of features, adjustment of video angles, sound effect creations and addition of music from external sources.
Pros:
Easy to use interface with fast access to photo and video transfers; allows fast uploading to YouTube account along with other simple functions.
Cons:
Comes with very basic functions and transition feature is not that interactive; is not useful for animation needs.
4.Kizoa

Kizoa is a popular cloud based video editor that comes with user friendly interface where users can edit, share and store photos as per requirement as its storage capacity goes up to 1GB even with free account. It comes with cloud base and web base where you can also upload music from your personal computer.
Pros:
It comes with numerous templates and effects.
Cons:
Free account allows users to work only on a 10 second clip; and resolution is not much appreciable.
5.Tubechop
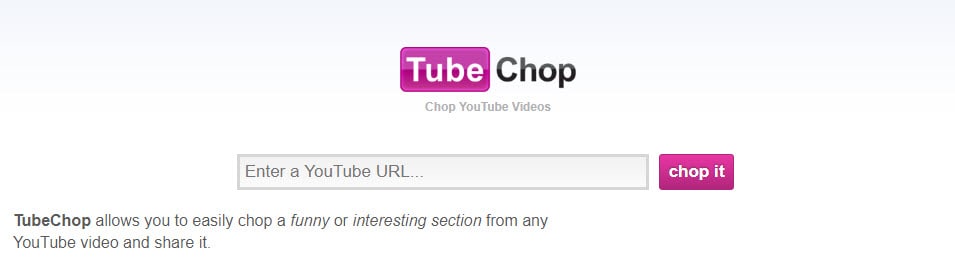
It is actually a website that allows easy chopping of YouTube videos; users need to copy and paste the URL of videos and select the desired part of video for chopping. This tool provides lots of options to for sharing chopped videos to other platforms.
Pros:
Trimming and sharing of videos is much easier as easy to use interface makes everything much easier.
Cons:
Not suitable for those who want to add background music to their video files.
6.Magisto
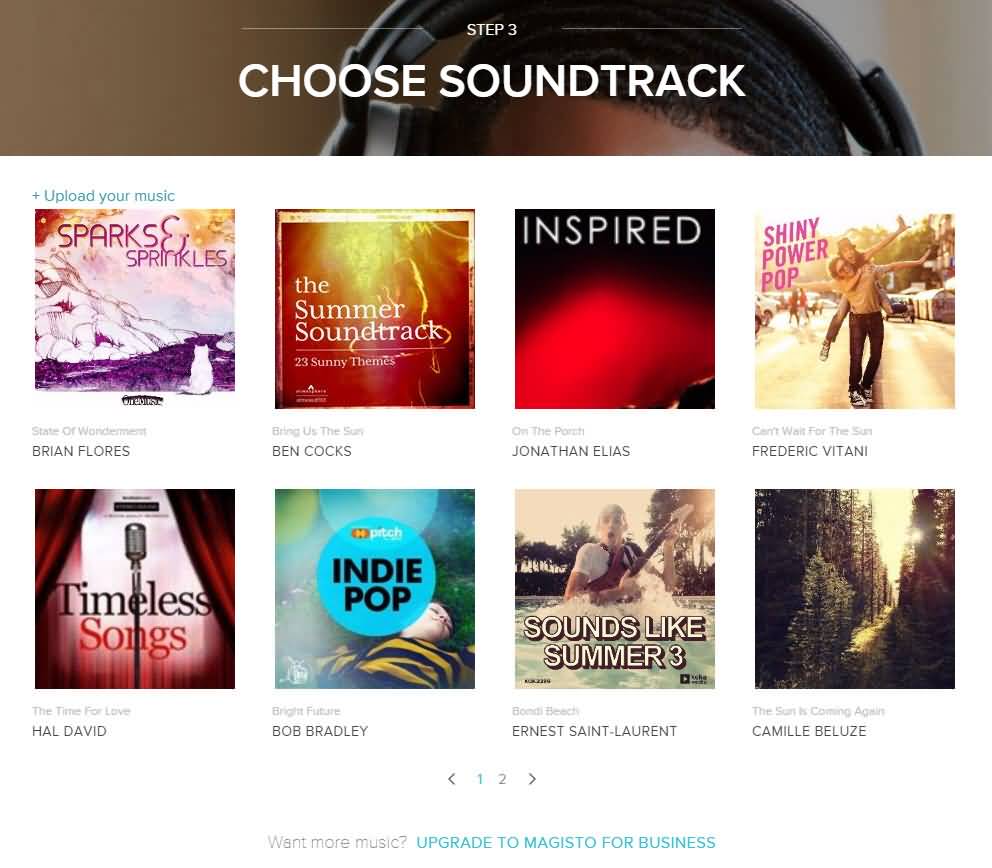
Magisto is a great app that is really popular for automatically turning what would otherwise be an everyday type video into a beautiful poignant movie. . Magisto allows users to derive a funny video from any random footage and the results are worth watching.
Pros:
This online video editing tool is well designed, engaging and offers highly automated video production feature.
Cons:
Less control over edits, restricted length of productions and pricey subscriptions.
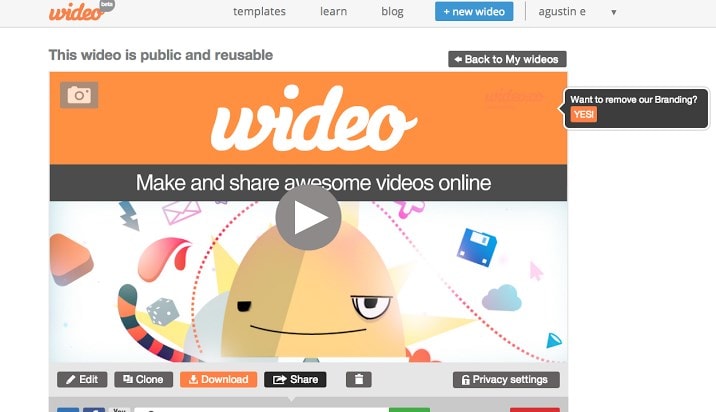
7.Wideo
It is one of the latest web based application tool that allows easy to use interface for creation of presentations and animations. This software window contains lots of stylish templates, objects, editing tools, and other interactive elements.
Pros:
Comes with free unbranded player and video hosting service, outstanding customer support, special discounts are added for educators and students.
Cons:
Possess limited editing tools for audios; users need faster internet connection for proper connectivity.
8.Renderforest
Renderforest is a cloud-based video maker platform. It offers a wide variety of branding and editing tools for YouTubers, including advanced video trimmer and voice-over options, logo animations, intros, and promotional video templates. Creators can share their videos on social media, publish them on Facebook or Youtube directly from the preview page.
Pros:
Intuitive and user-friendly interface, easy editing tools, and more than 800+ video templates available for free. The subscription plans come with other tools, including a website builder, logo maker, and mockup editor.
Cons:
With the free plan, users can create an unlimited number of 3-minute videos in 360p with watermarks.
9.Powtoon

Powtoon is an amazing online application that you don’t need to download on your system as it provides all facilities on your premium account. This tool contains so many tools for animation creation and acts like a professional studio for all users. Premium users can easily download their finished videos with high resolution here.
Pros:
Powtoon possesses numerous editing tools and supports many file types; this platform is more famous for animations and professional video editing needs.
Cons:
It is little difficult to use this software for beginners and demands very high speed internet connection.
10.YouTube Studio (Beta)
YouTube video editor was one of the most widely used free online video editing tool over the internet until 20th September, 2017, because after that time, users will no longer be able to use the complimentary editing suite. Check the best YouTube video editor alternatives from this complete guide.

However, the new YouTube Studio now allows you to trim, split video uploaded YouTube videos and add blur effects to faces or objects. Though this easy to use free online video editor doesn’t feature tools like combine several video clips, photos into one longer video, nor add Pan and Zoom effects like the previous version, you can still add audio tracks from its Audio Library to Video. Yeah, this is a video maker online with music and effects. So, it is in our best free online video editor list. Remember, if you’re looking for a free online video editor for YouTube for these simple editing features, then you can try the Editor under YouTube Studio.
Richard Bennett
Richard Bennett is a writer and a lover of all things video.
Follow @Richard Bennett
Richard Bennett
Mar 27, 2024• Proven solutions
Most of you might be addicted to YouTube videos because those uploads are outstanding with content that contains information, entertainment stuff and many more. But some of you might be also thinking to get a solution for editing some of your favourite YouTube videos in order to create some customized results. There are so many options available online as well as with downloadable versions. Below are some of the basic details about top seven highly rated online YouTube video editors:
If you need more advanced features like PIP, Green Screen, or audio mixing, check this easy to use and powerful video editor-Wondershare Filmora , and ignite your video by clicks.
Download Mac Version ](https://tools.techidaily.com/wondershare/filmora/download/ )
8 Free YouTube Video Editor Online
Here is a comparison table. You will learn more information about 4K and price. Each of them has noticable features, so have a look.
| Price | Share to YouTube | Support 4K | Include templates | |
|---|---|---|---|---|
| video editor | Free | N | Y | Y |
| Wevideo | Free | Y | Y | Y |
| Loopster | Free | Y | N | N |
| Kizoa | Free | Y | Y | Y |
| Tubechop | Free | N | N | Y |
| Magisto | Free | Y | N | Y |
| Wideo | Free | Y | N | Y |
| Renderforest | Free | Y | N | Y |
| Powtoon | Free | Y | N | Y |
| YouTube Studio | Free | Y | Y | N |
2. Wevideo
This software tool makes online editing task much easier and fun oriented where you can easily make connections with other cloud services for exporting data. Users can access its paid as well as free version where later comes with watermarked editing feature. The editing experience with Wevideo is really outstanding and simple where interactive tools can be used for drag and drop, trimming and transitioning of files.
Pros:
Collaborative software feature where it is possible to call friends for uploading any footage to project created by you.
Cons:
Free version comes with a limitation of watermarked video type.
3.Loopster
Loopster is one of the best options for educators, film makers, professionals as well as beginners due to its interactive interface. You can avail its free version along with other affordable packages as per need. The special features include splicing of features, adjustment of video angles, sound effect creations and addition of music from external sources.
Pros:
Easy to use interface with fast access to photo and video transfers; allows fast uploading to YouTube account along with other simple functions.
Cons:
Comes with very basic functions and transition feature is not that interactive; is not useful for animation needs.
4.Kizoa
Kizoa is a popular cloud based video editor that comes with user friendly interface where users can edit, share and store photos as per requirement as its storage capacity goes up to 1GB even with free account. It comes with cloud base and web base where you can also upload music from your personal computer.
Pros:
It comes with numerous templates and effects.
Cons:
Free account allows users to work only on a 10 second clip; and resolution is not much appreciable.
5.Tubechop
It is actually a website that allows easy chopping of YouTube videos; users need to copy and paste the URL of videos and select the desired part of video for chopping. This tool provides lots of options to for sharing chopped videos to other platforms.
Pros:
Trimming and sharing of videos is much easier as easy to use interface makes everything much easier.
Cons:
Not suitable for those who want to add background music to their video files.
6.Magisto
Magisto is a great app that is really popular for automatically turning what would otherwise be an everyday type video into a beautiful poignant movie. . Magisto allows users to derive a funny video from any random footage and the results are worth watching.
Pros:
This online video editing tool is well designed, engaging and offers highly automated video production feature.
Cons:
Less control over edits, restricted length of productions and pricey subscriptions.
7.Wideo
It is one of the latest web based application tool that allows easy to use interface for creation of presentations and animations. This software window contains lots of stylish templates, objects, editing tools, and other interactive elements.
Pros:
Comes with free unbranded player and video hosting service, outstanding customer support, special discounts are added for educators and students.
Cons:
Possess limited editing tools for audios; users need faster internet connection for proper connectivity.
8.Renderforest
Renderforest is a cloud-based video maker platform. It offers a wide variety of branding and editing tools for YouTubers, including advanced video trimmer and voice-over options, logo animations, intros, and promotional video templates. Creators can share their videos on social media, publish them on Facebook or Youtube directly from the preview page.
Pros:
Intuitive and user-friendly interface, easy editing tools, and more than 800+ video templates available for free. The subscription plans come with other tools, including a website builder, logo maker, and mockup editor.
Cons:
With the free plan, users can create an unlimited number of 3-minute videos in 360p with watermarks.
9.Powtoon
Powtoon is an amazing online application that you don’t need to download on your system as it provides all facilities on your premium account. This tool contains so many tools for animation creation and acts like a professional studio for all users. Premium users can easily download their finished videos with high resolution here.
Pros:
Powtoon possesses numerous editing tools and supports many file types; this platform is more famous for animations and professional video editing needs.
Cons:
It is little difficult to use this software for beginners and demands very high speed internet connection.
10.YouTube Studio (Beta)
YouTube video editor was one of the most widely used free online video editing tool over the internet until 20th September, 2017, because after that time, users will no longer be able to use the complimentary editing suite. Check the best YouTube video editor alternatives from this complete guide.
However, the new YouTube Studio now allows you to trim, split video uploaded YouTube videos and add blur effects to faces or objects. Though this easy to use free online video editor doesn’t feature tools like combine several video clips, photos into one longer video, nor add Pan and Zoom effects like the previous version, you can still add audio tracks from its Audio Library to Video. Yeah, this is a video maker online with music and effects. So, it is in our best free online video editor list. Remember, if you’re looking for a free online video editor for YouTube for these simple editing features, then you can try the Editor under YouTube Studio.
Richard Bennett
Richard Bennett is a writer and a lover of all things video.
Follow @Richard Bennett
Also read:
- Discover Leading Fonts Boosting Your YouTube Thumbnails for 2024
- Unlocking the Secrets to Counting YouTube Traffic and Profits
- In 2024, Elevate Your Content Strategies to Climb YouTube Ranks
- Elite Alternative Edits Skip Youtube, Not Just Content
- [New] Attract 1,000 Viewers Quickly on YouTube
- 2024 Approved Dissecting YouTube’s Strategy to Empower Short-Form Content Makers
- ClearFocusCutOut How to Blur Your YouTube Video's Background
- How to Accelerate Your YouTube Upload with Effective Rendering
- Best Practices for YouTube Outro Design for 2024
- Demystifying YouTube Shorts Template Design Principles
- [Updated] Cutting-Edge Content Summit
- Counteract Vibration for Clear Captures
- Utilizing YouTube's Annotation Feature
- [New] Comprehensive Insights Into iMovie Techniques for YouTube Creators
- Escaping YouTube Ranked List of 27 Alternative Streaming Services for 2024
- [Updated] YouTube Monetization Does YouTube Pay Monthly?
- [Updated] Elevated Viewership Status Symbolized by Buttons
- From Zero to Hero A Step-by-Step Approach to YouTube Backlinks
- In 2024, Elevate Storytelling - Free Soundtrack Options Available
- Quality Guffaws Uncover the Top 15 YouTube Comedy Talents
- In 2024, Elevating Engagement The Pillars of YouTube Rankings
- [New] Best Microphone for Different YouTube Channel Types
- The Ultimate Checklist of Key Elements in Tagging a Video
- In 2024, AJay The Creative Content Creator's Profitable Venture on YouTube
- Elevate Your YouTube Presence with Studio Insights for 2024
- 2024 Approved Accelerate Engagement - Implementing the Top 12 Video Growth Strategies
- 2024 Approved Building a Million Views Empire Safe and Secure Methods
- 2024 Approved Crafting Compelling YouTube Narratives with Chapters and Subsections
- Elite Channel Analyzer Top YouTube Positioning Tool
- Pioneering Film Making Skills Through YouTube Videos
- 2024 Approved Boosting Viewership Mastery in YouTube Shorts Design
- In 2024, Does Accruing Artificial Views Diminish Your Content's Credibility?
- Boosting Revenue with YouTube Short Videos – A Complete Plan for 2024
- 2024 Approved Compreenhensive Guide for YouTube Short Video Creators
- [Updated] Brand Consistency in Action Inserting Logos/Watermarks Into Videos
- [Updated] Avoiding Blur Techniques for Hand-Held Stability
- 2024 Approved Boosting Engagement From the Start Premium, Paid-Free Intra Creators
- [New] Eliminate YouTube? These 10 Mobile App Alternatives Will Fill the Void
- [Updated] Cohesive Title Blueprint for Social & Mobile Platforms
- [Updated] Elevate Your Channel's Standing with These Tactics
- Understanding YouTube's Revenue Model One Million Viewer Focus
- In 2024, Breaking Down the Process for YouTube Comment Highlights
- Peak Performance Best Post Times Unveiled
- 2024 Approved Chuckling Challenge Brainstroming 7 Humorous YouTube Videos
- Skyrocketing View Count on YouTube (Two Hacks)
- In 2024, How to Transfer Contacts from Xiaomi 13T to iPhone XS/11 | Dr.fone
- [Updated] Your Ultimate PS4 Screen Recorder Inside the OBS Studio Guide for 2024
- In 2024, How to Track a Lost OnePlus Ace 2 for Free? | Dr.fone
- How to Fix It Vivo Y77t Wont Turn On | Dr.fone
- 2024 Approved Transcript Download, Analyze Content
- [New] In 2024, Essential MC Edifices A Starter Collection of Domiciles
- Best Fixes For Honor 100 Pro Hard Reset | Dr.fone
- Updated Discovering the Premier Audio Capture and Editing Apps for Android Devices
- Types of Facebook Video Aspect Ratios & How to Adjust It for 2024
- In 2024, Zero Dollar MP3 Recorders Skype Call Edition
- Activating Screen Recording with Internal Devices in Huawei Mate and P Series (Mate 10/20; P20/10) for 2024
- In 2024, How does the stardust trade cost In pokemon go On Samsung Galaxy M54 5G? | Dr.fone
- In 2024, Remove the Lock Screen Fingerprint Of Your Nokia C12 Pro
- In 2024, Full Guide to Bypass ZTE FRP
- In 2024, Everything You Need to Know about Lock Screen Settings on your Infinix Hot 40
- New 2024 Approved Top 10 WebM Converters to MP4 Expert Reviews
- 2024 Approved Basic Scan-Capture Program - Windows 10
- Capturing Cinema Smartphone, Mac, and Desktop Screenshots
- [New] From Novice to Pro Becoming a Boomerang Connoisseur on Snapchat for 2024
- [New] 2024 Approved Top 25 Instagram Hashtags to Get More Likes and Followers
- [Updated] 9 Epic Live Gaming Stations Unlocked
- Easy Guide to Samsung Galaxy F04 FRP Bypass With Best Methods
- 3 Facts You Need to Know about Screen Mirroring Vivo G2 | Dr.fone
- 2024 Approved Utilizing Instagram Filters to Elevate Your Photos
- [New] 2024 Approved Visionary Tech That Cares for the Earth
- [Updated] Unveiling Vidma's Video Capturing Excellence for 2024
- How To Get the Apple ID Verification Code From iPhone 11 Pro in the Best Ways
- New 2024 Approved 2 Solutions to Cut Video in VLC on Windows
- How to Share Location in Messenger On ZTE Axon 40 Lite? | Dr.fone
- In 2024, Ways To Find Unlocking Codes For Motorola Edge 40 Phones
- In 2024, Android to Apple How To Transfer Photos From Nokia C32 to iPad Easily | Dr.fone
- How to Detect and Stop mSpy from Spying on Your Realme C55 | Dr.fone
- [Updated] In 2024, Enabling Instant Access to YouTube Videos in Your Facebook Browsing
- Updated How to Change Frame Rate in Premiere Pro for 2024
- 2024 Approved What Is Omegle, Is Omegle Safe?
- [New] 2024 Approved Twitter's Hilarious Highlights
- 5 Easy Ways to Copy Contacts from Infinix Note 30 Pro to iPhone 14 and 15 | Dr.fone
- Updated S Most Popular Royalty-Free Image Websites
- How to Successfully Bypass iCloud Activation Lock on Apple iPhone 14 Pro Max
- In 2024, Fundamentals of Creating Persuasive Social Media Messages
- How to Rescue Lost Videos from Motorola Moto G34 5G
- Title: "Capture Your Best Side Tips for Effective Talking-Head Shots"
- Author: Steven
- Created at : 2024-05-25 18:54:39
- Updated at : 2024-05-26 18:54:39
- Link: https://youtube-clips.techidaily.com/capture-your-best-side-tips-for-effective-talking-head-shots/
- License: This work is licensed under CC BY-NC-SA 4.0.
