
:max_bytes(150000):strip_icc()/PS5-and-Handheld-b0d564931dca40e189b3cd769af45dc0.jpg)
"Achieving Auditory Perfection Top Tips for Quality Audio for 2024"
Achieving Auditory Perfection: Top Tips for Quality Audio
10 Recording Tips for Recording Audio with High Quality

Richard Bennett
Oct 26, 2023• Proven solutions
Getting the best sound for your recording is not as simplistic as buying an expensive microphone. There are many different things you can do to record your audio more clearly. Here are 10 recording tips to record high-quality audio.
1. Silence everything you don’t want your microphone to record
2. Put your mobile phone in airplane mode
3. Minimize echo
4. Block wind from reaching your microphone
5. Upgrade your microphone
6. Adjust your levels
7. Start with a sound cue if you’re planning to do some syncing in post
8. Get close to the sound
9. ADR
10. Record Ambient Sound
Bonus Tip-Record Your Audio with Wondershare Filmora
Wondershare Filmora has great recording features that enable you to record screen , voiceover, and webcam. Just connect the recording device to your computer, and start the recording in Wondershare Filmora and you will get high-quality audio. And you can also easily pick a song from the royalty-free music library on Wondershare Filmora. These audio features on Filmora are rare and very simple to use, you only need to click a few times and your video will have a new sound and background song.


1. Silence everything you don’t want your microphone to record
When you’re recording audio, you have to be more aware of the subtle sounds that drone on in your background. These sounds may include humming from machines with fans, buzzing from lights, and jingling from your pet’s collar. Observe your recording space and find ways to silence everything that you don’t want in your audio recording.
2. Put your mobile phone in airplane mode
Although it may be quite obvious to turn your phone’s ring tone off when you’re recording, it may not be as obvious to put your phone in airplane mode. When phones receive calls or perform searches as part of their background processes, they emit signals that can get picked up by your recording system. Avoid ruining good takes with unwanted sounds of phone signals by putting your phones in airplane mode.
3. Minimize echo
If you are recording yourself talk or sing, make sure to set up your recording space in a way where the sound projected from your voice bounces minimally off the walls and back to your microphone. Bare walls and hardwood floors will cause a lot of bouncing. Make use of materials that will absorb your sound rather than bounce it, like a thick rug or a comforter. If you want your voice to echo, that’s something you should do in post-production.
4. Block wind from reaching your microphone
Although it might not sound so loud and distracting to the naked ear, wind sounds terribly loud through a microphone recording and can cause your audio to clip (distortion of waveform due to output of sound exceeding maximum capacity or 0 dB point). This includes the “wind” that comes out of your mouth when you pronounce words starting with the letter “p.” Use pop filters, windscreens, and deadcats to block wind from reaching your microphone.
5. Upgrade your microphone
As much as you try to control all the noise in your surroundings, your greatest recording limitation will come from the hardware that you use. Improve your recordings by plugging in an external microphone into your camera’s microphone jack or record audio completely separately with a professional microphone.
Need help with deciding on a microphone to buy? Check out our recommended list of microphones.
6. Adjust your levels
Before pressing the record button, see how loudly your microphone picks up the sound you wish to record. Adjust your levels (sensitivity of your microphone) until the sound sits in between -6 dBs and -12dBs. This range gives the source of your sound some room to get louder without the recorded audio getting clipped. When you first listen to audio recorded within this range, it may sound very quiet. No need to worry though because you can increase the volume later in editing.
7. Start with a sound cue if you’re planning to do some syncing in post
If you’re recording separate audio that you plan to sync to your video later in editing, start your recording with a short and loud sound cue like a clap or a high pitched “beep” tone. Later, when you’re editing, it’ll be much easier for you to find the section where your video and additional audio match.
8. Get close to the sound
Unless you’re aiming to record ambient sound, bring your microphone close to the source of sound you are wanting to record. The closer your microphone is to the source of sound, the lower your sensitivity setting can be on your microphone. As a result of lowering your levels, sounds you are not meaning to record will also sound fainter.
9. ADR
When you need to record a scene in a loud setting where you have very little control over the noise, record additional vocals later and replace the original vocals through a process called automated dialogue replacement.
10. Record Ambient Sound
Remember to record ambient sound or “room tone.” You can use these recordings to fill in the blanks if you run out of audio and also smooth out parts of your audio where you hear pops, clicks, and other unwanted noise.
Richard Bennett
Richard Bennett is a writer and a lover of all things video.
Follow @Richard Bennett
Richard Bennett
Oct 26, 2023• Proven solutions
Getting the best sound for your recording is not as simplistic as buying an expensive microphone. There are many different things you can do to record your audio more clearly. Here are 10 recording tips to record high-quality audio.
1. Silence everything you don’t want your microphone to record
2. Put your mobile phone in airplane mode
3. Minimize echo
4. Block wind from reaching your microphone
5. Upgrade your microphone
6. Adjust your levels
7. Start with a sound cue if you’re planning to do some syncing in post
8. Get close to the sound
9. ADR
10. Record Ambient Sound
Bonus Tip-Record Your Audio with Wondershare Filmora
Wondershare Filmora has great recording features that enable you to record screen , voiceover, and webcam. Just connect the recording device to your computer, and start the recording in Wondershare Filmora and you will get high-quality audio. And you can also easily pick a song from the royalty-free music library on Wondershare Filmora. These audio features on Filmora are rare and very simple to use, you only need to click a few times and your video will have a new sound and background song.
1. Silence everything you don’t want your microphone to record
When you’re recording audio, you have to be more aware of the subtle sounds that drone on in your background. These sounds may include humming from machines with fans, buzzing from lights, and jingling from your pet’s collar. Observe your recording space and find ways to silence everything that you don’t want in your audio recording.
2. Put your mobile phone in airplane mode
Although it may be quite obvious to turn your phone’s ring tone off when you’re recording, it may not be as obvious to put your phone in airplane mode. When phones receive calls or perform searches as part of their background processes, they emit signals that can get picked up by your recording system. Avoid ruining good takes with unwanted sounds of phone signals by putting your phones in airplane mode.
3. Minimize echo
If you are recording yourself talk or sing, make sure to set up your recording space in a way where the sound projected from your voice bounces minimally off the walls and back to your microphone. Bare walls and hardwood floors will cause a lot of bouncing. Make use of materials that will absorb your sound rather than bounce it, like a thick rug or a comforter. If you want your voice to echo, that’s something you should do in post-production.
4. Block wind from reaching your microphone
Although it might not sound so loud and distracting to the naked ear, wind sounds terribly loud through a microphone recording and can cause your audio to clip (distortion of waveform due to output of sound exceeding maximum capacity or 0 dB point). This includes the “wind” that comes out of your mouth when you pronounce words starting with the letter “p.” Use pop filters, windscreens, and deadcats to block wind from reaching your microphone.
5. Upgrade your microphone
As much as you try to control all the noise in your surroundings, your greatest recording limitation will come from the hardware that you use. Improve your recordings by plugging in an external microphone into your camera’s microphone jack or record audio completely separately with a professional microphone.
Need help with deciding on a microphone to buy? Check out our recommended list of microphones.
6. Adjust your levels
Before pressing the record button, see how loudly your microphone picks up the sound you wish to record. Adjust your levels (sensitivity of your microphone) until the sound sits in between -6 dBs and -12dBs. This range gives the source of your sound some room to get louder without the recorded audio getting clipped. When you first listen to audio recorded within this range, it may sound very quiet. No need to worry though because you can increase the volume later in editing.
7. Start with a sound cue if you’re planning to do some syncing in post
If you’re recording separate audio that you plan to sync to your video later in editing, start your recording with a short and loud sound cue like a clap or a high pitched “beep” tone. Later, when you’re editing, it’ll be much easier for you to find the section where your video and additional audio match.
8. Get close to the sound
Unless you’re aiming to record ambient sound, bring your microphone close to the source of sound you are wanting to record. The closer your microphone is to the source of sound, the lower your sensitivity setting can be on your microphone. As a result of lowering your levels, sounds you are not meaning to record will also sound fainter.
9. ADR
When you need to record a scene in a loud setting where you have very little control over the noise, record additional vocals later and replace the original vocals through a process called automated dialogue replacement.
10. Record Ambient Sound
Remember to record ambient sound or “room tone.” You can use these recordings to fill in the blanks if you run out of audio and also smooth out parts of your audio where you hear pops, clicks, and other unwanted noise.
Richard Bennett
Richard Bennett is a writer and a lover of all things video.
Follow @Richard Bennett
Capture Your Best Moments: Top 8 Mirrorless Cameras For You
8 Best Mirrorless Cameras Vloggers Should Know
Richard Bennett
Nov 01, 2022• Proven solutions
Mirrorless cameras are great for vloggers wanting a powerful camera without the weight and size of a DSLR camera. As mirrorless cameras are becoming better with all the advancements in camera technology, more and more DSLR camera vloggers are switching over to vlogging with a mirrorless camera. Below is our list and review of the eight best mirrorless cameras for vlogging.
WHAT TO LOOK FOR IN A VLOGGING CAMERA
1. Fully articulated screen (flip screen)
2. Good continual autofocus while recording video
3. Good focus priority through face recognition
4. Touch to focus
5. Good low-light performance
6. external mic jack, hot/cold shoe bracket
7. optical image stabilization
8. good battery life
Check out my full list of 10 Things To Look For In A Vlogging Camera to understand the importance of these camera features.
THE 8 BEST MIRRORLESS CAMERAS FOR VLOGGING (2018)
| Camera | Release Date | Sensor Size | Flip Screen | Mic Port | Price | |
|---|---|---|---|---|---|---|
| CanonEOSM50 | 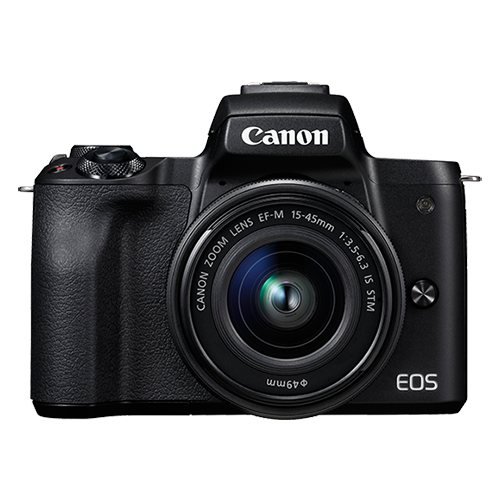 |
February2018 | APS-C(22.3 x 14.9 mm) | Fully Articulated | Yes | $- |
| PanasonicLumixDC-GH5S | 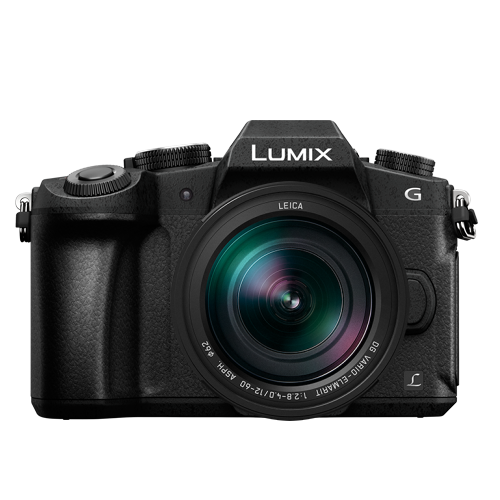 |
January2018 | Four Thirds(19.2 x 13 mm) | Fully Articulated | Yes | $$$ |
| SonyAlphaa7R III | 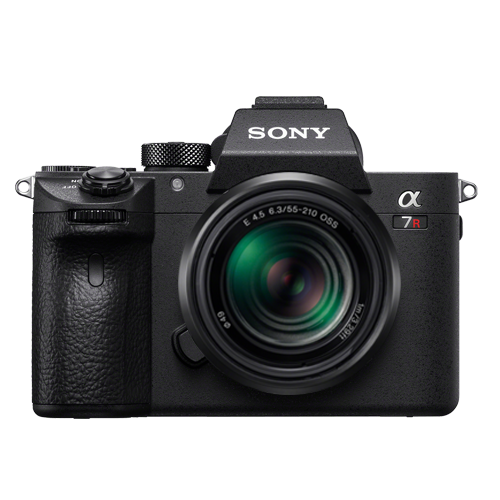 |
October2017 | Full Frame(35.9 x 24 mm) | Tilting | Yes | $$$ |
| CanonEOSM100 | 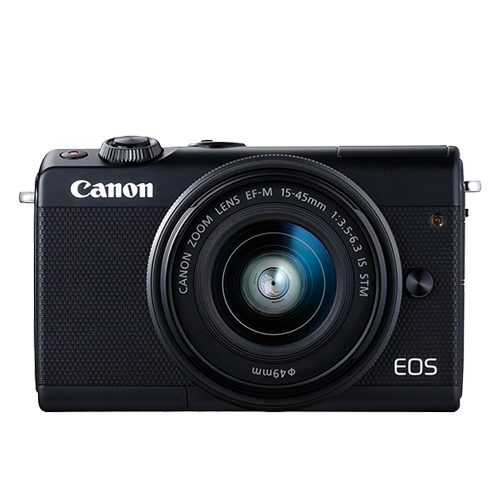 |
August2017 | APS-C(22.3 x 14.9 mm) | Flip Up | No | $ |
| CanonEOSM6 | 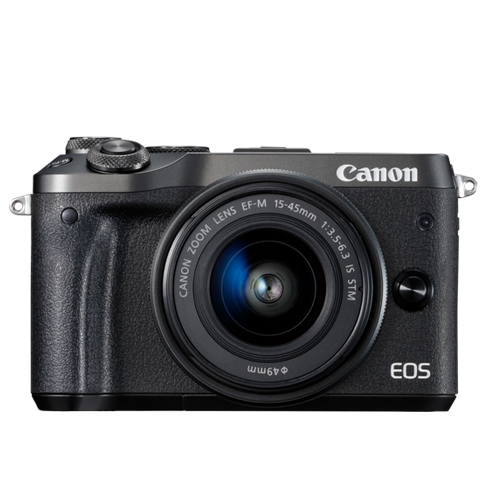 |
February2017 | APS-C(22.3 x 14.9 mm) | Flip Up | Yes | $- |
| SonyAlphaa6500 | 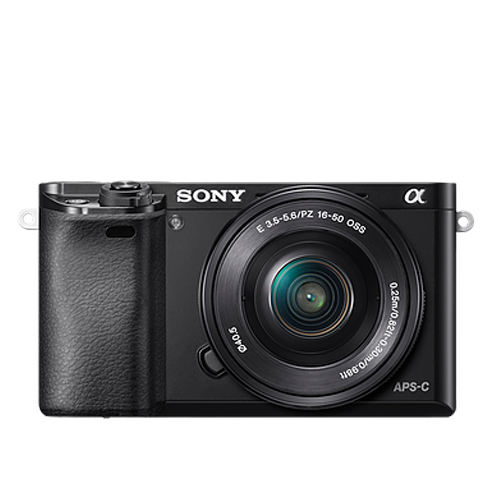 |
October2016 | APS-C(23.5 x 15.6 mm) | Tilting | Yes | $$- |
| PanasonicLumixDMC-G85 | 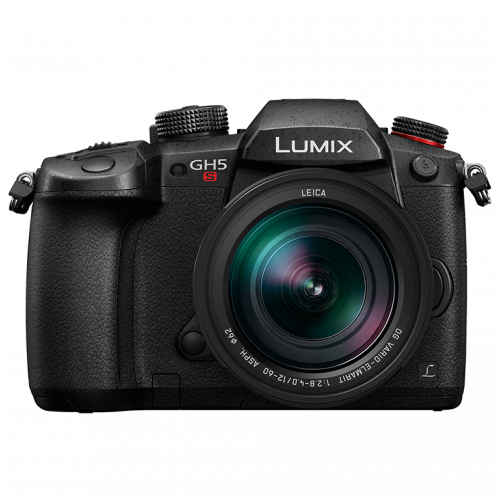 |
September2016 | Four Thirds(17.3 x 13 mm) | Fully Articulated | Yes | $- |
| PanasonicLumixDMC-G7 | 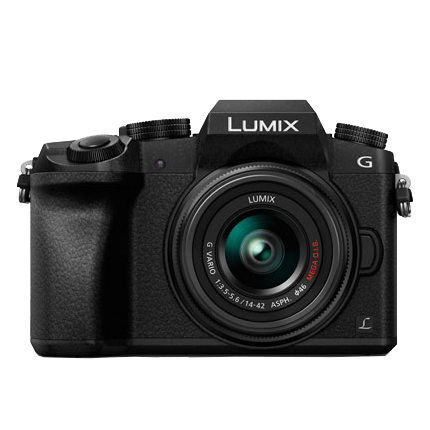 |
May2015 | Four Thirds(17.3 x 13 mm) | Fully Articulated | Yes | $ |
|
Best daily mirrorless camera for vlogging: Canon EOS M50 The Canon EOS M50 is Canon’s first mirrorless camera that comes equipped with both a fully-articulated screen and an external microphone jack. It came out only a few months ago and is already considered one of the best mirrorless cameras for vlogging. The M50 is also the only camera on our list that you can buy at a prosumer’s budget that shoots 4K video. Yes, the Sony a7R III and Panasonic GH5S also shoot 4K video, but they are much more expensive. With Canon’s new DIGIC 8 Image Processor, the camera’s dual-pixel autofocusing system will perform even better. PROS - Can shoot UHD 4K videos at 23.98 fps - Has a 2.36m-dot OLED electronic viewfinder CONS - No image stabilization - Battery life could be longer |
|---|---|
|
Best entry-level mirrorless camera for vlogging: Canon EOS M100 The Canon EOS M100 is a small, but powerful mirrorless camera for vlogging. This camera can shoot full HD 1080p videos at 60 fps. It cannot shoot 4K video, unfortunately. It uses its DIGIC 7 Image Processor and dual-pixel autofocusing system to ensure that your vlogs are always in focus. The M100 provides great ISO sensitivity options - it can reach up to ISO 25600. With its built-in Wi-Fi with NFC, you can transfer your media seamlessly to a computer. PROS - Affordable - Great connectivity options CONS - Lacks advanced video recording features - No viewfinder |
|
Best mid-range mirrorless camera for vlogging: Canon EOS M50 The Canon EOS M50 wins this category as well in our books. It is the only camera on our list that shoots 4K video that is priced much lower than the Sony a7R III and the Panasonic GH7S. In case you missed it, check out my review on the Canon EOS M50. |
|
Best professional mirrorless camera for vlogging: Panasonic Lumix DC-GH5S Originally, Panasonic had released it’s GH5 as a hybrid camera that handles both photography and videography well. In response to hearing customers’ interest in a more video-focused camera, Panasonic came up with the GH5S. In our list of the top mirrorless cameras, the Panasonic GH5S and the Sony a7R III are the two professional mirrorless cameras that can record 4K video. Between the two, though, the GH5S wins as the best professional mirrorless camera for vlogging because it sports a fully-articulated screen. Its micro four-thirds sensor is smaller than the a7R III’s full-frame sensor. Even with a smaller sensor, though, the GH5S is made to still autofocus well in low lighting conditions. Another amazing feature is its ability to record 240 fps slow-motion video at full HD 1080p. PROS - ISO sensitivity goes up to 204800 - High video bit rates CONS - Expensive - The camera body weighs about 1.5 lbs |
Want to compare even more cameras? Check out…
12 Best Vlogging Cameras (2018)
Top 11 Cheap Vlogging Cameras (2018)
7 Best DSLR Cameras For Vlogging (2018)
12 Best Vlogging Cameras With A Flip Screen (2018)
Richard Bennett
Richard Bennett is a writer and a lover of all things video.
Follow @Richard Bennett
Richard Bennett
Nov 01, 2022• Proven solutions
Mirrorless cameras are great for vloggers wanting a powerful camera without the weight and size of a DSLR camera. As mirrorless cameras are becoming better with all the advancements in camera technology, more and more DSLR camera vloggers are switching over to vlogging with a mirrorless camera. Below is our list and review of the eight best mirrorless cameras for vlogging.
WHAT TO LOOK FOR IN A VLOGGING CAMERA
1. Fully articulated screen (flip screen)
2. Good continual autofocus while recording video
3. Good focus priority through face recognition
4. Touch to focus
5. Good low-light performance
6. external mic jack, hot/cold shoe bracket
7. optical image stabilization
8. good battery life
Check out my full list of 10 Things To Look For In A Vlogging Camera to understand the importance of these camera features.
THE 8 BEST MIRRORLESS CAMERAS FOR VLOGGING (2018)
| Camera | Release Date | Sensor Size | Flip Screen | Mic Port | Price | |
|---|---|---|---|---|---|---|
| CanonEOSM50 | |
February2018 | APS-C(22.3 x 14.9 mm) | Fully Articulated | Yes | $- |
| PanasonicLumixDC-GH5S | |
January2018 | Four Thirds(19.2 x 13 mm) | Fully Articulated | Yes | $$$ |
| SonyAlphaa7R III | |
October2017 | Full Frame(35.9 x 24 mm) | Tilting | Yes | $$$ |
| CanonEOSM100 | |
August2017 | APS-C(22.3 x 14.9 mm) | Flip Up | No | $ |
| CanonEOSM6 | |
February2017 | APS-C(22.3 x 14.9 mm) | Flip Up | Yes | $- |
| SonyAlphaa6500 | |
October2016 | APS-C(23.5 x 15.6 mm) | Tilting | Yes | $$- |
| PanasonicLumixDMC-G85 | |
September2016 | Four Thirds(17.3 x 13 mm) | Fully Articulated | Yes | $- |
| PanasonicLumixDMC-G7 | |
May2015 | Four Thirds(17.3 x 13 mm) | Fully Articulated | Yes | $ |
|
Best daily mirrorless camera for vlogging: Canon EOS M50 The Canon EOS M50 is Canon’s first mirrorless camera that comes equipped with both a fully-articulated screen and an external microphone jack. It came out only a few months ago and is already considered one of the best mirrorless cameras for vlogging. The M50 is also the only camera on our list that you can buy at a prosumer’s budget that shoots 4K video. Yes, the Sony a7R III and Panasonic GH5S also shoot 4K video, but they are much more expensive. With Canon’s new DIGIC 8 Image Processor, the camera’s dual-pixel autofocusing system will perform even better. PROS - Can shoot UHD 4K videos at 23.98 fps - Has a 2.36m-dot OLED electronic viewfinder CONS - No image stabilization - Battery life could be longer |
|---|---|
|
Best entry-level mirrorless camera for vlogging: Canon EOS M100 The Canon EOS M100 is a small, but powerful mirrorless camera for vlogging. This camera can shoot full HD 1080p videos at 60 fps. It cannot shoot 4K video, unfortunately. It uses its DIGIC 7 Image Processor and dual-pixel autofocusing system to ensure that your vlogs are always in focus. The M100 provides great ISO sensitivity options - it can reach up to ISO 25600. With its built-in Wi-Fi with NFC, you can transfer your media seamlessly to a computer. PROS - Affordable - Great connectivity options CONS - Lacks advanced video recording features - No viewfinder |
|
Best mid-range mirrorless camera for vlogging: Canon EOS M50 The Canon EOS M50 wins this category as well in our books. It is the only camera on our list that shoots 4K video that is priced much lower than the Sony a7R III and the Panasonic GH7S. In case you missed it, check out my review on the Canon EOS M50. |
|
Best professional mirrorless camera for vlogging: Panasonic Lumix DC-GH5S Originally, Panasonic had released it’s GH5 as a hybrid camera that handles both photography and videography well. In response to hearing customers’ interest in a more video-focused camera, Panasonic came up with the GH5S. In our list of the top mirrorless cameras, the Panasonic GH5S and the Sony a7R III are the two professional mirrorless cameras that can record 4K video. Between the two, though, the GH5S wins as the best professional mirrorless camera for vlogging because it sports a fully-articulated screen. Its micro four-thirds sensor is smaller than the a7R III’s full-frame sensor. Even with a smaller sensor, though, the GH5S is made to still autofocus well in low lighting conditions. Another amazing feature is its ability to record 240 fps slow-motion video at full HD 1080p. PROS - ISO sensitivity goes up to 204800 - High video bit rates CONS - Expensive - The camera body weighs about 1.5 lbs |
Want to compare even more cameras? Check out…
12 Best Vlogging Cameras (2018)
Top 11 Cheap Vlogging Cameras (2018)
7 Best DSLR Cameras For Vlogging (2018)
12 Best Vlogging Cameras With A Flip Screen (2018)
Richard Bennett
Richard Bennett is a writer and a lover of all things video.
Follow @Richard Bennett
Also read:
- [Updated] Customize Your YouTube Experience with Altered Pace
- Expanding YouTube Audience Through Perpetual Creative Commons
- 2024 Approved Dominate YouTube with Effective Content Strategies
- All You Need to Know Understanding Video ASPECT RATIOS on YOUTUBE for 2024
- Double Your Watch Time on YouTube with These Tips
- Tech Tips Swiftly Sending Videos as Shorts on Digital Platforms
- [Updated] DIY Video Setups Perfect Self-Portraits for YouTubers
- Elevating Your Video Content YouTube to IGTV Transition for 2024
- [New] Crafting Engaging YouTube Videos Using FinalCut Pro Expertise
- In 2024, YouTube Comment Finder You Should Try
- Recording Sound Wonders Without the Use of a Microphone
- Settled Silent Shorter Showcase Ended
- In 2024, Balancing Creativity and Logic in Gaming Videos
- The Artisan's Guide to Blending Sound with Visual Media on YouTube
- Brilliant Setups Top 17 Gear for Online Videographers
- 2024 Approved Create Engaging Videos Online with WeVideo
- Vivo X100 Pro Camera Not Working Unexpected Error? Fix It Now | Dr.fone
- IOS & Android Perfecting Your Chat Tone with WhatsApp Ringtones
- [Updated] 2024 Approved Elevate Your Social Presence with Customized Instagram Voices
- [New] 2024 Approved Examining Instagram Video Selfie Credibility Questions
- [New] 2024 Approved The Ultimate Guide to 10 IGTV Video Wins for Marketers
- How to Unlock Vivo Y100i Bootloader Easily
- Navigating Close Shots Avoiding Distortion in Videoleap Videos
- [New] In 2024, Smooth iPhone Screen Recording Made Simple
- Effortless Group Video Chat with Android's Facetime for 2024
- Title: "Achieving Auditory Perfection Top Tips for Quality Audio for 2024"
- Author: Steven
- Created at : 2024-05-25 18:44:35
- Updated at : 2024-05-26 18:44:35
- Link: https://youtube-clips.techidaily.com/achieving-auditory-perfection-top-tips-for-quality-audio-for-2024/
- License: This work is licensed under CC BY-NC-SA 4.0.
