
:max_bytes(150000):strip_icc():format(webp)/Race-982fb219114a48fb96b9c5a2c6f93847.jpg)
"2024 Approved Crafting Engaging Content Add YouTube to Slides"
Crafting Engaging Content: Add YouTube to Slides
Create High-Quality Video - Wondershare Filmora
An easy and powerful YouTube video editor
Numerous video and audio effects to choose from
Detailed tutorials provided by the official channel
Google Slide presentation is a powerful tool for creators to keep their audience engaged. This online platform lets you create and demonstrate your ideas. It will capture your viewers’ attention from the very beginning. It also doesn’t matter whatever learning style you engage. Adding YouTube videos to Google Slide will appeal to all levels of individuals.
More so, it is the best way to provide a break for both the audience and the creator. You can break Google Slide presentations with videos to offer some break. Viewers and the presenter get a breather in the process. The presenter can take a short break from speaking while the video plays. Let’s now dive into how to embed a YouTube video in Google Slides.

In this article
01 Why should we add a video to Google Slides?
02 How to add a YouTube video to Google Slide
03 How to choose the right video for your Slides?
Why should we add a video to Google Slides?
There is a great impact of adding video to Google Slides.
For attention
Videos will automatically awaken you, especially if your thoughts have started to sway during a presentation. A video has a direct way of showing creativity. The audience automatically connects the dots between the video and the presentation lines alike.
To stimulate discussion
A picture is worth a thousand words. There is a way that an added video will help the audience connect to the day’s topic. It will bring up several ideas and stir up discussion with the presenter.
Easy following
With videos embedded in Google Slide, viewers will find it easy to understand and digest. Videos automatically eliminate boredom and make any topic interesting.
How to add a YouTube video to Google Slide
Use these two methods to add a YouTube video to Google Slides. Via the Search and Direct link.
Method 1. Embed YouTube video to Google Slide by search and selection
Google has owned YouTube since the year 2006. You can, therefore, integrate Google’s products with YouTube easily.
Step 1. First, go to the slide where you want to embed your video.
Step 2. Then choose the “Insert” option from the menu bar and hit the “Video” option.

Step 3. It would be best if you now viewed the “YouTube” search bar to type in the video you want to embed. You can use keywords to search for the video in question and view instant search results.
Step 4. Then select the video you want to embed, and you’ll see it appear on the “Slide.”

Step 5. Format your video. Remember that the entire video will be embedded. You don’t necessarily need the whole video. It is time to select just a brief but relevant clip from the video to use. Then position your video to the right point using the axes from the exact starting point to the finished part you want the video to appear in.
Method 2. Embed YouTube video to Google Slide by direct link
You can engage this method if you want to include the entire video.
Step 1. Get the URL of the specific YouTube video that you want to use.

Step 2. Then go to your browser’s “Address bar” to copy the YouTube link.
Step 3. Next, open the “Presentation” slide to put your video to.
Step 4. Choose the “Insert” tab from the menu bar.
Step 5. Then hit on the “Video” option from the drop-down menu that appears.
Step 6. A new window will open automatically. Choose the “By URL” tab.
Step 7. Then paste the YouTube video URL in the “Paste YouTube URL Here” bar section.

Step 8. Wait for the video file to load and press the “Select” option. The video will immediately appear in the presentation slide. Just drag and drop the video in your preferred position.
Note: You can do a few edits inside the application. Set the timer when your video should start and when to stop. You can also adjust the video player size.
How to choose the right video for your Slides?
Not all videos will make an impact on your Google Slide. You need to use the best shot that adds value to your presentation. These guidelines will help you to settle on the best video.
Be Professional – choose the best video for your presentation. Remember that the video is part of the presentation and carries more weight. Settling for quality video will bring out the professionalism in you.
Relevant – how do you know that what you are showing your audience corresponds to the presentation piece? Ensure that the video you add has something to do with the Google Slide presentation topic. The two should naturally flow to make it easy to understand the whole concept.
Precise – your presentation is not about the video. The ideal length should not exceed 60 seconds. The longer the video, the greater the chance for your audience to lose track along the way.
Know every footage you are working with – this will help you pick the best shots for your presentation. So, learn every aspect of the video before settling down to use it.
Add new content – even though one content may suit several presentations, don’t rely on the same piece each time. Your audience will want to feel something fresh each time you are presenting. So, compose different videos for different scenarios to make that big impact.
Create an eye-catching video for your Slides with Filmora
The video quality matters when it comes to creating your Slides. The best video creator – Filmora – works in simple steps to give you an eye-catching video. It will create videos for all scenarios like marketing, tutorial, gaming, etc.
Key features of Filmora
- It offers you advanced video effects like filters, motion elements, etc
- You can multiply your fun with multiple screens with the Split Screen feature
- Easily change backgrounds using the Green Screen feature
- The speed control lets you fast forward or slow down a special moment
- Import your video clips to social media platforms
- You can also adjust the audio of your tracks using the Audio Mixer feature
Follow this guide to create a video for your slide with Filmora
Step 1. Launch Filmora
First, begin by downloading and installing Filmora on your computer device. Once installed, launch it and allow it to run. You can either create a new project or open an existing project to work on.
Step 2. Create a new project
Here, click on the “New Project” tab on the app’s welcome screen. The editor should load immediately. Then proceed to register the product. Just hit on the “Register” tab.
Step 3. Import video
Check the upper left corner of your screen to see the “Import” tab. Click on it and choose the “Import Media Files” option. Next, navigate to the location of your computer’s local list to select the clip or video you want to edit. Then, hit the “Import” button to add the video to the timeline for editing.
Step 4. Edit video
Drag and drop the raw footage to Filmora’s timeline to begin editing. Here, you can trim, add other video clips, merge, and add effects as you wish. Likewise, you can add opening titles, subtitles, and end credits to your video. More so, this tool offers different templates to use. Just drag and drop the templates you wish to use to a specific location on the timeline.
Step 5. Preview your file
Last but not least, you can preview your files. Click on the “Play” tab to start previewing your video clips. The main essence of this part is to allow you to make the necessary changes to your clips if there is a need.
Step 6. Export and Share
With Filmora, you can export your file to various social media platforms. But first, go to the “Output window” and select the video file format to use. This software supports several output formats to apply to any platform and device. Just click on the “Format” tab and choose the file format to use. Then also change the resolution and other parameters like frame rate and channel of your video in the “Settings” section. Finally, share your video to your YouTube channel and get ready to add the video to the Google Slide presentation.
For Win 7 or later (64-bit)
For macOS 10.12 or later
Conclusion
● You now know how to put a YouTube video in Google Slides the simple way. You can search for your YouTube videos or directly use the URL link. Whatever the case, remember that it’s the quality of your video that carries more weight. Thanks to the availability of third-party apps that you can use to create and improve the quality of your videos.
● Filmora is at your service to create high-resolution videos that you can export in any format to your YouTube channel. The tool is intuitive, and it won’t matter whether you haven’t tried it before. It is a perfect choice for both professionals and first-time users.
Google Slide presentation is a powerful tool for creators to keep their audience engaged. This online platform lets you create and demonstrate your ideas. It will capture your viewers’ attention from the very beginning. It also doesn’t matter whatever learning style you engage. Adding YouTube videos to Google Slide will appeal to all levels of individuals.
More so, it is the best way to provide a break for both the audience and the creator. You can break Google Slide presentations with videos to offer some break. Viewers and the presenter get a breather in the process. The presenter can take a short break from speaking while the video plays. Let’s now dive into how to embed a YouTube video in Google Slides.
In this article
01 Why should we add a video to Google Slides?
02 How to add a YouTube video to Google Slide
03 How to choose the right video for your Slides?
Why should we add a video to Google Slides?
There is a great impact of adding video to Google Slides.
For attention
Videos will automatically awaken you, especially if your thoughts have started to sway during a presentation. A video has a direct way of showing creativity. The audience automatically connects the dots between the video and the presentation lines alike.
To stimulate discussion
A picture is worth a thousand words. There is a way that an added video will help the audience connect to the day’s topic. It will bring up several ideas and stir up discussion with the presenter.
Easy following
With videos embedded in Google Slide, viewers will find it easy to understand and digest. Videos automatically eliminate boredom and make any topic interesting.
How to add a YouTube video to Google Slide
Use these two methods to add a YouTube video to Google Slides. Via the Search and Direct link.
Method 1. Embed YouTube video to Google Slide by search and selection
Google has owned YouTube since the year 2006. You can, therefore, integrate Google’s products with YouTube easily.
Step 1. First, go to the slide where you want to embed your video.
Step 2. Then choose the “Insert” option from the menu bar and hit the “Video” option.
Step 3. It would be best if you now viewed the “YouTube” search bar to type in the video you want to embed. You can use keywords to search for the video in question and view instant search results.
Step 4. Then select the video you want to embed, and you’ll see it appear on the “Slide.”
Step 5. Format your video. Remember that the entire video will be embedded. You don’t necessarily need the whole video. It is time to select just a brief but relevant clip from the video to use. Then position your video to the right point using the axes from the exact starting point to the finished part you want the video to appear in.
Method 2. Embed YouTube video to Google Slide by direct link
You can engage this method if you want to include the entire video.
Step 1. Get the URL of the specific YouTube video that you want to use.
Step 2. Then go to your browser’s “Address bar” to copy the YouTube link.
Step 3. Next, open the “Presentation” slide to put your video to.
Step 4. Choose the “Insert” tab from the menu bar.
Step 5. Then hit on the “Video” option from the drop-down menu that appears.
Step 6. A new window will open automatically. Choose the “By URL” tab.
Step 7. Then paste the YouTube video URL in the “Paste YouTube URL Here” bar section.
Step 8. Wait for the video file to load and press the “Select” option. The video will immediately appear in the presentation slide. Just drag and drop the video in your preferred position.
Note: You can do a few edits inside the application. Set the timer when your video should start and when to stop. You can also adjust the video player size.
How to choose the right video for your Slides?
Not all videos will make an impact on your Google Slide. You need to use the best shot that adds value to your presentation. These guidelines will help you to settle on the best video.
Be Professional – choose the best video for your presentation. Remember that the video is part of the presentation and carries more weight. Settling for quality video will bring out the professionalism in you.
Relevant – how do you know that what you are showing your audience corresponds to the presentation piece? Ensure that the video you add has something to do with the Google Slide presentation topic. The two should naturally flow to make it easy to understand the whole concept.
Precise – your presentation is not about the video. The ideal length should not exceed 60 seconds. The longer the video, the greater the chance for your audience to lose track along the way.
Know every footage you are working with – this will help you pick the best shots for your presentation. So, learn every aspect of the video before settling down to use it.
Add new content – even though one content may suit several presentations, don’t rely on the same piece each time. Your audience will want to feel something fresh each time you are presenting. So, compose different videos for different scenarios to make that big impact.
Create an eye-catching video for your Slides with Filmora
The video quality matters when it comes to creating your Slides. The best video creator – Filmora – works in simple steps to give you an eye-catching video. It will create videos for all scenarios like marketing, tutorial, gaming, etc.
Key features of Filmora
- It offers you advanced video effects like filters, motion elements, etc
- You can multiply your fun with multiple screens with the Split Screen feature
- Easily change backgrounds using the Green Screen feature
- The speed control lets you fast forward or slow down a special moment
- Import your video clips to social media platforms
- You can also adjust the audio of your tracks using the Audio Mixer feature
Follow this guide to create a video for your slide with Filmora
Step 1. Launch Filmora
First, begin by downloading and installing Filmora on your computer device. Once installed, launch it and allow it to run. You can either create a new project or open an existing project to work on.
Step 2. Create a new project
Here, click on the “New Project” tab on the app’s welcome screen. The editor should load immediately. Then proceed to register the product. Just hit on the “Register” tab.
Step 3. Import video
Check the upper left corner of your screen to see the “Import” tab. Click on it and choose the “Import Media Files” option. Next, navigate to the location of your computer’s local list to select the clip or video you want to edit. Then, hit the “Import” button to add the video to the timeline for editing.
Step 4. Edit video
Drag and drop the raw footage to Filmora’s timeline to begin editing. Here, you can trim, add other video clips, merge, and add effects as you wish. Likewise, you can add opening titles, subtitles, and end credits to your video. More so, this tool offers different templates to use. Just drag and drop the templates you wish to use to a specific location on the timeline.
Step 5. Preview your file
Last but not least, you can preview your files. Click on the “Play” tab to start previewing your video clips. The main essence of this part is to allow you to make the necessary changes to your clips if there is a need.
Step 6. Export and Share
With Filmora, you can export your file to various social media platforms. But first, go to the “Output window” and select the video file format to use. This software supports several output formats to apply to any platform and device. Just click on the “Format” tab and choose the file format to use. Then also change the resolution and other parameters like frame rate and channel of your video in the “Settings” section. Finally, share your video to your YouTube channel and get ready to add the video to the Google Slide presentation.
For Win 7 or later (64-bit)
For macOS 10.12 or later
Conclusion
● You now know how to put a YouTube video in Google Slides the simple way. You can search for your YouTube videos or directly use the URL link. Whatever the case, remember that it’s the quality of your video that carries more weight. Thanks to the availability of third-party apps that you can use to create and improve the quality of your videos.
● Filmora is at your service to create high-resolution videos that you can export in any format to your YouTube channel. The tool is intuitive, and it won’t matter whether you haven’t tried it before. It is a perfect choice for both professionals and first-time users.
Top Bargain Video Snippets - Grab YouTube Images Without Cost
Best Free Downloaders: Download YouTube Thumbnail for Free[Online/Win/Mac]

Richard Bennett
Mar 27, 2024• Proven solutions
What is a YouTube thumbnail?
A YouTube thumbnail is nothing but the cover image shown on a video file on YouTube. It shows what you are going to talk about in the youtube video. A cool thumbnail will make the viewers want to click your video which in turn will help you to improve the traffic and number of clicks per video. Sometimes you may want to download youtube thumbnail from others. But it is very difficult to download a thumbnail directly from YouTube and many of you might not know that a thumbnail can be downloaded from elsewhere and then added to your content.
Here in this article, we will introduce the best 6 online tools available in the market to download YouTube thumbnail.
- 6 Online Tools to Download YouTube Thumbnail for Free
- Bonus Tips to Create a Clickable YouTube Thumbnail
6 Online Tools to Download YouTube Thumbnail for Free
Knowing the importance of YouTube thumbnails, you might now be wondering where to download the thumbnails for free. Let us have a look at some of the tools that can help you download YouTube thumbnail for free.
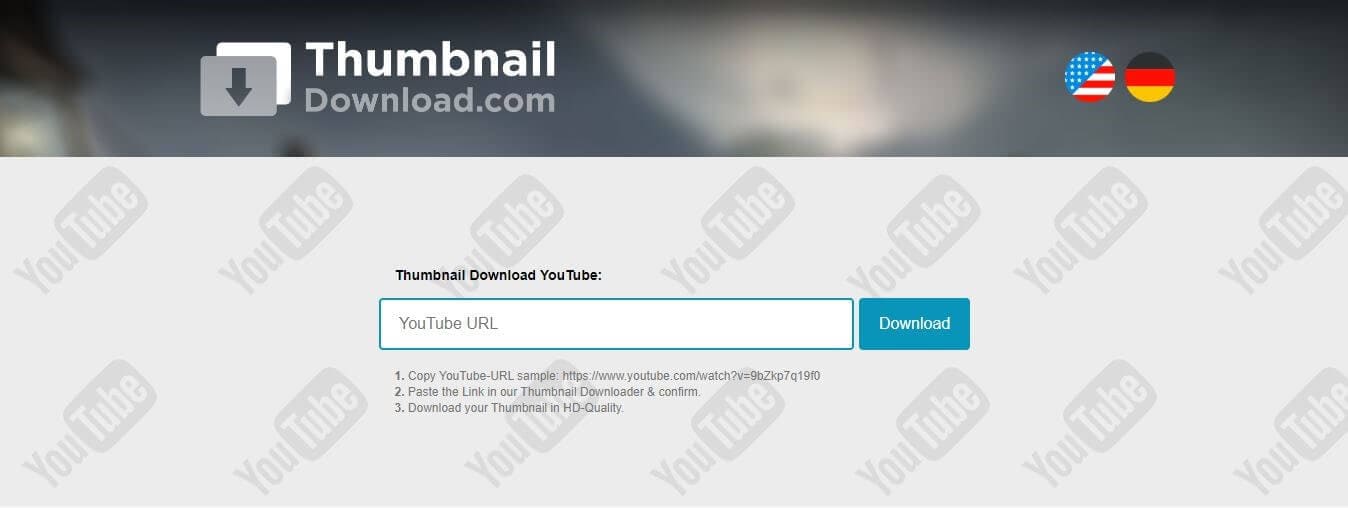
1. YouTube Thumbnail Image Tool
The YouTube Thumbnail Image Tool is a simple and free tool that helps you to download a thumbnail in four dimensions for your video, i.e. MQ 320*180, HQ 480*360, SD 640*480, and HD 1920*1080. Whether you are using a Windows or Mac OS, the thumbnail can be easily be downloaded via any browser.
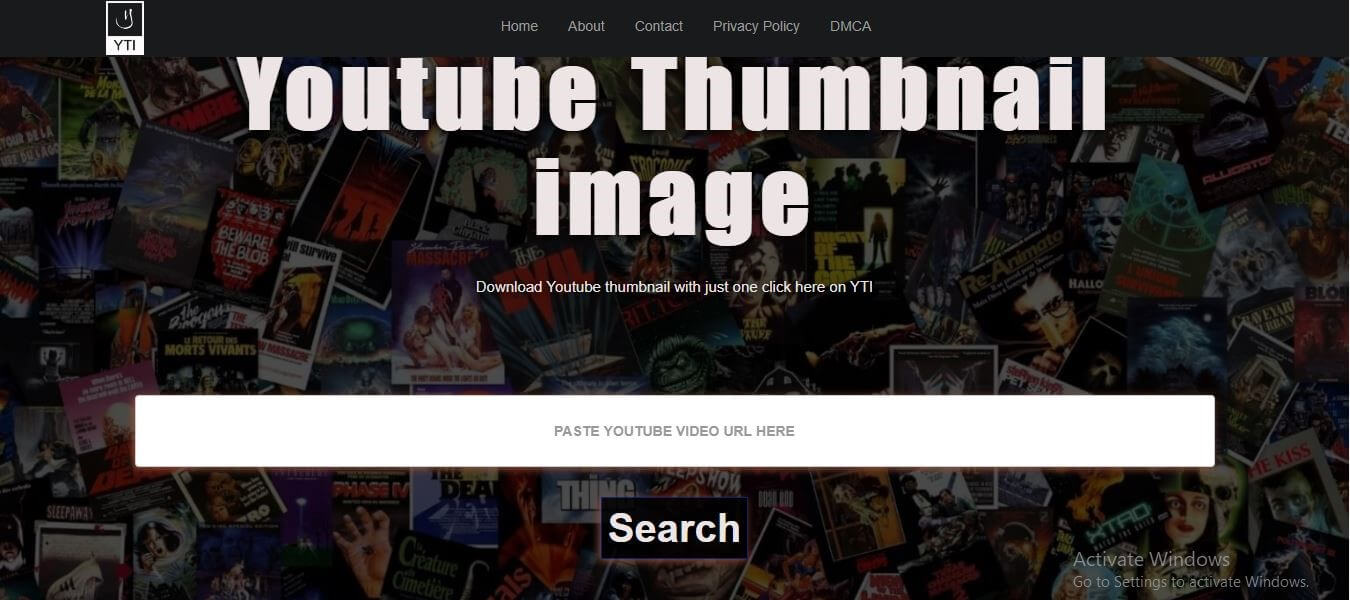
Steps to Download:
- Open any browser and open this youtube thumbnail image tool from Here
- Copy the link from your youtube video
- Paste the URL link of the video in the box and hit on Search
- You will be then displayed different qualities of the thumbnail. Choose one (HD is recommended) and hit the Download button
The selected quality of thumbnail will be downloaded to your storage which can later be used while uploading a video to YouTube.
2. Online YouTube Thumbnail Downloader
This online YouTube Thumbnail Downloader tool has a lot of features among which creating thumbnail for a YouTube video is one. This free online tool can easily be accessed both on Windows and Mac OS via any browser. This downloader can generate thumbnails for videos in HD, HQ 1080p, and 4K formats and the thumbnails will be available in SD, HD(720), and Full HD(1080).
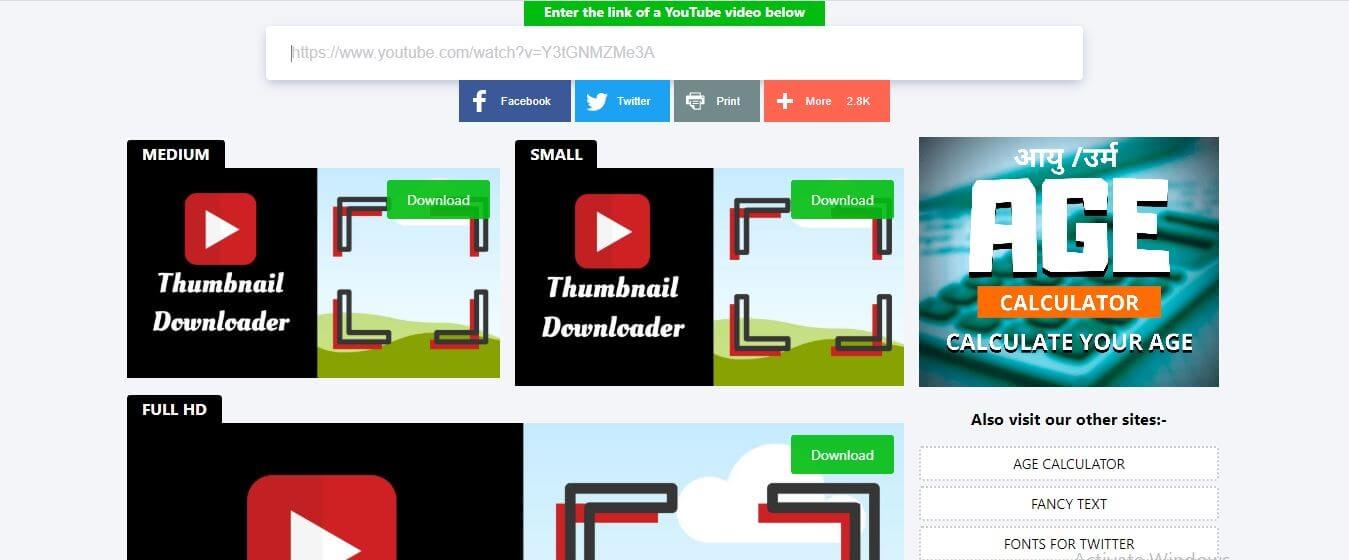
Steps to Download:
- Copy the link of the youtube video you wish to generate the thumbnail
- Click Here to open this free tool with your browser and paste the link in the box displayed at the top
- As soon as you paste the link, the available qualities of the thumbnail will be displayed just below the box
- Choose your desired quality of the image and hit on the Download button on the image you wish to download
The image will be downloaded and saved to your device instantly. You can now use it as a thumbnail for your YouTube video.
3. Thumbnail Save Tool
The Thumbnail Save Tool is also a free online tool which you can access from the browser of your Windows or Mac. It is a very simple tool that can generate thumbnails for HQ, HD, 1080P, and 4K videos instantly. Let us see how the thumbnail can be generated
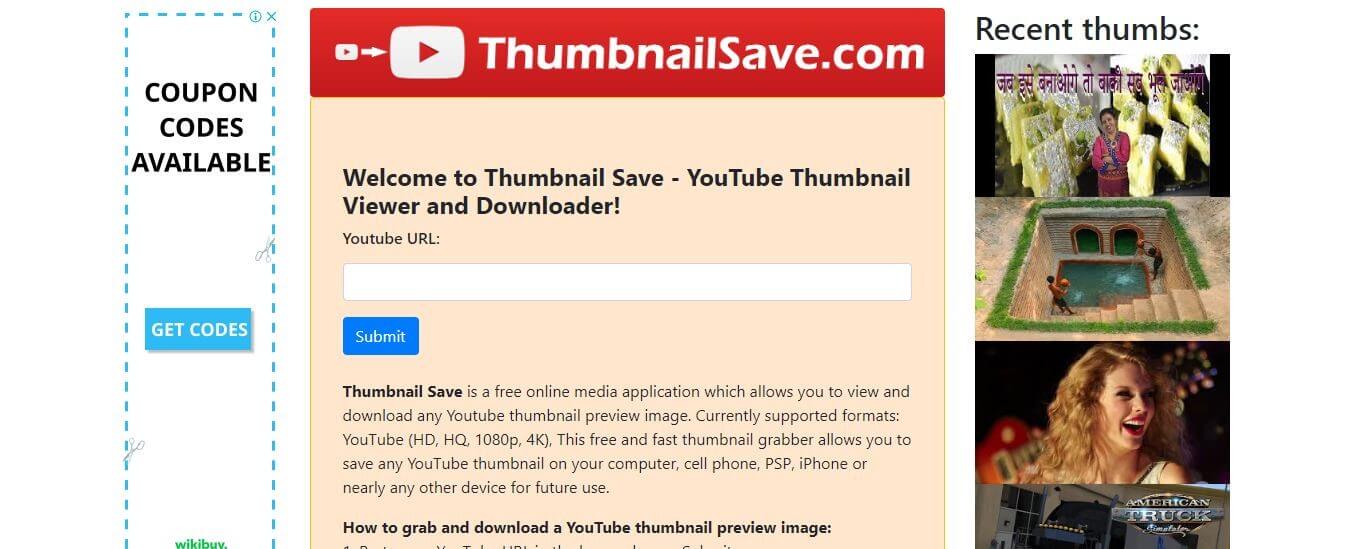
Steps to Download:
- Copy the URL of the video you want to create thumbnail
- Open this Thumbnail Save Tool from Here via your browser
- Paste the copied link in the box above Submit and hit Submit. Then the thumbnail will be generated instantly
- Now, to save the generated image to your device, right-click on the thumbnail and select the Save image as… option
The image will be saved to your device for later use as a thumbnail for your YouTube video.
4. YouTube Thumbnail Grabber
The YouTube thumbnail grabber is an online tool that can help you to download a thumbnail from a YouTube video for free. This tool can simply be accessed both by windows and Mac users through any browser. This tool helps you to download a thumbnail in any quality in some simple steps. Let us see how.
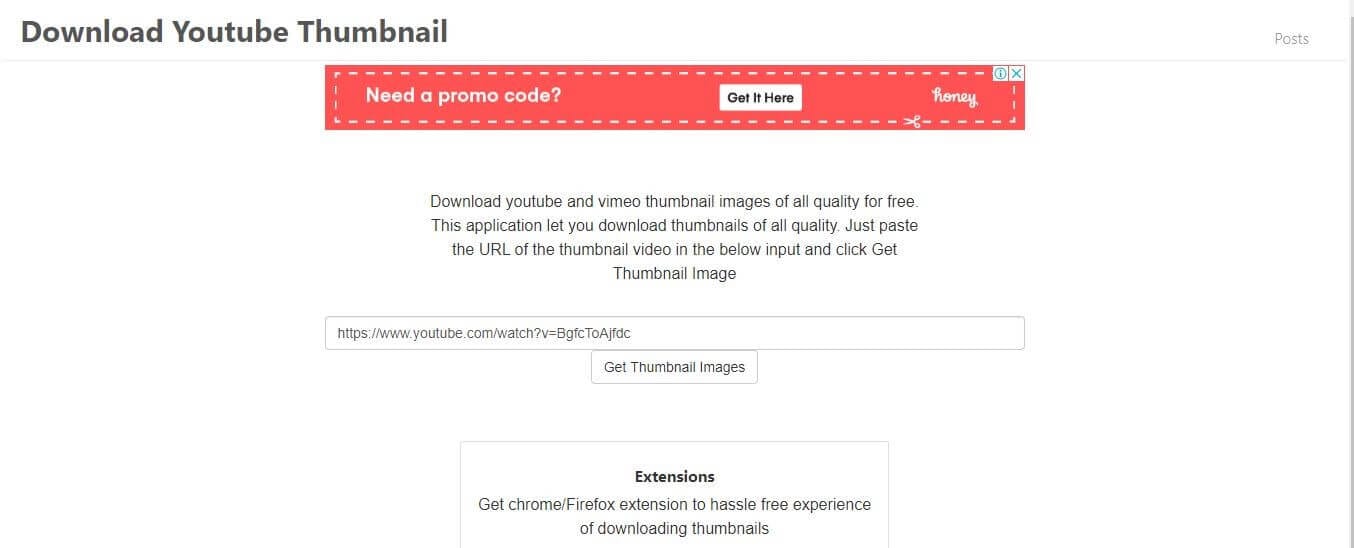
Steps to Download:
- Open this youtube thumbnail grabber from Here with any browser. Then Copy the link of the youtube video.
- Paste the link in the box displayed on the page and hit the Get Thumbnails Image tab
- Five different qualities of thumbnails will be generated among which you can choose your desired quality
- Hit the Download button below the image you chose
The thumbnail will be downloaded to your device for later use.
5. Thumbnail Download Tool
This thumbnail download tool allows generating thumbnails from video platforms like Dailymotion, Vimeo, Facebook, and YouTube. It is a free online tool that enables you to download the thumbnail of your video in the best quality. The tool can be accessed both on Windows and Mac OS without any issues. Let us see how the thumbnail can be downloaded for YouTube.
Steps to Download:
- Copy the URL link of the video you wish to generate a thumbnail
- Click Here to open this Thumbnail Download Tool with your browseron any browser of your Windows or iOS.
- Paste the copied link in the box and press the Download button
- Choose the picture size among the results displayed
- Save the picture to your PC
Your thumbnail image is now ready to be used.
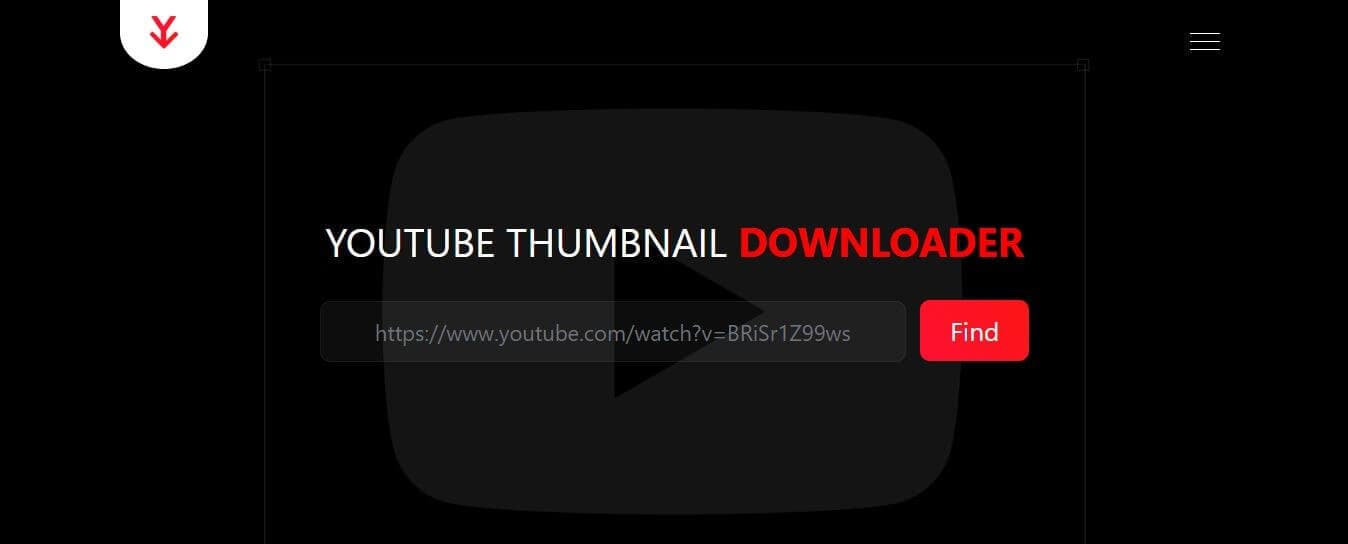
6. YouTube Thumbnail Downloader
The YouTube Thumbnail Downloader is an online tool that can help you to create thumbnails for your YouTube videos and blogs. This tool will help you to download full HD 1080*720 images from YouTube for free, irrespective of the operative system you are using. Let us see how the thumbnail can be downloaded
Steps to Download:
- Copy the link of any YouTube video you wish to generate a thumbnail
- Click Here in your browser and Paste the link in the box
- Hit the Find button. Then different qualities of the image will be displayed
- Select your desired quality and tap on the download icon on the respective image
The image will now be saved to your device
Bonus Tips to Create a Clickable YouTube Thumbnail
Don’t know how to create a clickable youtube thumbnail? Here we will recommend 5 tips for you!
1. Great thumbnail image quality and size
The thumbnail image quality should be good (HD/UHD). It should be bright. No matter what the device (a large TV) the viewers are using, care must be taken to avoid getting blurry thumbnails. The quality and the correct size of the thumbnail will create a positive image of the video in the user’s mind even before viewing the video. The video must be viewed from a variety of devices to test if the quality differs in different devices. Here are some specs for a perfect thumbnail
- The image formats should be in GIF, JPG PNG OR BMP
- The maximum size of the image must be 1280*720 px
- The minimum size 640*360 px
- The aspect ratio 16:9
- The maximum file size 2MB
2. Show a person in the Thumbnail image
A human face will get you closer to your audience. Our brain is wired in a way that a human face will draw its attention more than anything. So the users will naturally would an image with a human delivering the content rather than a robot or just a video of nonliving things. People tend to find a connection with the characters displayed on the thumbnail and hence prompting them to click on the video.
3. Use descriptive text in your thumbnail with branding elements
It is not completely possible to deliver a message through a picture and hence try to use descriptive texts. The texts should be clear enough and must be phrased in a manner that increases the curiosity or appeals to the emotions of the viewers. People tend to click a video just because of curiosity, wanting to know what the content is about. The type of font, color, and size also plays an important role in catching the attention of the audience.
4. Make Color Contrast between the text and background
Complementary colors will make your thumbnail stand out to some extent. Combining a yellow background with a purple foreground or green with red will make it easier to draw the attention of the browsers. Also, the use of analogous colors in the thumbnail makes it more attractive and pleasing to the eye.
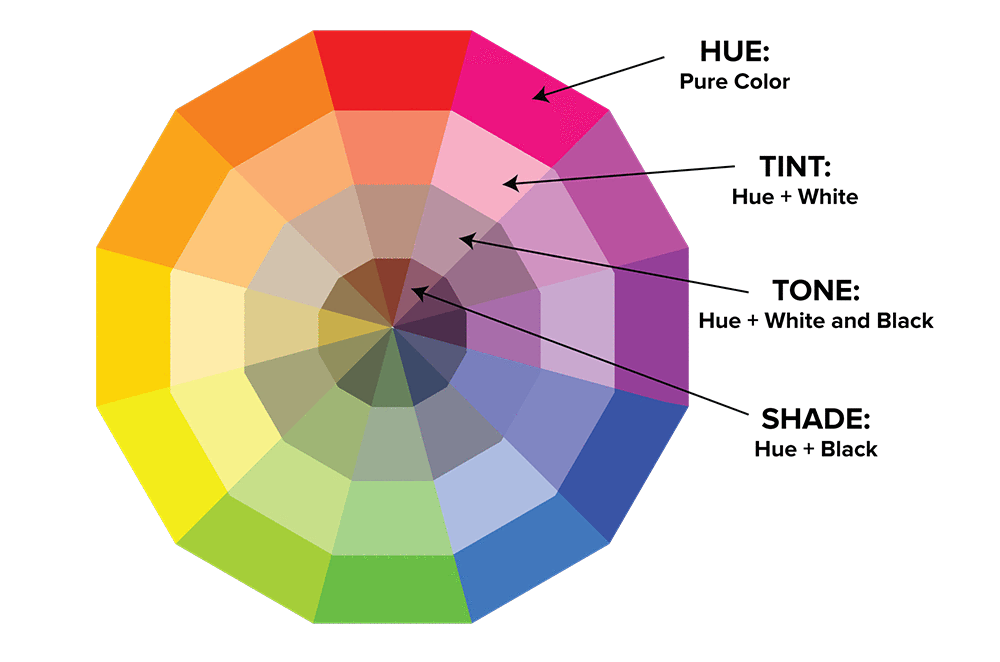
Image resource: Pinterest
Analogous colors are the colors that appear next to each other on a color wheel
5. Consistency
Consistency is something most of the people prefer and makes a thing more attractive. A thumbnail video with consistent text font, color tuning, visual effect, etc. will catch the eye of the users as it will stand apart in the whole webpage. Consistency adds to the standards of a video and will make people feel that this video is productive or from an authentic source
Create Your Own YouTube Thumbnail with Filmora for Free
Now that we have learned about how to download YouTube thumbnail for free and the rules you should follows, you may want to create a thumbnail. There are many Youtube thumbnail makers on the market that can help you create a YouTube thumbnail like Canva, PixStudio and more. However, we would like to be different today and recommend Filmora to you.
The benefits of using Filmora to create your YouTube thumbnail is that you don’t need to look for other softwares. You can make a thumbnail while you are editing your video with Filmora easily.
Wondering how can you do it? Here is a video guide for you.


Conclusion
Getting the proper size and quality of a YouTube thumbnail is very important for activities like blogging, designing, etc. Here in this article, we have described how to download YouTube thumbnail from the best free downloaders available online in simple steps. These Thumbnail downloading tools can be accessed from any device with an internet connection and will help you to download the perfect thumbnail image of your choice within minutes. Please leave your feedback about our suggestions in the comment box below.
Richard Bennett
Richard Bennett is a writer and a lover of all things video.
Follow @Richard Bennett
Richard Bennett
Mar 27, 2024• Proven solutions
What is a YouTube thumbnail?
A YouTube thumbnail is nothing but the cover image shown on a video file on YouTube. It shows what you are going to talk about in the youtube video. A cool thumbnail will make the viewers want to click your video which in turn will help you to improve the traffic and number of clicks per video. Sometimes you may want to download youtube thumbnail from others. But it is very difficult to download a thumbnail directly from YouTube and many of you might not know that a thumbnail can be downloaded from elsewhere and then added to your content.
Here in this article, we will introduce the best 6 online tools available in the market to download YouTube thumbnail.
- 6 Online Tools to Download YouTube Thumbnail for Free
- Bonus Tips to Create a Clickable YouTube Thumbnail
6 Online Tools to Download YouTube Thumbnail for Free
Knowing the importance of YouTube thumbnails, you might now be wondering where to download the thumbnails for free. Let us have a look at some of the tools that can help you download YouTube thumbnail for free.
1. YouTube Thumbnail Image Tool
The YouTube Thumbnail Image Tool is a simple and free tool that helps you to download a thumbnail in four dimensions for your video, i.e. MQ 320*180, HQ 480*360, SD 640*480, and HD 1920*1080. Whether you are using a Windows or Mac OS, the thumbnail can be easily be downloaded via any browser.
Steps to Download:
- Open any browser and open this youtube thumbnail image tool from Here
- Copy the link from your youtube video
- Paste the URL link of the video in the box and hit on Search
- You will be then displayed different qualities of the thumbnail. Choose one (HD is recommended) and hit the Download button
The selected quality of thumbnail will be downloaded to your storage which can later be used while uploading a video to YouTube.
2. Online YouTube Thumbnail Downloader
This online YouTube Thumbnail Downloader tool has a lot of features among which creating thumbnail for a YouTube video is one. This free online tool can easily be accessed both on Windows and Mac OS via any browser. This downloader can generate thumbnails for videos in HD, HQ 1080p, and 4K formats and the thumbnails will be available in SD, HD(720), and Full HD(1080).
Steps to Download:
- Copy the link of the youtube video you wish to generate the thumbnail
- Click Here to open this free tool with your browser and paste the link in the box displayed at the top
- As soon as you paste the link, the available qualities of the thumbnail will be displayed just below the box
- Choose your desired quality of the image and hit on the Download button on the image you wish to download
The image will be downloaded and saved to your device instantly. You can now use it as a thumbnail for your YouTube video.
3. Thumbnail Save Tool
The Thumbnail Save Tool is also a free online tool which you can access from the browser of your Windows or Mac. It is a very simple tool that can generate thumbnails for HQ, HD, 1080P, and 4K videos instantly. Let us see how the thumbnail can be generated
Steps to Download:
- Copy the URL of the video you want to create thumbnail
- Open this Thumbnail Save Tool from Here via your browser
- Paste the copied link in the box above Submit and hit Submit. Then the thumbnail will be generated instantly
- Now, to save the generated image to your device, right-click on the thumbnail and select the Save image as… option
The image will be saved to your device for later use as a thumbnail for your YouTube video.
4. YouTube Thumbnail Grabber
The YouTube thumbnail grabber is an online tool that can help you to download a thumbnail from a YouTube video for free. This tool can simply be accessed both by windows and Mac users through any browser. This tool helps you to download a thumbnail in any quality in some simple steps. Let us see how.
Steps to Download:
- Open this youtube thumbnail grabber from Here with any browser. Then Copy the link of the youtube video.
- Paste the link in the box displayed on the page and hit the Get Thumbnails Image tab
- Five different qualities of thumbnails will be generated among which you can choose your desired quality
- Hit the Download button below the image you chose
The thumbnail will be downloaded to your device for later use.
5. Thumbnail Download Tool
This thumbnail download tool allows generating thumbnails from video platforms like Dailymotion, Vimeo, Facebook, and YouTube. It is a free online tool that enables you to download the thumbnail of your video in the best quality. The tool can be accessed both on Windows and Mac OS without any issues. Let us see how the thumbnail can be downloaded for YouTube.
Steps to Download:
- Copy the URL link of the video you wish to generate a thumbnail
- Click Here to open this Thumbnail Download Tool with your browseron any browser of your Windows or iOS.
- Paste the copied link in the box and press the Download button
- Choose the picture size among the results displayed
- Save the picture to your PC
Your thumbnail image is now ready to be used.
6. YouTube Thumbnail Downloader
The YouTube Thumbnail Downloader is an online tool that can help you to create thumbnails for your YouTube videos and blogs. This tool will help you to download full HD 1080*720 images from YouTube for free, irrespective of the operative system you are using. Let us see how the thumbnail can be downloaded
Steps to Download:
- Copy the link of any YouTube video you wish to generate a thumbnail
- Click Here in your browser and Paste the link in the box
- Hit the Find button. Then different qualities of the image will be displayed
- Select your desired quality and tap on the download icon on the respective image
The image will now be saved to your device
Bonus Tips to Create a Clickable YouTube Thumbnail
Don’t know how to create a clickable youtube thumbnail? Here we will recommend 5 tips for you!
1. Great thumbnail image quality and size
The thumbnail image quality should be good (HD/UHD). It should be bright. No matter what the device (a large TV) the viewers are using, care must be taken to avoid getting blurry thumbnails. The quality and the correct size of the thumbnail will create a positive image of the video in the user’s mind even before viewing the video. The video must be viewed from a variety of devices to test if the quality differs in different devices. Here are some specs for a perfect thumbnail
- The image formats should be in GIF, JPG PNG OR BMP
- The maximum size of the image must be 1280*720 px
- The minimum size 640*360 px
- The aspect ratio 16:9
- The maximum file size 2MB
2. Show a person in the Thumbnail image
A human face will get you closer to your audience. Our brain is wired in a way that a human face will draw its attention more than anything. So the users will naturally would an image with a human delivering the content rather than a robot or just a video of nonliving things. People tend to find a connection with the characters displayed on the thumbnail and hence prompting them to click on the video.
3. Use descriptive text in your thumbnail with branding elements
It is not completely possible to deliver a message through a picture and hence try to use descriptive texts. The texts should be clear enough and must be phrased in a manner that increases the curiosity or appeals to the emotions of the viewers. People tend to click a video just because of curiosity, wanting to know what the content is about. The type of font, color, and size also plays an important role in catching the attention of the audience.
4. Make Color Contrast between the text and background
Complementary colors will make your thumbnail stand out to some extent. Combining a yellow background with a purple foreground or green with red will make it easier to draw the attention of the browsers. Also, the use of analogous colors in the thumbnail makes it more attractive and pleasing to the eye.
Image resource: Pinterest
Analogous colors are the colors that appear next to each other on a color wheel
5. Consistency
Consistency is something most of the people prefer and makes a thing more attractive. A thumbnail video with consistent text font, color tuning, visual effect, etc. will catch the eye of the users as it will stand apart in the whole webpage. Consistency adds to the standards of a video and will make people feel that this video is productive or from an authentic source
Create Your Own YouTube Thumbnail with Filmora for Free
Now that we have learned about how to download YouTube thumbnail for free and the rules you should follows, you may want to create a thumbnail. There are many Youtube thumbnail makers on the market that can help you create a YouTube thumbnail like Canva, PixStudio and more. However, we would like to be different today and recommend Filmora to you.
The benefits of using Filmora to create your YouTube thumbnail is that you don’t need to look for other softwares. You can make a thumbnail while you are editing your video with Filmora easily.
Wondering how can you do it? Here is a video guide for you.
Conclusion
Getting the proper size and quality of a YouTube thumbnail is very important for activities like blogging, designing, etc. Here in this article, we have described how to download YouTube thumbnail from the best free downloaders available online in simple steps. These Thumbnail downloading tools can be accessed from any device with an internet connection and will help you to download the perfect thumbnail image of your choice within minutes. Please leave your feedback about our suggestions in the comment box below.
Richard Bennett
Richard Bennett is a writer and a lover of all things video.
Follow @Richard Bennett
Also read:
- In 2024, Celebrating Clickers Channel & Buttons Incentives
- 2024 Approved An In-Depth Look at Video Apps for iPhone & Android Users
- [New] Dissecting the Financial Lifeblood of TSeries via YouTube Engagement
- Audiovisual Excellence on YouTube Through Enhancements for 2024
- [Updated] Enhancing Video Reach Convert YT to IGTV
- [Updated] Enriching Vlog Topics to Share
- In 2024, Avoid YouTube? These Mobile App Alternatives Rank Among the Best
- [Updated] Edu-Top Ten Inspiring Educational Content YT
- [New] Elite Screening Pacts How to Choose a CMS
- Top 15 Hilarious YouTube Hubs for Your Next Vacation
- 2024 Approved 10 Strategies for Educators Starting Their Own YouTube Series
- In 2024, Achieving Financial Independence Through YouTube and AdSense
- Unlocking YouTube Profitability Recent Guidelines
- The Pathway to Crafting a Viral Video Introduction
- 2024 Approved Cutting and Compositing for YouTube Videos Using Premiere Pro
- In 2024, Daily Dose of Joy Selecting the Best Anime Web Vids on Youtube
- 2024 Approved Easy-to-Follow Steps Crafting Animated GIFs From YouTube Content (PC/Mobile)
- The Art of Broadcasting Twitch to YouTube Networks
- [Updated] A Journey Through the Digital Landscape Six Engaging Quizzes for Every Vlogger Admirer
- 2024 Approved Dynamic Subscriber Buttons for Video Creators - Filmora Edition
- Sound Sanitization Cleaning Up Your Online Footage
- In 2024, Audiophiles Recommend Top 5 Headset Choices
- In 2024, Achieve Video Perfection YouTube Studio Edition Tips & Tricks
- Unleash YouTube Dominance A Comprehensive Guide to Studio Success
- [New] Engage, Enchant, Excel The Quintessential 5 Strategies for YouTube Marketing
- How to use Pokemon Go Joystick on Vivo V30 Pro? | Dr.fone
- How To Change Vivo Y100i Power 5G Lock Screen Password?
- How to Lock Apps on Realme GT 5 to Protect Your Individual Information
- [New] Revamp Your Recordings with These Expert Tips
- Accelerated Aesthetics Rapid Revamping of Images on Windows Photo Editor for 2024
- 3 Things You Must Know about Fake Snapchat Location On OnePlus Open | Dr.fone
- Smart, Eco-Friendly Screen Tech Compilation
- New In 2024, Professional Audio Editing Essentials Top 10 Software Solutions
- 2024 Approved Prime 9 Options to Capture High-Quality Audio Remotely ('23)
- [New] In 2024, Keeping Track Saving Insta Visuals on iPhone
- [New] 2024 Approved Method for Pushing Twitter Videos Through WhatsApp Channels
- [New] Decoding the Secrets of High-Quality Screen Recordings with ShowMore
- Updated In 2024, REAPER Decoded In-Depth Analysis of Its Professional Recording Suite and Educational Materials
- Updated Detect Air Release Sonic Capture for 2024
- In 2024, The Art of Conversion Video to MP3 without Quality Loss
- In 2024, Easy Guide to Use a Stabilization Tool in Filmora
- Title: "2024 Approved Crafting Engaging Content Add YouTube to Slides"
- Author: Steven
- Created at : 2024-05-25 18:31:53
- Updated at : 2024-05-26 18:31:53
- Link: https://youtube-clips.techidaily.com/2024-approved-crafting-engaging-content-add-youtube-to-slides/
- License: This work is licensed under CC BY-NC-SA 4.0.
