
:max_bytes(150000):strip_icc()/GettyImages-607477463-04c14d0af0554e4dbc78475df1409e5e.jpg)
"2024 Approved Best YouTube Shorts Video Editor Tools for iOS & Android Devices"
Best YouTube Shorts Video Editor Tools for iOS & Android Devices
Best YouTube Shorts Video Editing Apps for iOS and Android

Richard Bennett
Mar 27, 2024• Proven solutions
Even though Shorts is integrated within the YouTube app and still in beta, you can still edit your videos. At this writing, the only additional elements that you can add to your short videos are background music and captions. While these two are good enough to make your clips informative, they might not be able to attract as many viewers as there would have been if the footages were well-decorated with a couple of filters, effects, stickers, etc.
That said, listed below are some of the efficient and feature-packed third-party apps that can help you beautify your videos before they can be published as Shorts on your YouTube channel:
Best Shorts Video Editing Apps for iOS and Android (Free and Paid)
Top 10 short video editing apps for smartphones, along with their attributes, include:
1. Wondershare Filmora
This was developed by one of the IT giants called Wondershare. The elder sibling of Filmora is Filmora, a PC program for both Windows and Mac platforms that gives tough competition to some of the commonly used post-production applications like Adobe Premiere Pro, Final Cut Pro X, etc.
Supported Platforms: Android and iOS (11.0 and above)
Users’ Star Rating (Out of 5): 4.6
Main Features: Allows video editing (trimming, cutting, etc.), adds or extracts music from the videos, supports HD quality exporting, etc.
Aspect Ratio: Almost all widely used sizes
Sharing: Allows publishing directly to YouTube
Pros: Free to use, available for both iOS and Android, a complete package for video editing enthusiasts
Cons: Free version adds a watermark to the exported videos
2. VideoLeap – Video Editor – Film Photo Editor
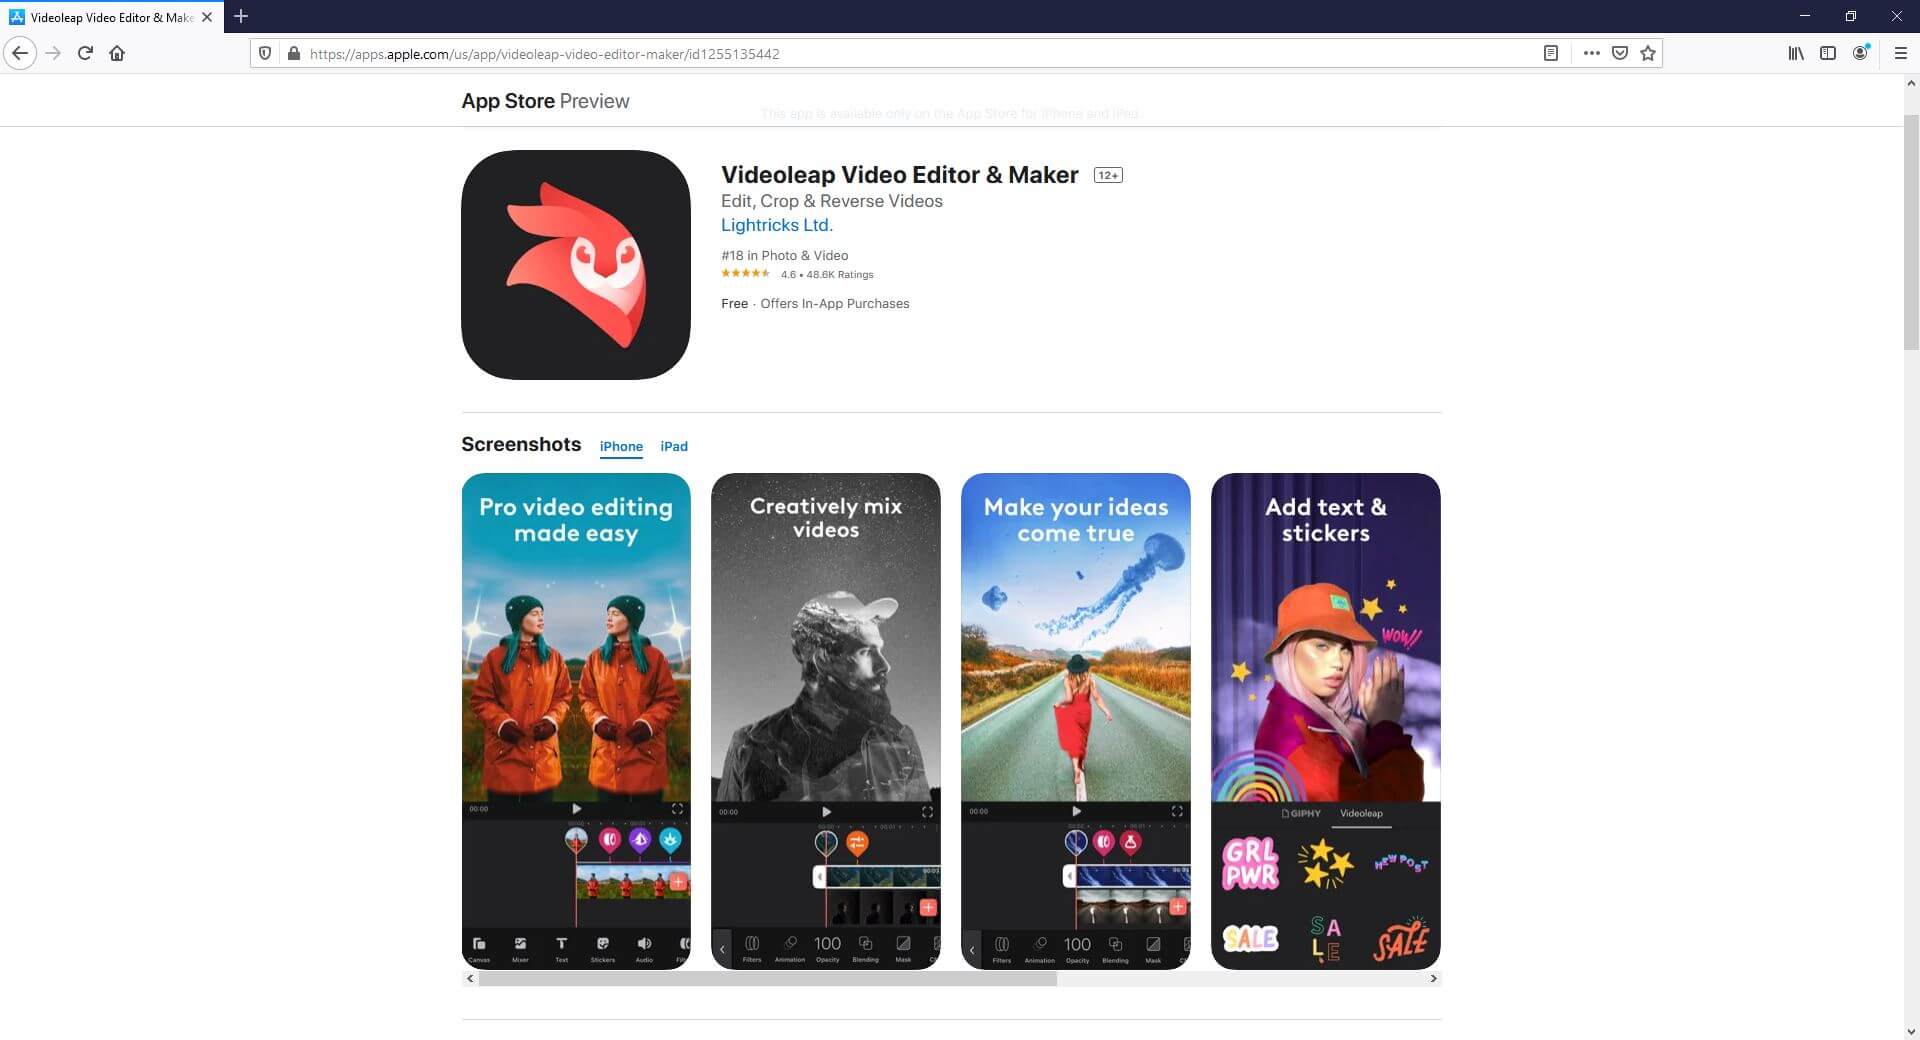
Another lightweight video editor for mobile devices, VideoLeap, lets you edit the videos simply and quickly.
Supported Platforms: Android (4.3 and above) and iOS (12.0 and above)
Users’ Star Rating (Out of 5): 4.3
Main Features: Has more than 200 filters, allows trimming and cropping, offers a practically unlimited number of undoes and redoes
Aspect Ratio: Almost all widely used sizes
Sharing: Exports videos to the device
Pros: Offers layer-based editing, gives access to the professional-level filters for video decoration, has more than 60 overlays, etc.
Cons: Paid subscription is needed to access features like edit, crop, and reverse
3. KineMaster Video Editor
KineMaster is probably one of the most popular video editors among vloggers, beginners, and teenagers. With simple UI, the app offers easy access to many of its features to edit the videos.
Supported Platforms: Android (6.0 and above) and iOS (12.4 and above)
Users’ Star Rating (Out of 5): 4.7
Main Features: Color correction, video reversal, trimming, splitting, cutting, voice changer, sound effects, etc.
Aspect Ratio: Almost all widely used sizes
Sharing: Allows publishing directly to YouTube
Pros: Can export videos to 4K 60 FPS, can be used for free, supports multiple languages
Cons: A premium subscription must be purchased to access advanced features
4. Video Maker for YouTube – Video.Guru
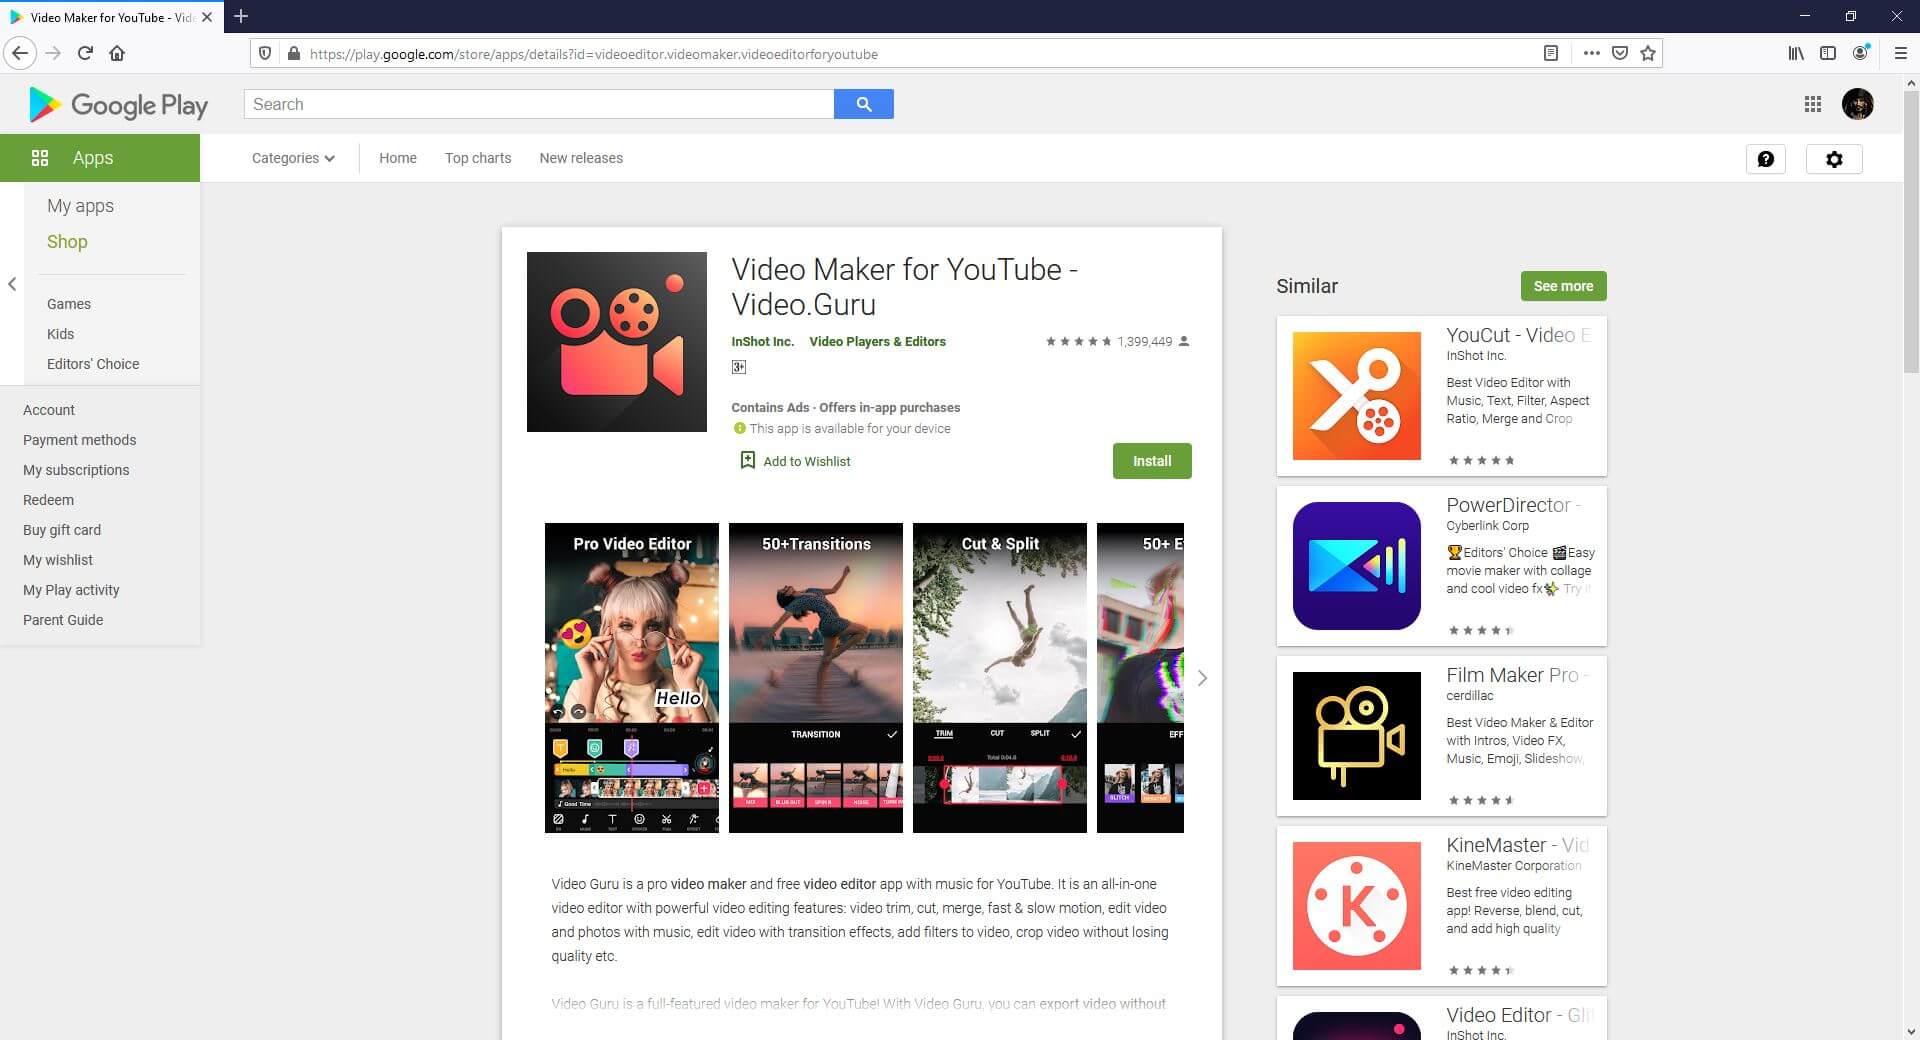
This one is specifically designed and developed for short videos that are prepared for Tik Tok, Facebook, etc.
Supported Platforms: Android (5.0 and above)
Users’ Star Rating (Out of 5): 4.8
Main Features: Supports multi-layer editing, allows voice recording and voiceovers, can be used to create videos for YouTube, has several filters and effects, etc.
Aspect Ratio: Almost all widely used sizes
Sharing: Allows publishing directly to YouTube
Pros: Offers fully licensed music for a video background, allows audio fade-in and fade-out effects, allows music video creation, lets you merge two or more clips into one, etc.
Cons: Some users experience distortion while using an external microphone
5. Adobe Premiere Rush
Developed by the creative application developing giant, Adobe, this app has everything you would possibly need to prepare YouTube Shorts. Because the developer is Adobe, the program can be trusted without any doubts.
Supported Platforms: Android and iOS (13.0 and above)
Users’ Star Rating (Out of 5): 4.6
Main Features: Allows video recording with the built-in camera, allows adding animated titles using the available templates, has a multi-track timeline, etc.
Aspect Ratio: Almost all widely used sizes
Sharing: Allows publishing directly to YouTube
Pros: Offers several editing effects, has a plethora of royalty-free soundtracks, etc.
Cons: Advanced tools can be accessed only after buying a premium subscription
6. Funimate Video Editor & Maker
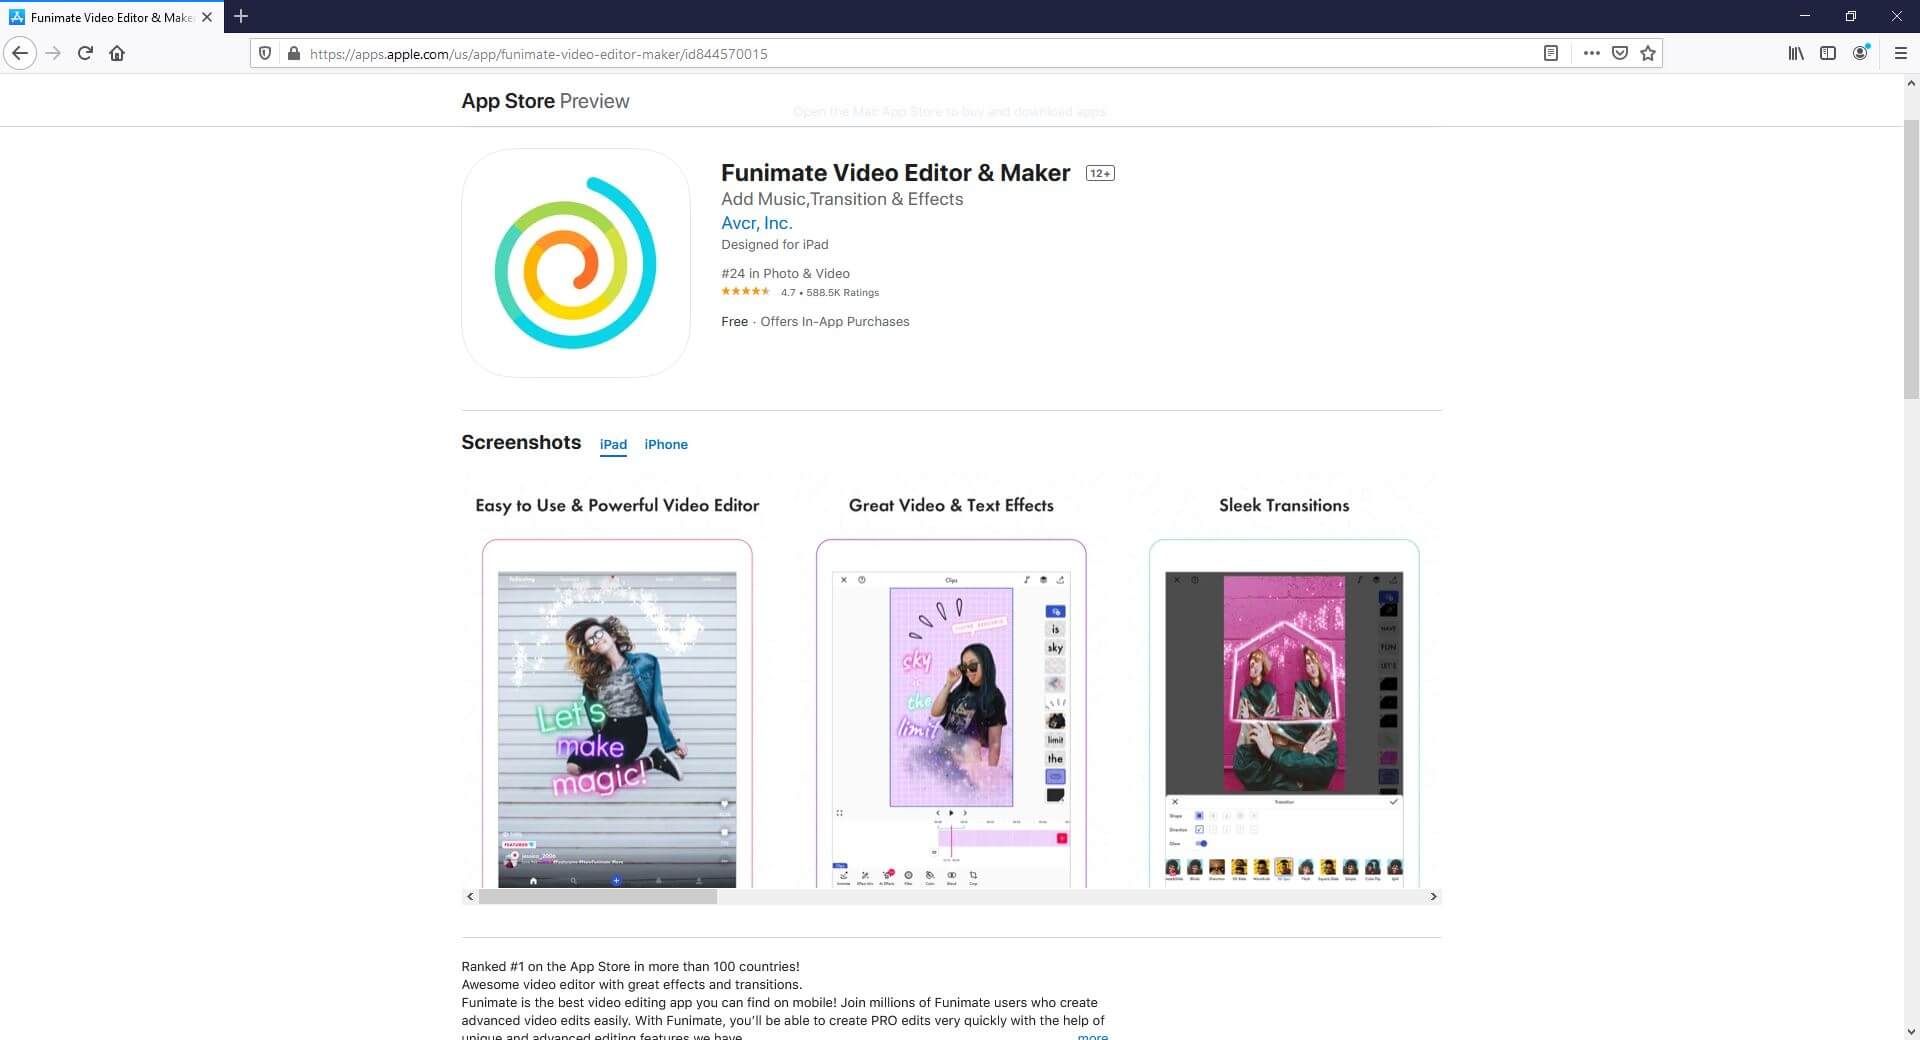
With a 4.7-star rating, this app has been ranked as the best in more than 100 countries. The program has several built-in video effects to make your clips more engaging.
Supported Platforms: Android (5.0 and above) and iOS (12.0 and above)
Users’ Star Rating (Out of 5): 4.7
Main Features: Enables lip-sync, allows keyframe-oriented animations and effects, supports video masking, etc.
Aspect Ratio: Almost all widely used sizes
Sharing: Allows publishing directly to social platforms like YouTube, Tik Tok, Instagram, etc.
Pros: Has intro and outro effects, allows you to add music to the videos, is free to use, etc.
Cons: Paid subscription is needed to unlock all the advanced tools and features of the app
7. LumaFusion
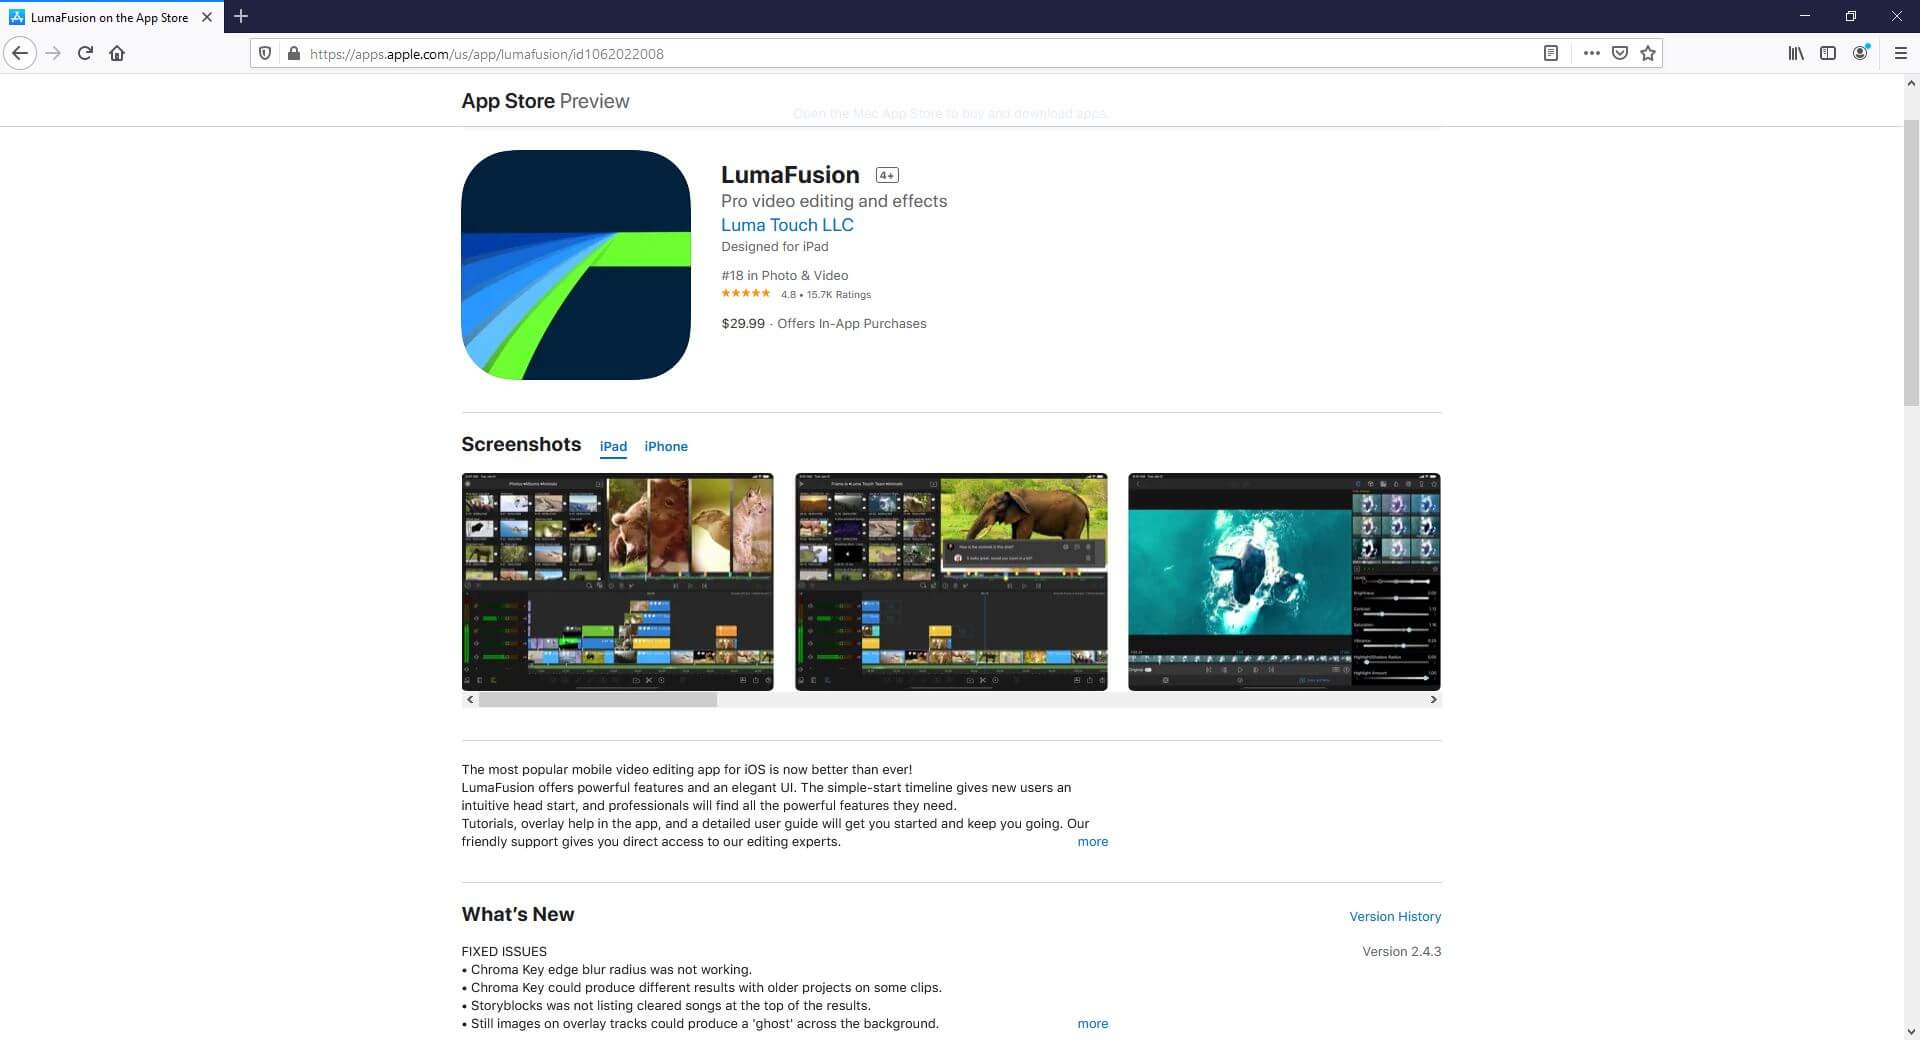
LumaFusion is crowned with a 4.8-star rating and is packed with options like media library, slow and fast motion playback, additional audio tracks, and much more.
Supported Platforms: iOS (13.3 and above)
Users’ Star Rating (Out of 5): 4.8
Main Features: Frame rates that range between 18 FPS to 240 FPS, color correction, keyframe-oriented color, and effects animations, etc.
Aspect Ratio: Almost all widely used sizes
Sharing: Allows publishing directly to almost all platforms
Pros: Can export projects as Final Cut Pro X files for further editing
Cons: Paid subscription is needed for exporting projects for Final Cut Pro X
8. VivaCut – PRO Video Editor APP
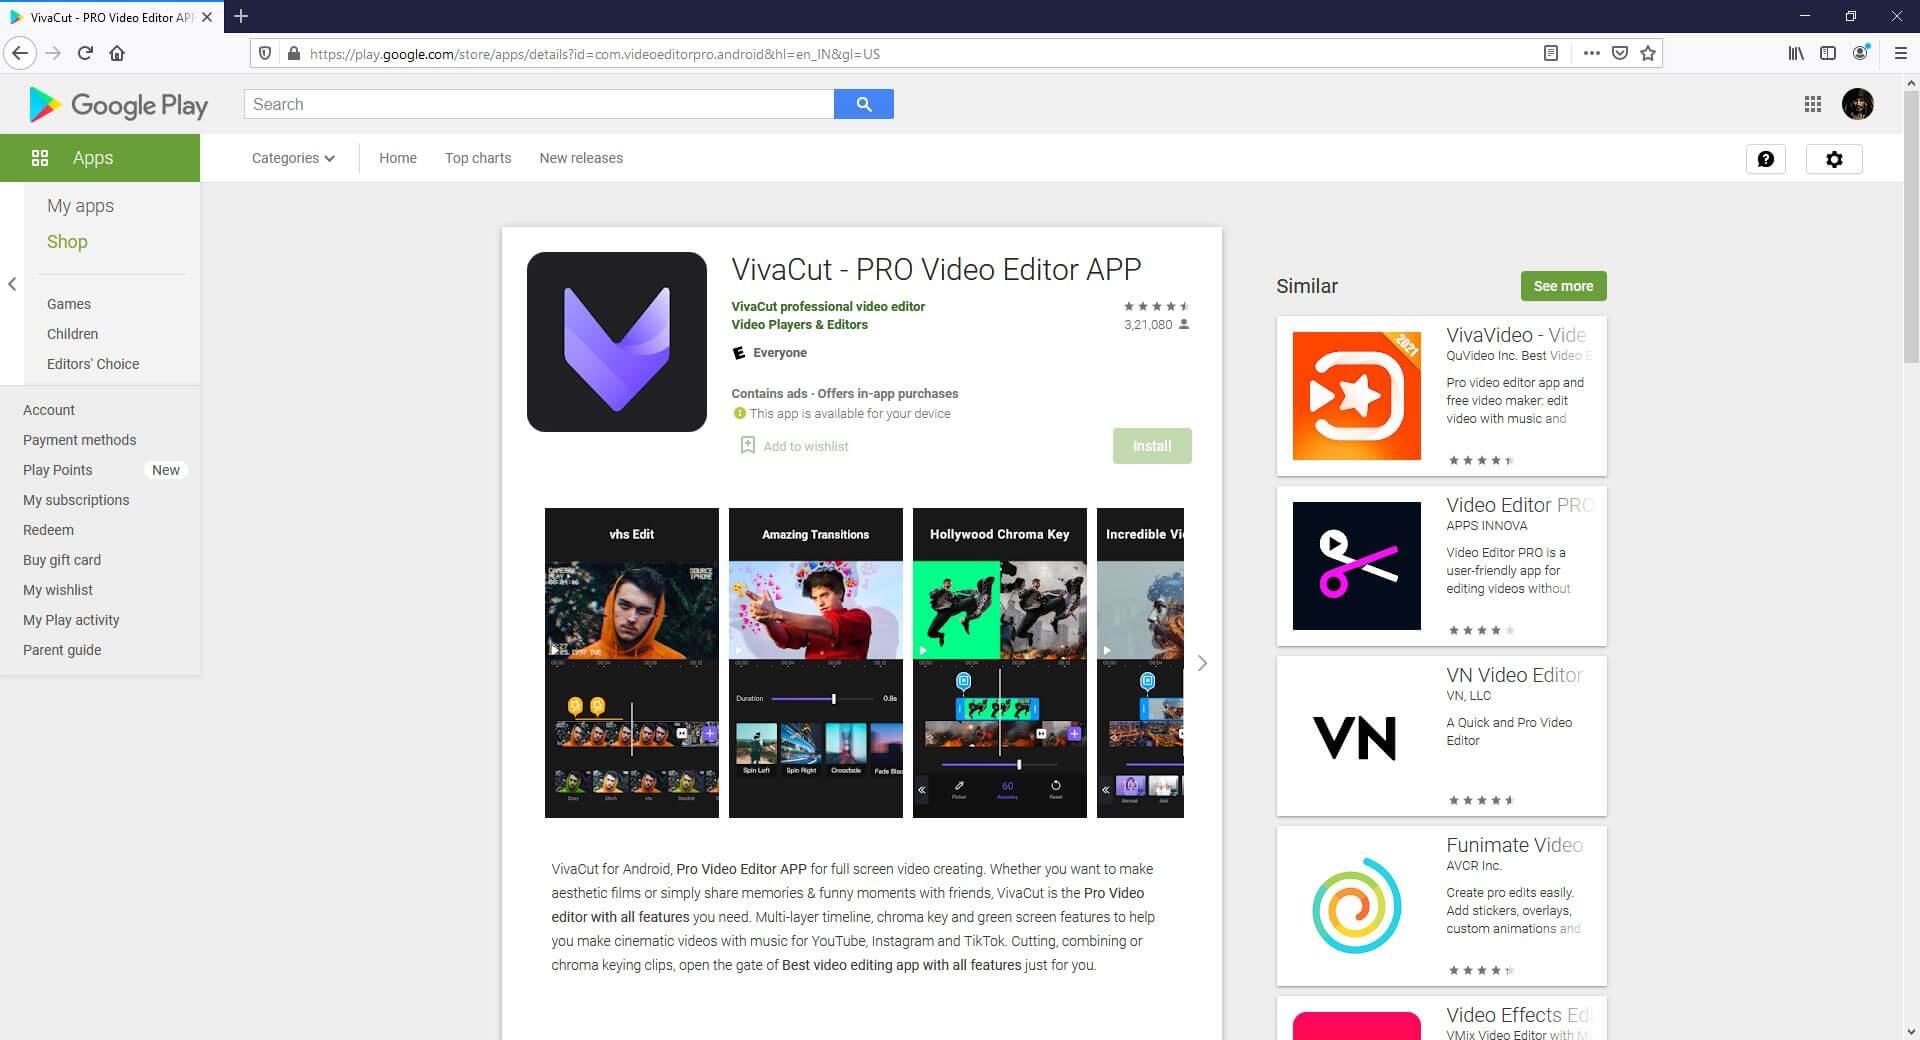
As the name suggests, VivaCut is a professional-level video editing tool for mobile devices that enjoys a decent star rating.
Supported Platforms: Android (5.0 and above) and iOS (9.0 and above)
Users’ Star Rating (Out of 5): 4.7
Main Features: Offers visual effects like VHS, RGP, Glitch, etc., allows Picture-in-Picture (to be released soon), allows video trimming, cropping, and merging, etc.
Aspect Ratio: Almost all widely used sizes
Sharing: Allows one-click publishing directly on YouTube
Pros: Supports up to 4K video resolution
Cons: Paid subscription is required to access the Pro-level features and options
9. Filmmaker Pro – Video Editor
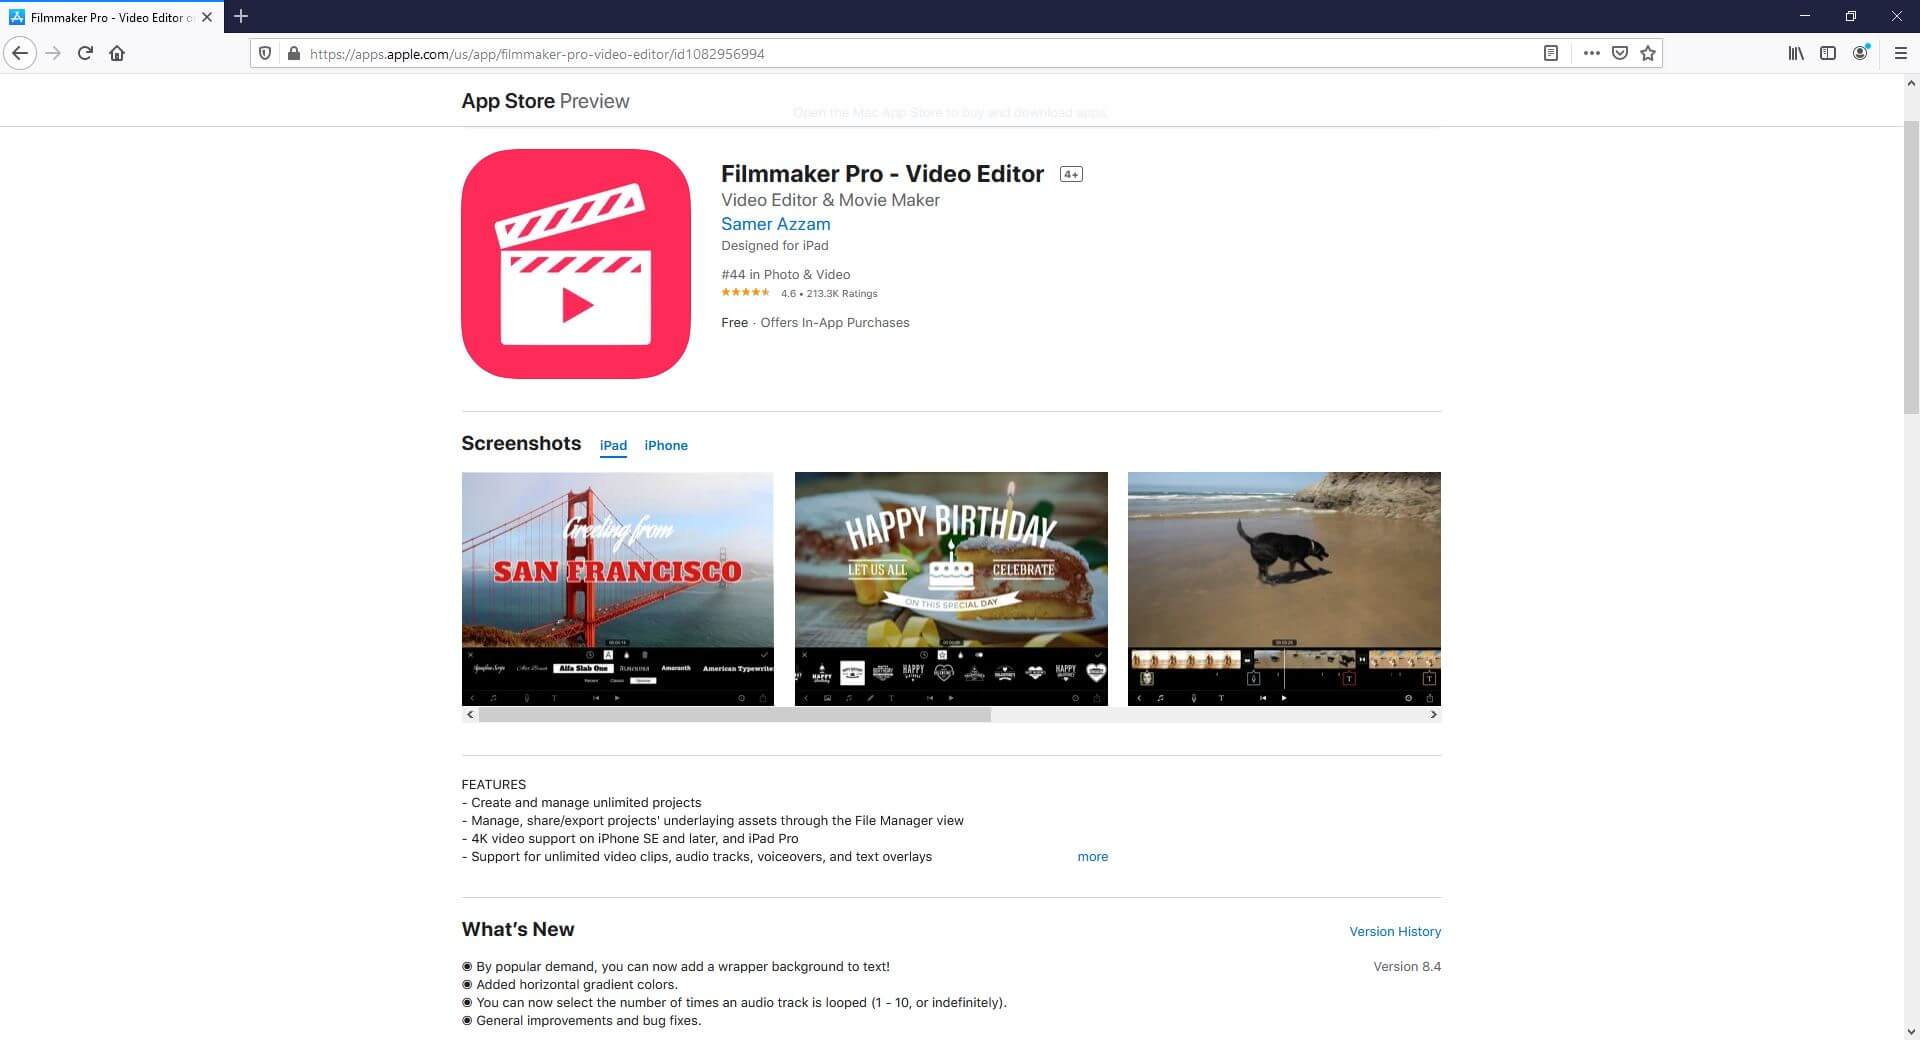
Filmmaker Pro is a free video editing app for mobile devices equipped with a plethora of pro features to make your post-production experience convenient and fun.
Supported Platforms: Android (4.4 and above) and iOS (11.0 and above)
Users’ Star Rating (Out of 5): 4.6
Main Features: Supports video playback reversal, allows Picture-in-Picture for videos and photos, supports green screen (chroma key), and much more.
Aspect Ratio: Almost all widely used sizes
Sharing: Exports videos to the device
Pros: Offers several text animation options, has drawing tools, etc.
Cons: Paid subscription is required to remove watermark from the exported videos
10. Video Editor for YouTube & Video Maker – My Movie
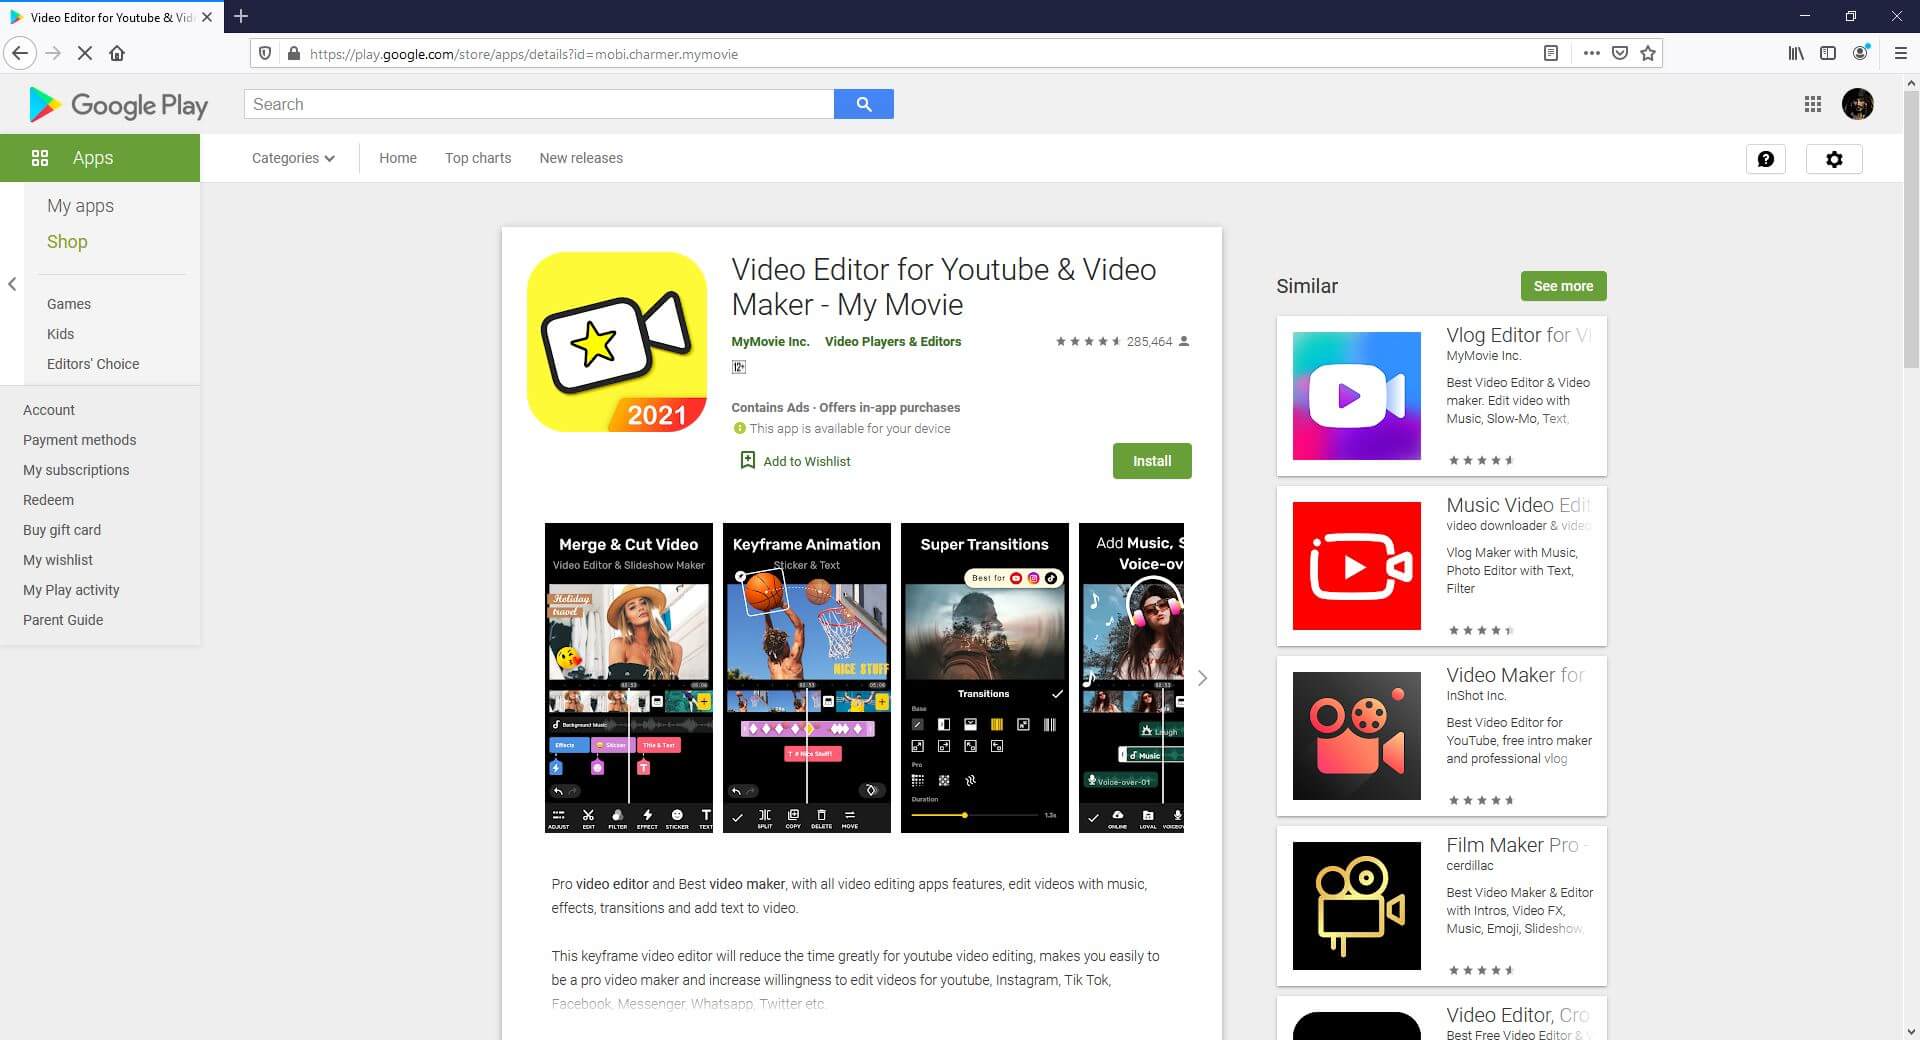
Yet another editor for both amateurs and professionals, Video Editor for YouTube, consists of all the features that a YouTube Shorts video needs to prepare engaging content.
Supported Platforms: Android (5.0 and above)
Users’ Star Rating (Out of 5): 4.6
Main Features: Allows cropping, flipping, and rotating the video clips, allows audio recording for voiceovers, lets you control the playback speed, etc.
Aspect Ratio: Almost all widely used sizes
Sharing: Allows publishing directly on YouTube
Pros: Has keyframe-oriented animation effects, can merge multiple video clips into one, etc.
Cons: Some content might not be suitable for kids below 12 years of age
Above are some of the best video editing apps that you can use on iPhone or Android phones to create YouTube Shorts videos. Besides those third-party apps, you can also create a Shorts video from the YouTube app directly. Check this article to get detailed information about making and uploading a YouTube Shorts Video with Shorts App .
Use Filmora to Create YouTube Shorts Video on PC
If you prefer to convert or make videos on a computer, I recommend you to try our video editor Filmora X , which is an ideal solution for YouTubers.
You can make a vertical video with Filmora easily as it provides a 9:16 aspect ratio that works perfectly for editing YouTube Shorts videos. Compared with mobile apps, desktop softwares like Filmora allows you to add more elements and effects to your video to make it impressive. Check out the below video about how to edit vertical video using our Filmora X and try it out if you are impressed.
For Win 7 or later (64-bit)
 Secure Download
For macOS 10.14 or later
Secure Download
Click here to get Filmora for PC by email
or Try Filmora App for mobile >>>
download filmora app for ios ](https://app.adjust.com/b0k9hf2%5F4bsu85t ) download filmora app for android ](https://app.adjust.com/b0k9hf2%5F4bsu85t )
Conclusion
Making videos less than 60 seconds in duration and then publishing them on YouTube with the ‘#Shorts’ tag in the title or description lets you create short videos for YouTube. The apps listed above help you in this, and you can easily prepare attractive and engaging short clips pretty quickly using any of them. However, the most recommended, widely used, and the much-appreciated program is Wondershare Filmora that is not merely limited to mobile application-level features, it even has tools that usually compete with those available in the desktop software.
Richard Bennett
Richard Bennett is a writer and a lover of all things video.
Follow @Richard Bennett
Richard Bennett
Mar 27, 2024• Proven solutions
Even though Shorts is integrated within the YouTube app and still in beta, you can still edit your videos. At this writing, the only additional elements that you can add to your short videos are background music and captions. While these two are good enough to make your clips informative, they might not be able to attract as many viewers as there would have been if the footages were well-decorated with a couple of filters, effects, stickers, etc.
That said, listed below are some of the efficient and feature-packed third-party apps that can help you beautify your videos before they can be published as Shorts on your YouTube channel:
Best Shorts Video Editing Apps for iOS and Android (Free and Paid)
Top 10 short video editing apps for smartphones, along with their attributes, include:
1. Wondershare Filmora
This was developed by one of the IT giants called Wondershare. The elder sibling of Filmora is Filmora, a PC program for both Windows and Mac platforms that gives tough competition to some of the commonly used post-production applications like Adobe Premiere Pro, Final Cut Pro X, etc.
Supported Platforms: Android and iOS (11.0 and above)
Users’ Star Rating (Out of 5): 4.6
Main Features: Allows video editing (trimming, cutting, etc.), adds or extracts music from the videos, supports HD quality exporting, etc.
Aspect Ratio: Almost all widely used sizes
Sharing: Allows publishing directly to YouTube
Pros: Free to use, available for both iOS and Android, a complete package for video editing enthusiasts
Cons: Free version adds a watermark to the exported videos
2. VideoLeap – Video Editor – Film Photo Editor
Another lightweight video editor for mobile devices, VideoLeap, lets you edit the videos simply and quickly.
Supported Platforms: Android (4.3 and above) and iOS (12.0 and above)
Users’ Star Rating (Out of 5): 4.3
Main Features: Has more than 200 filters, allows trimming and cropping, offers a practically unlimited number of undoes and redoes
Aspect Ratio: Almost all widely used sizes
Sharing: Exports videos to the device
Pros: Offers layer-based editing, gives access to the professional-level filters for video decoration, has more than 60 overlays, etc.
Cons: Paid subscription is needed to access features like edit, crop, and reverse
3. KineMaster Video Editor
KineMaster is probably one of the most popular video editors among vloggers, beginners, and teenagers. With simple UI, the app offers easy access to many of its features to edit the videos.
Supported Platforms: Android (6.0 and above) and iOS (12.4 and above)
Users’ Star Rating (Out of 5): 4.7
Main Features: Color correction, video reversal, trimming, splitting, cutting, voice changer, sound effects, etc.
Aspect Ratio: Almost all widely used sizes
Sharing: Allows publishing directly to YouTube
Pros: Can export videos to 4K 60 FPS, can be used for free, supports multiple languages
Cons: A premium subscription must be purchased to access advanced features
4. Video Maker for YouTube – Video.Guru
This one is specifically designed and developed for short videos that are prepared for Tik Tok, Facebook, etc.
Supported Platforms: Android (5.0 and above)
Users’ Star Rating (Out of 5): 4.8
Main Features: Supports multi-layer editing, allows voice recording and voiceovers, can be used to create videos for YouTube, has several filters and effects, etc.
Aspect Ratio: Almost all widely used sizes
Sharing: Allows publishing directly to YouTube
Pros: Offers fully licensed music for a video background, allows audio fade-in and fade-out effects, allows music video creation, lets you merge two or more clips into one, etc.
Cons: Some users experience distortion while using an external microphone
5. Adobe Premiere Rush
Developed by the creative application developing giant, Adobe, this app has everything you would possibly need to prepare YouTube Shorts. Because the developer is Adobe, the program can be trusted without any doubts.
Supported Platforms: Android and iOS (13.0 and above)
Users’ Star Rating (Out of 5): 4.6
Main Features: Allows video recording with the built-in camera, allows adding animated titles using the available templates, has a multi-track timeline, etc.
Aspect Ratio: Almost all widely used sizes
Sharing: Allows publishing directly to YouTube
Pros: Offers several editing effects, has a plethora of royalty-free soundtracks, etc.
Cons: Advanced tools can be accessed only after buying a premium subscription
6. Funimate Video Editor & Maker
With a 4.7-star rating, this app has been ranked as the best in more than 100 countries. The program has several built-in video effects to make your clips more engaging.
Supported Platforms: Android (5.0 and above) and iOS (12.0 and above)
Users’ Star Rating (Out of 5): 4.7
Main Features: Enables lip-sync, allows keyframe-oriented animations and effects, supports video masking, etc.
Aspect Ratio: Almost all widely used sizes
Sharing: Allows publishing directly to social platforms like YouTube, Tik Tok, Instagram, etc.
Pros: Has intro and outro effects, allows you to add music to the videos, is free to use, etc.
Cons: Paid subscription is needed to unlock all the advanced tools and features of the app
7. LumaFusion
LumaFusion is crowned with a 4.8-star rating and is packed with options like media library, slow and fast motion playback, additional audio tracks, and much more.
Supported Platforms: iOS (13.3 and above)
Users’ Star Rating (Out of 5): 4.8
Main Features: Frame rates that range between 18 FPS to 240 FPS, color correction, keyframe-oriented color, and effects animations, etc.
Aspect Ratio: Almost all widely used sizes
Sharing: Allows publishing directly to almost all platforms
Pros: Can export projects as Final Cut Pro X files for further editing
Cons: Paid subscription is needed for exporting projects for Final Cut Pro X
8. VivaCut – PRO Video Editor APP
As the name suggests, VivaCut is a professional-level video editing tool for mobile devices that enjoys a decent star rating.
Supported Platforms: Android (5.0 and above) and iOS (9.0 and above)
Users’ Star Rating (Out of 5): 4.7
Main Features: Offers visual effects like VHS, RGP, Glitch, etc., allows Picture-in-Picture (to be released soon), allows video trimming, cropping, and merging, etc.
Aspect Ratio: Almost all widely used sizes
Sharing: Allows one-click publishing directly on YouTube
Pros: Supports up to 4K video resolution
Cons: Paid subscription is required to access the Pro-level features and options
9. Filmmaker Pro – Video Editor
Filmmaker Pro is a free video editing app for mobile devices equipped with a plethora of pro features to make your post-production experience convenient and fun.
Supported Platforms: Android (4.4 and above) and iOS (11.0 and above)
Users’ Star Rating (Out of 5): 4.6
Main Features: Supports video playback reversal, allows Picture-in-Picture for videos and photos, supports green screen (chroma key), and much more.
Aspect Ratio: Almost all widely used sizes
Sharing: Exports videos to the device
Pros: Offers several text animation options, has drawing tools, etc.
Cons: Paid subscription is required to remove watermark from the exported videos
10. Video Editor for YouTube & Video Maker – My Movie
Yet another editor for both amateurs and professionals, Video Editor for YouTube, consists of all the features that a YouTube Shorts video needs to prepare engaging content.
Supported Platforms: Android (5.0 and above)
Users’ Star Rating (Out of 5): 4.6
Main Features: Allows cropping, flipping, and rotating the video clips, allows audio recording for voiceovers, lets you control the playback speed, etc.
Aspect Ratio: Almost all widely used sizes
Sharing: Allows publishing directly on YouTube
Pros: Has keyframe-oriented animation effects, can merge multiple video clips into one, etc.
Cons: Some content might not be suitable for kids below 12 years of age
Above are some of the best video editing apps that you can use on iPhone or Android phones to create YouTube Shorts videos. Besides those third-party apps, you can also create a Shorts video from the YouTube app directly. Check this article to get detailed information about making and uploading a YouTube Shorts Video with Shorts App .
Use Filmora to Create YouTube Shorts Video on PC
If you prefer to convert or make videos on a computer, I recommend you to try our video editor Filmora X , which is an ideal solution for YouTubers.
You can make a vertical video with Filmora easily as it provides a 9:16 aspect ratio that works perfectly for editing YouTube Shorts videos. Compared with mobile apps, desktop softwares like Filmora allows you to add more elements and effects to your video to make it impressive. Check out the below video about how to edit vertical video using our Filmora X and try it out if you are impressed.
For Win 7 or later (64-bit)
Secure Download
For macOS 10.14 or later
Secure Download
Click here to get Filmora for PC by email
or Try Filmora App for mobile >>>
download filmora app for ios ](https://app.adjust.com/b0k9hf2%5F4bsu85t ) download filmora app for android ](https://app.adjust.com/b0k9hf2%5F4bsu85t )
Conclusion
Making videos less than 60 seconds in duration and then publishing them on YouTube with the ‘#Shorts’ tag in the title or description lets you create short videos for YouTube. The apps listed above help you in this, and you can easily prepare attractive and engaging short clips pretty quickly using any of them. However, the most recommended, widely used, and the much-appreciated program is Wondershare Filmora that is not merely limited to mobile application-level features, it even has tools that usually compete with those available in the desktop software.
Richard Bennett
Richard Bennett is a writer and a lover of all things video.
Follow @Richard Bennett
The Money Trail for YouTube Creators: Revenue Realization
How To Get Paid on YouTube - From AdSense to your Bank Account
Richard Bennett
Oct 26, 2023• Proven solutions
YouTube is more than a video sharing social network; here’s how to get paid on YouTube. Having an active YouTube channel with decent monthly views can earn you income through advertising. If your channel is set up properly, Google can place ads over your YouTube videos and you can earn money based on how many people see or click on (depends on the ad) those ads while watching your videos.
- The Requirements for YouTube Monetization
- How to Enable Monetization for Your YouTube Channel
- Linking Your Bank Account to Your AdSense Account
- Receiving Payments
Many vloggers receive direct bank deposits of their ad-based revenues every month. In this article, we’ll show you how to monetize your YouTube Channel and how to receive payments to your bank account.
Making Your YouTube Videos Better with Filmora
If you want to earn more money with YouTube videos, your video should be stand out. To achieve that, you should use a powerful video editing software as well. Here, I recommend Wondershare Filmora video editor . As one of the most widely used video editing software among YouTubers, Filmora provides lots of templates and effects which allows you to edit faster and better.


Part 1: The Requirements for YouTube Monetization
Meeting the minimum requirement for YouTube monetization is probably the hardest part of this whole process. About a month ago, you had to have 10,000 lifetime views on your YouTube channel to qualify for monetization. However, earlier this year, Google changed their eligibility requirements and made them even tougher.
As of February 20, 2018, YouTube channels need to have accumulated 4000 hours of ‘watch time’ over the past 12 months and no less than 1000 subscribers to qualify for monetization. If you do not meet these requirements you cannot join the YouTube Partner Program and monetize your YouTube channel.
So, the first step to successful monetization on YouTube is to actually grow your channel. You need to create videos that will attract viewers and engage your audience. You also need to get people to subscribe because this is really what will grow your YouTube channel over time.
Part 2: How To Enable Monetization for Your YouTube Channel
Here’s the step-by-step process for monetizing your YouTube Channel, for those who are qualified.
- Log in to your YouTube account.
- Find your account icon in the top right corner. Click it to find the ‘Creator Studio’ button.
- Click the ‘Creator Studio’ button.
- Click the ‘Channel’ option in the left side menu.
- You’ll see a drop-down menu under ‘Channel’. Click on ‘Status and Features’. This is actually the first option on the menu. It should open by default once you click the ‘Channel’ button.
- Look through the ‘Status and Features’ page and click the ‘Enable’ button beside monetization.

- Clicking the ‘Enable’ button should lead you to another page where the guidelines for monetization are explained. Take the time to read through the guidelines and understand the dos and don’ts of YouTube monetization.
- Once you’ve looked through the guidelines, click the ‘Enable my account’ button to proceed. This will lead you to a page where you’ll be prompted to join the YouTube Partner Program.
- Read through the YouTube Partner Program terms, check the appropriate boxes, and click the ‘accept’ button.
- You’ll be prompted to link an AdSense account.
- Connect an existing AdSense account if you have one or create a new one.
- Once you’re done linking an AdSense account, you’ll be redirected to YouTube. There, select the type of ads you want to run under ‘Monetization Preferences’.
- Click the submit button and wait to find out if your account is approved for monetization.
According to YouTube, it can take up to a week for a decision to be reached on your application.
YouTube will not review your monetization application until you’ve met their eligibility criteria. Even then, your application may be declined if your videos do not follow the community guidelines (i.e. channels which simply repost content from other channels will not be monetized).
Not all videos can be monetized. While there are legal ways to create videos consisting of imagery and footage belonging to others, be aware that such videos are not always eligible for monetization. YouTube will only monetize videos that you own. So, posting videos which do not belong to you or which include copyrighted content can cause your monetization application to be declined.
Part 3: Linking Your Bank Account To Your AdSense Account
AdSense offers a variety of payment options including mailed checks and Western Union transfers. However, these options may not be available to you depending on where you’re based. AdSense does make payments through electronic wire transfer (EFT – Electronic funds transfer) to virtually every country in the world, and this is the preferred payment option for most people.
To have your earnings deposited directly into your account through EFT, you’ll need to link your bank account to your AdSense account.
Here’s a step-by-step guide for linking your bank account to your AdSense account.
- Log in to AdSense via: www.google.com/adsense/start
- Click the ‘Settings’ button in the left panel menu
- Under ‘Settings’, click ‘Payments’.
- On the ‘Payments’ page, click ‘Manage payment options’.
- Click ‘Add payment method’.
- Next, you’ll be prompted to add your bank account details. In general, you will be asked to provide the following:
- Name on the account / account holder’s name
- Bank account number
- Bank name
- Bank SWIFT code
- Depending on where you are based, additional information may be required.
- Ensure that the name on your AdSense account matches the name on the bank account you provide. To edit your AdSense name, click the ‘Manage settings’ button also on the Payments page.
Part 4: Receiving Payments
To get paid by AdSense, you need to reach the $100 threshold. You may wish to set a higher threshold but as a rule, earnings below the $100 will not be processed for payment (you will still receive the money, it will just keep adding up until it gets to $100 and then you’ll be paid).
Also, bear in mind that AdSense follows a monthly payment cycle. This means that a month’s earnings (assuming they meet the threshold requirement) will be paid next month. Usually, direct deposit payments will be processed between the 21st and 26th of every month. That said, it can take up to 10 days for electronic wire payments to be received.
In addition to reaching the payment threshold, be sure that you have no payment hold on your AdSense account. A payment hold can cause your earnings to be withheld even if it has reached the payment threshold.
To avoid a payment hold, be sure to provide the necessary tax information, verify your identity and your address, make sure the bank account linked to your AdSense is verified, and make sure you have not violated any of YouTube’s guidelines and community rules.
Conclusion
Depending on your vlogging skills and the nature of your content (some types of videos get more attention than others), it can take a while for you to be eligible for monetization. And even when you’ve successfully monetized your channel, getting enough views to reach the payment threshold can be tough.
Don’t let this discourage you from working towards earning income from your YouTube channel. Just focus on creating a YouTube channel people will want to watch. That’s how to get paid on YouTube - be sticking with your channel long enough for it to grow.
Richard Bennett
Richard Bennett is a writer and a lover of all things video.
Follow @Richard Bennett
Richard Bennett
Oct 26, 2023• Proven solutions
YouTube is more than a video sharing social network; here’s how to get paid on YouTube. Having an active YouTube channel with decent monthly views can earn you income through advertising. If your channel is set up properly, Google can place ads over your YouTube videos and you can earn money based on how many people see or click on (depends on the ad) those ads while watching your videos.
- The Requirements for YouTube Monetization
- How to Enable Monetization for Your YouTube Channel
- Linking Your Bank Account to Your AdSense Account
- Receiving Payments
Many vloggers receive direct bank deposits of their ad-based revenues every month. In this article, we’ll show you how to monetize your YouTube Channel and how to receive payments to your bank account.
Making Your YouTube Videos Better with Filmora
If you want to earn more money with YouTube videos, your video should be stand out. To achieve that, you should use a powerful video editing software as well. Here, I recommend Wondershare Filmora video editor . As one of the most widely used video editing software among YouTubers, Filmora provides lots of templates and effects which allows you to edit faster and better.
Part 1: The Requirements for YouTube Monetization
Meeting the minimum requirement for YouTube monetization is probably the hardest part of this whole process. About a month ago, you had to have 10,000 lifetime views on your YouTube channel to qualify for monetization. However, earlier this year, Google changed their eligibility requirements and made them even tougher.
As of February 20, 2018, YouTube channels need to have accumulated 4000 hours of ‘watch time’ over the past 12 months and no less than 1000 subscribers to qualify for monetization. If you do not meet these requirements you cannot join the YouTube Partner Program and monetize your YouTube channel.
So, the first step to successful monetization on YouTube is to actually grow your channel. You need to create videos that will attract viewers and engage your audience. You also need to get people to subscribe because this is really what will grow your YouTube channel over time.
Part 2: How To Enable Monetization for Your YouTube Channel
Here’s the step-by-step process for monetizing your YouTube Channel, for those who are qualified.
- Log in to your YouTube account.
- Find your account icon in the top right corner. Click it to find the ‘Creator Studio’ button.
- Click the ‘Creator Studio’ button.
- Click the ‘Channel’ option in the left side menu.
- You’ll see a drop-down menu under ‘Channel’. Click on ‘Status and Features’. This is actually the first option on the menu. It should open by default once you click the ‘Channel’ button.
- Look through the ‘Status and Features’ page and click the ‘Enable’ button beside monetization.
- Clicking the ‘Enable’ button should lead you to another page where the guidelines for monetization are explained. Take the time to read through the guidelines and understand the dos and don’ts of YouTube monetization.
- Once you’ve looked through the guidelines, click the ‘Enable my account’ button to proceed. This will lead you to a page where you’ll be prompted to join the YouTube Partner Program.
- Read through the YouTube Partner Program terms, check the appropriate boxes, and click the ‘accept’ button.
- You’ll be prompted to link an AdSense account.
- Connect an existing AdSense account if you have one or create a new one.
- Once you’re done linking an AdSense account, you’ll be redirected to YouTube. There, select the type of ads you want to run under ‘Monetization Preferences’.
- Click the submit button and wait to find out if your account is approved for monetization.
According to YouTube, it can take up to a week for a decision to be reached on your application.
YouTube will not review your monetization application until you’ve met their eligibility criteria. Even then, your application may be declined if your videos do not follow the community guidelines (i.e. channels which simply repost content from other channels will not be monetized).
Not all videos can be monetized. While there are legal ways to create videos consisting of imagery and footage belonging to others, be aware that such videos are not always eligible for monetization. YouTube will only monetize videos that you own. So, posting videos which do not belong to you or which include copyrighted content can cause your monetization application to be declined.
Part 3: Linking Your Bank Account To Your AdSense Account
AdSense offers a variety of payment options including mailed checks and Western Union transfers. However, these options may not be available to you depending on where you’re based. AdSense does make payments through electronic wire transfer (EFT – Electronic funds transfer) to virtually every country in the world, and this is the preferred payment option for most people.
To have your earnings deposited directly into your account through EFT, you’ll need to link your bank account to your AdSense account.
Here’s a step-by-step guide for linking your bank account to your AdSense account.
- Log in to AdSense via: www.google.com/adsense/start
- Click the ‘Settings’ button in the left panel menu
- Under ‘Settings’, click ‘Payments’.
- On the ‘Payments’ page, click ‘Manage payment options’.
- Click ‘Add payment method’.
- Next, you’ll be prompted to add your bank account details. In general, you will be asked to provide the following:
- Name on the account / account holder’s name
- Bank account number
- Bank name
- Bank SWIFT code
- Depending on where you are based, additional information may be required.
- Ensure that the name on your AdSense account matches the name on the bank account you provide. To edit your AdSense name, click the ‘Manage settings’ button also on the Payments page.
Part 4: Receiving Payments
To get paid by AdSense, you need to reach the $100 threshold. You may wish to set a higher threshold but as a rule, earnings below the $100 will not be processed for payment (you will still receive the money, it will just keep adding up until it gets to $100 and then you’ll be paid).
Also, bear in mind that AdSense follows a monthly payment cycle. This means that a month’s earnings (assuming they meet the threshold requirement) will be paid next month. Usually, direct deposit payments will be processed between the 21st and 26th of every month. That said, it can take up to 10 days for electronic wire payments to be received.
In addition to reaching the payment threshold, be sure that you have no payment hold on your AdSense account. A payment hold can cause your earnings to be withheld even if it has reached the payment threshold.
To avoid a payment hold, be sure to provide the necessary tax information, verify your identity and your address, make sure the bank account linked to your AdSense is verified, and make sure you have not violated any of YouTube’s guidelines and community rules.
Conclusion
Depending on your vlogging skills and the nature of your content (some types of videos get more attention than others), it can take a while for you to be eligible for monetization. And even when you’ve successfully monetized your channel, getting enough views to reach the payment threshold can be tough.
Don’t let this discourage you from working towards earning income from your YouTube channel. Just focus on creating a YouTube channel people will want to watch. That’s how to get paid on YouTube - be sticking with your channel long enough for it to grow.
Richard Bennett
Richard Bennett is a writer and a lover of all things video.
Follow @Richard Bennett
Also read:
- [New] 20 Essential YouTube Groups Navigating Stocks
- [New] Best Practices for YouTube to IGTV Transformation
- Navigate to 8 Online Vaults for Free Green Screen Backdrop Archives
- [New] Best YouTube Hubs for Professional Insights
- PowerPoint Mastery Integrating External Video URLs
- Quick Record & Publish Screen Images for Mac/PC and YouTube
- In 2024, Elevate Your Earning Game with YouTube's Member Status
- YouTube Editing Essentials A Comprehensive Guide to Song Inserts
- In 2024, Eclipsing Fears in Your First 10 Videos
- 2024 Approved Elevate Your Content YouTube's Keyword Strategies Exposed
- Master the Art of YouTube Outros with Pros and Resources
- Elevate Traffic Ethical Practices for Amplifying Content Views
- YouTube SEO 101 Boost Your Video's Visibility
- In 2024, Crafting Compact Cities for a Sustainable Future
- In 2024, Direct Video Transfer A Compreenas Guide to YouTube + TikTok Integration
- Leisurely Laughter & Drama YouTube's Treasured Film Trove
- Post-Publish Editing Elevating Your YouTube Content
- Audiophile's Guide Techniques to Elevate Sound Recording
- Edu-Odyssey Journey Through Top Learning Sites
- [Updated] 8 Top-Notch Free Editors to Enhance Your YouTube Content Efficiency
- Is an Annual Subscription to YouTube Premium Justifiable?
- From Free to Fortune The 500-Sub Club
- Elevate Your Presence The Best 5 Practices for Max Viewers
- Designing a YouTube Subscription Shortcut URL for 2024
- [Updated] Premier Windows 11 Webcam Capture Models
- In 2024, Effortless Selfie Sending - Learn the Technique Now
- [New] Audio Alchemy Selecting Melodies that Enhance Boxings
- In 2024, 4 Most-Known Ways to Find Someone on Tinder For Motorola Edge 40 by Name | Dr.fone
- [Updated] Optimizing Social Media Interaction with Automatic Youtube Video Playback for 2024
- In 2024, 3 Ways to Track Xiaomi Redmi K70 Pro without Them Knowing | Dr.fone
- [Updated] Enhancing Visibility & Following on Instagram
- New How to Make an Animated Explainer Video for 2024
- How to Change Google Play Location On Motorola Edge 40 Pro | Dr.fone
- 2024 Approved Master the Art of Viral Success on TikTok with Top 7 Must-Haves
- Step by Step to Split Clips in VLC
- New In 2024, Blur Faces or Backgrounds in Videos Best Apps for iOS and Android
- [New] In 2024, Top Strategies for Chronicling LOL Showdowns
- 2024 Approved Filmmaking in 90 Seconds A Filmora Approach to TikTok Reacts
- Title: "2024 Approved Best YouTube Shorts Video Editor Tools for iOS & Android Devices"
- Author: Steven
- Created at : 2024-05-25 18:26:44
- Updated at : 2024-05-26 18:26:44
- Link: https://youtube-clips.techidaily.com/2024-approved-best-youtube-shorts-video-editor-tools-for-ios-and-android-devices/
- License: This work is licensed under CC BY-NC-SA 4.0.
